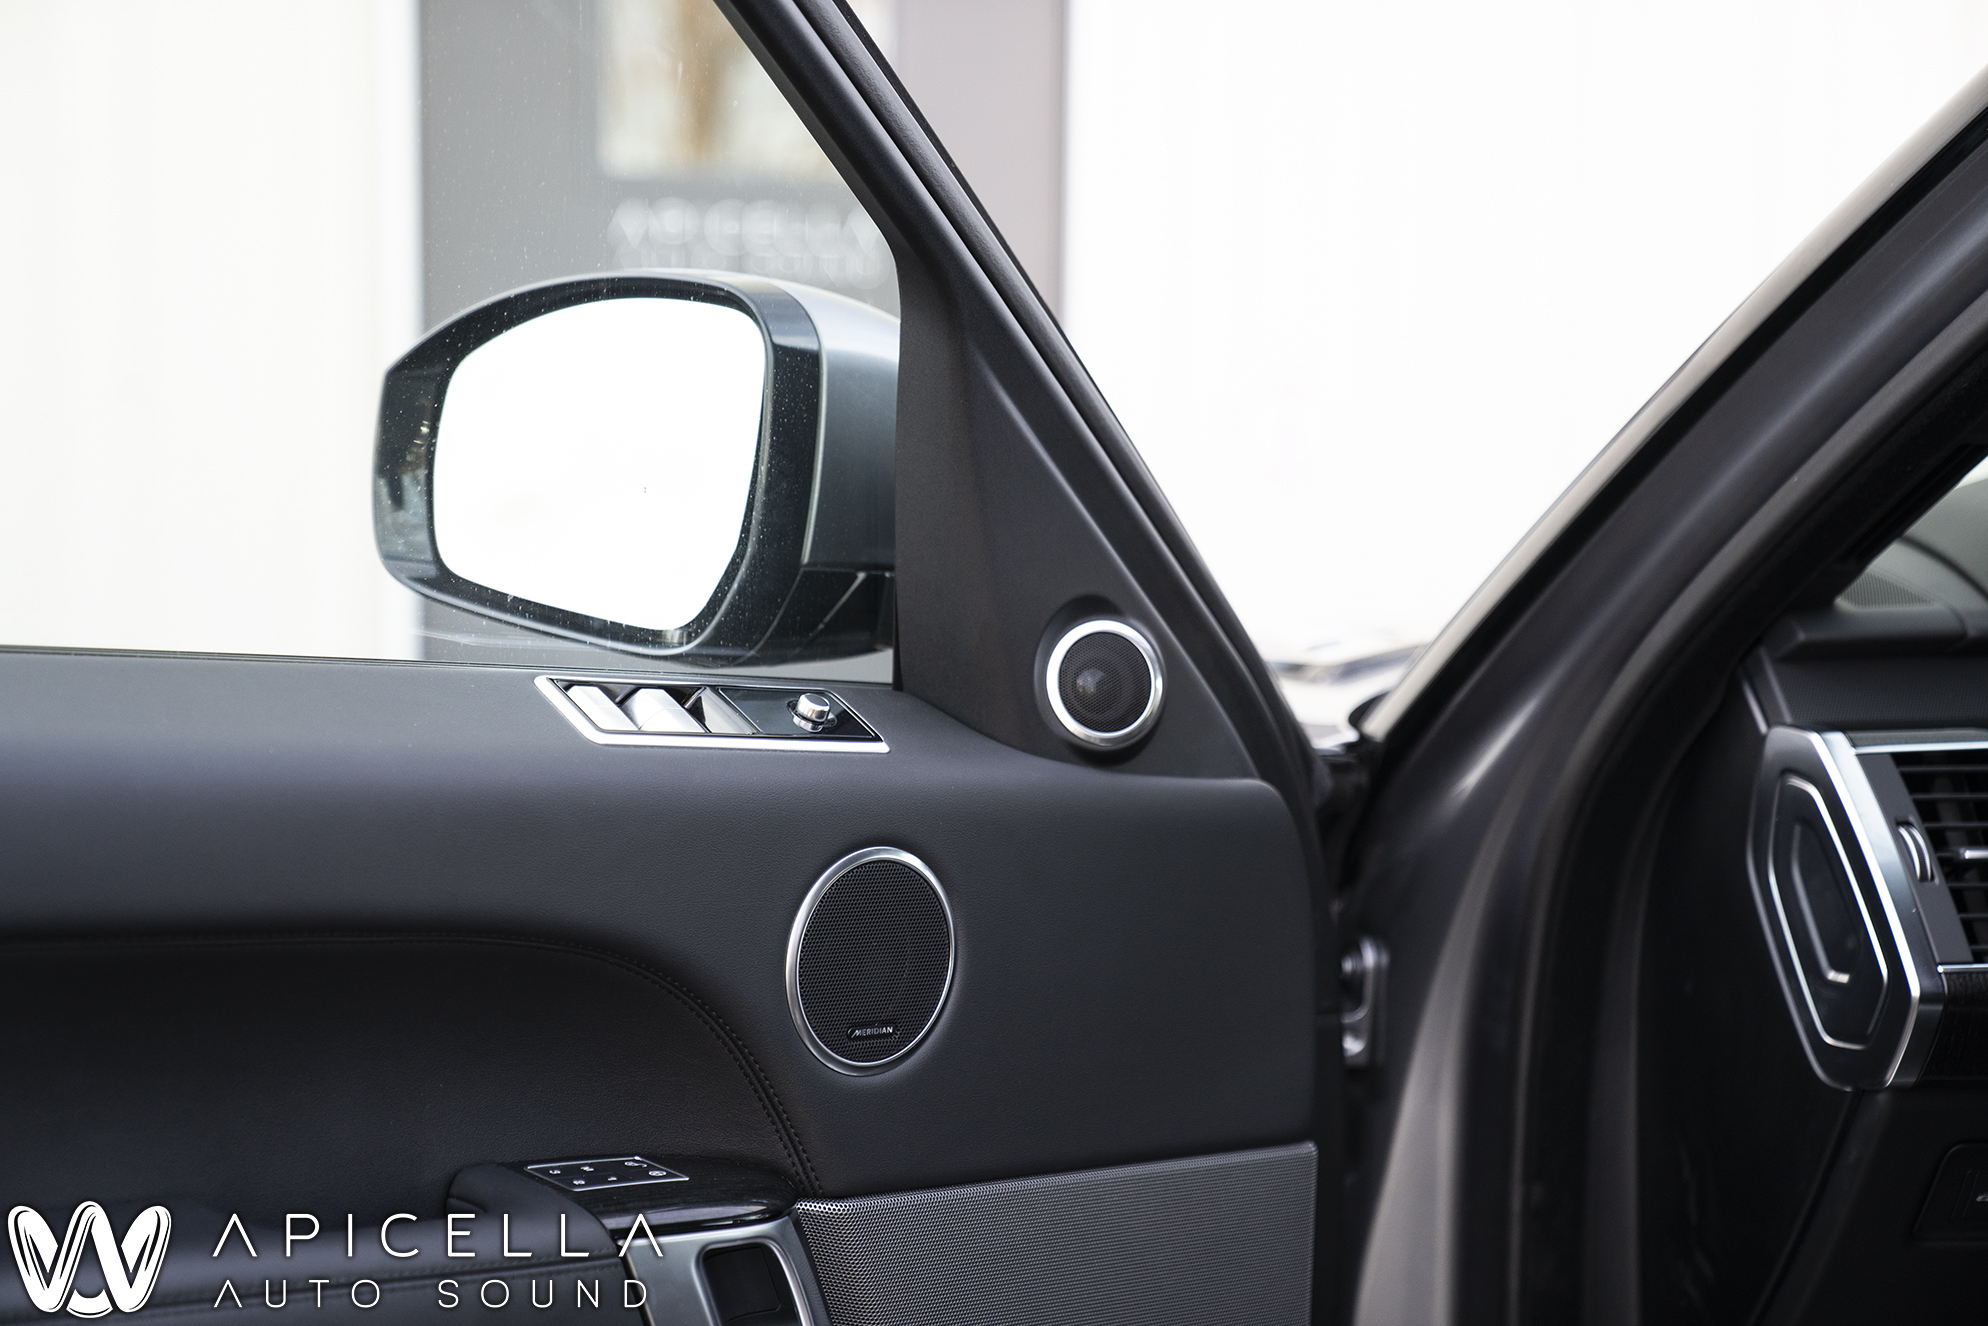
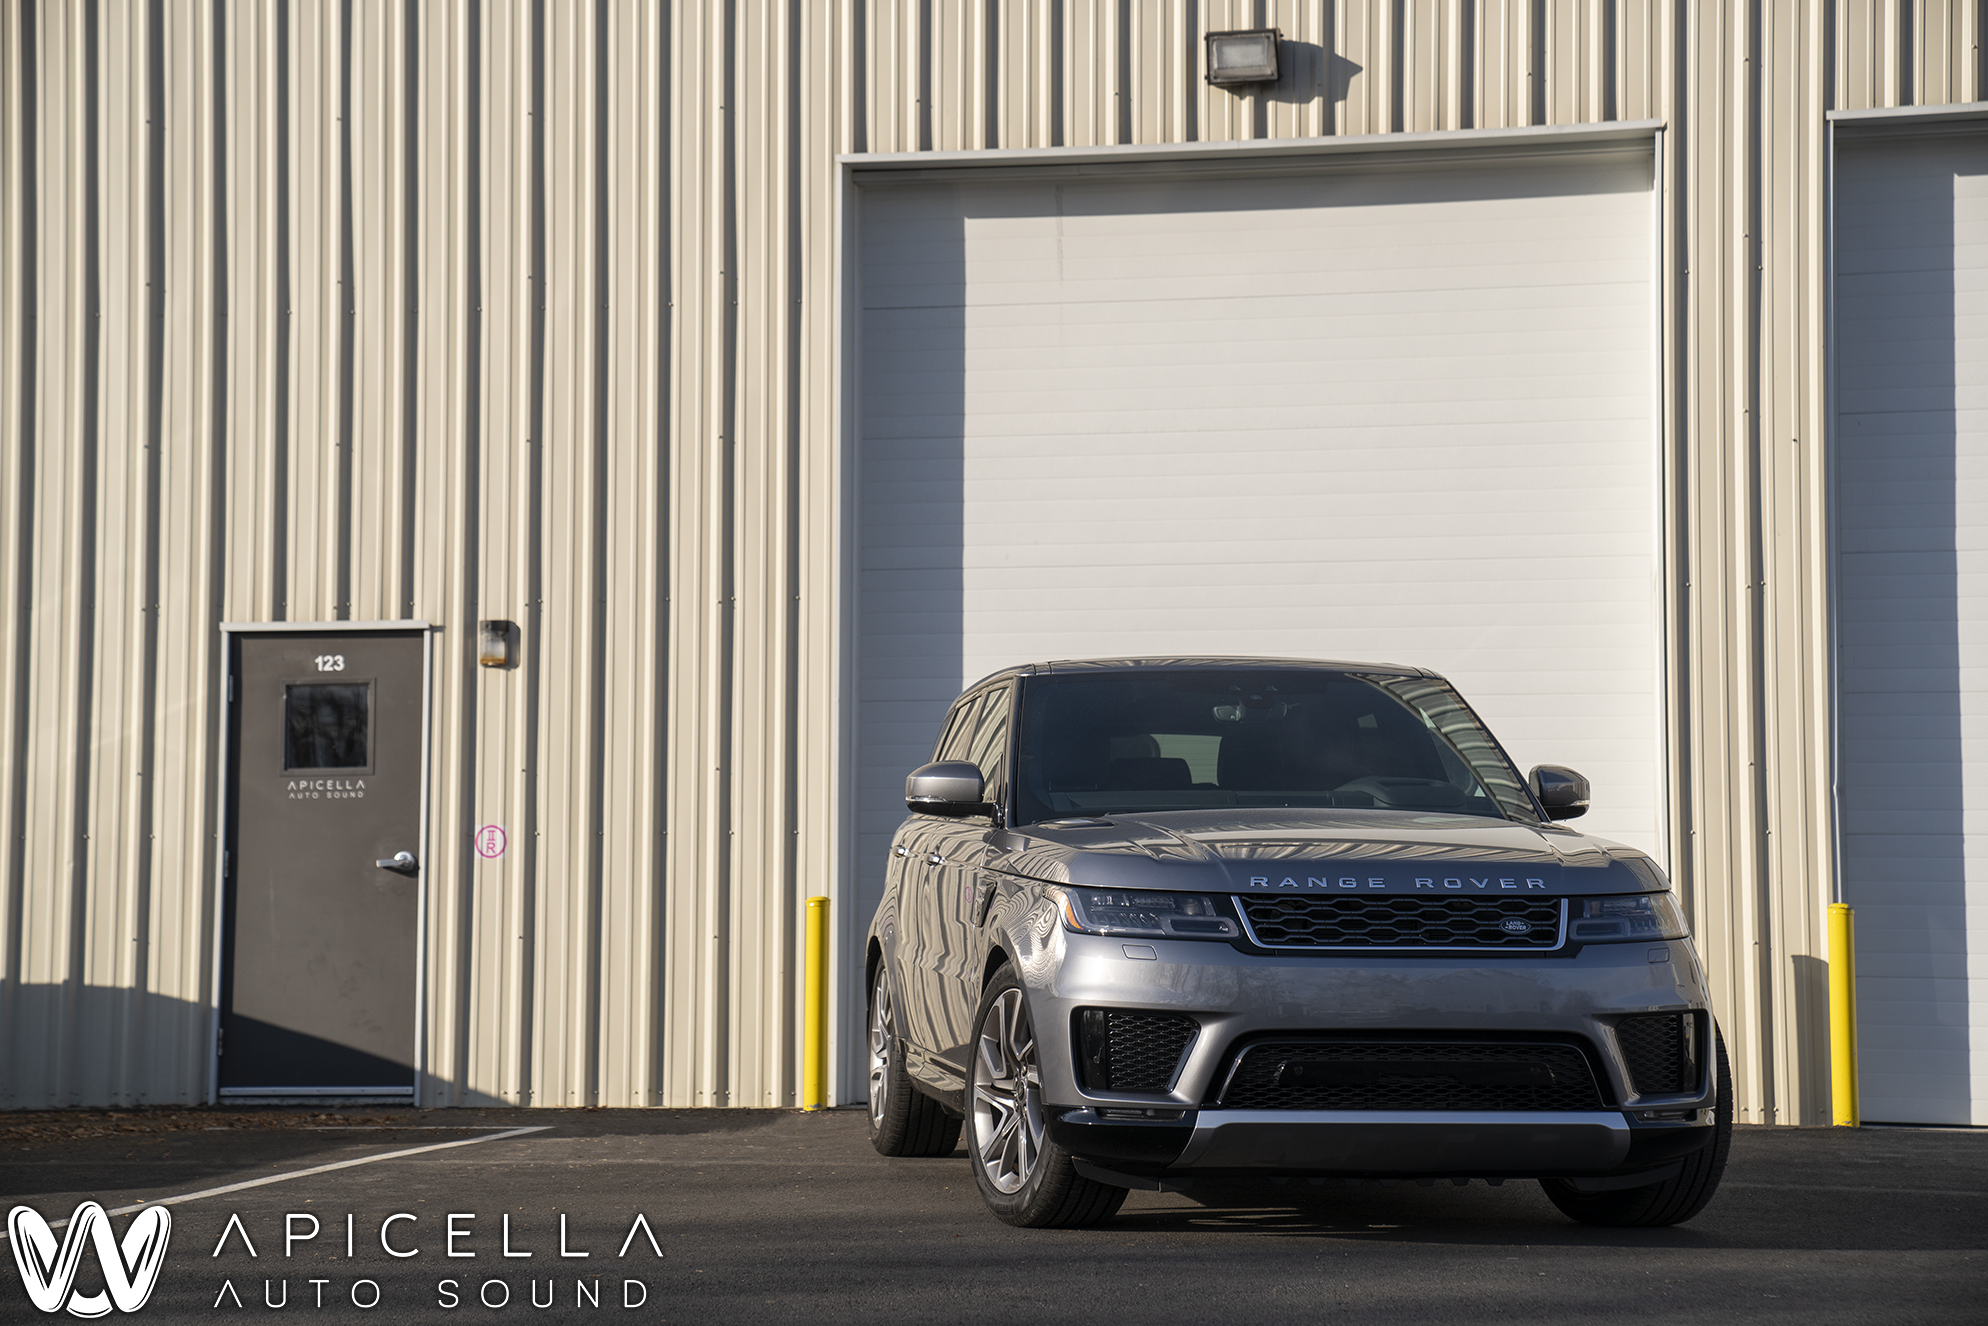
Hey guys, Apicella Auto Sound is back with another build log! This time, it's a 2020 Range Rover Sport that came equipped with the Meridian system. Unfortunately, the owner of the vehicle thought the Meridian system would be enough to satisfy him and then some, but unfortunately, it performed poorly enough that he had to seek out a car audio installer that he could trust to get the sound system up to par and then some. That's where we come in. Once we took his lists of do's and do not, we guided him to a game plan that would be relatively quick and easy. The goals he had were to keep the car as OEM appearing as possible, keeping all of the OEM functions through the Range Rover head unit, and make it sound the best it possibly can while keeping the price reasonable. What we came up with was the following..
. Helix V Twelve with URC . 3.
. Helix M One.
. Focal Flax 10" subwoofer.
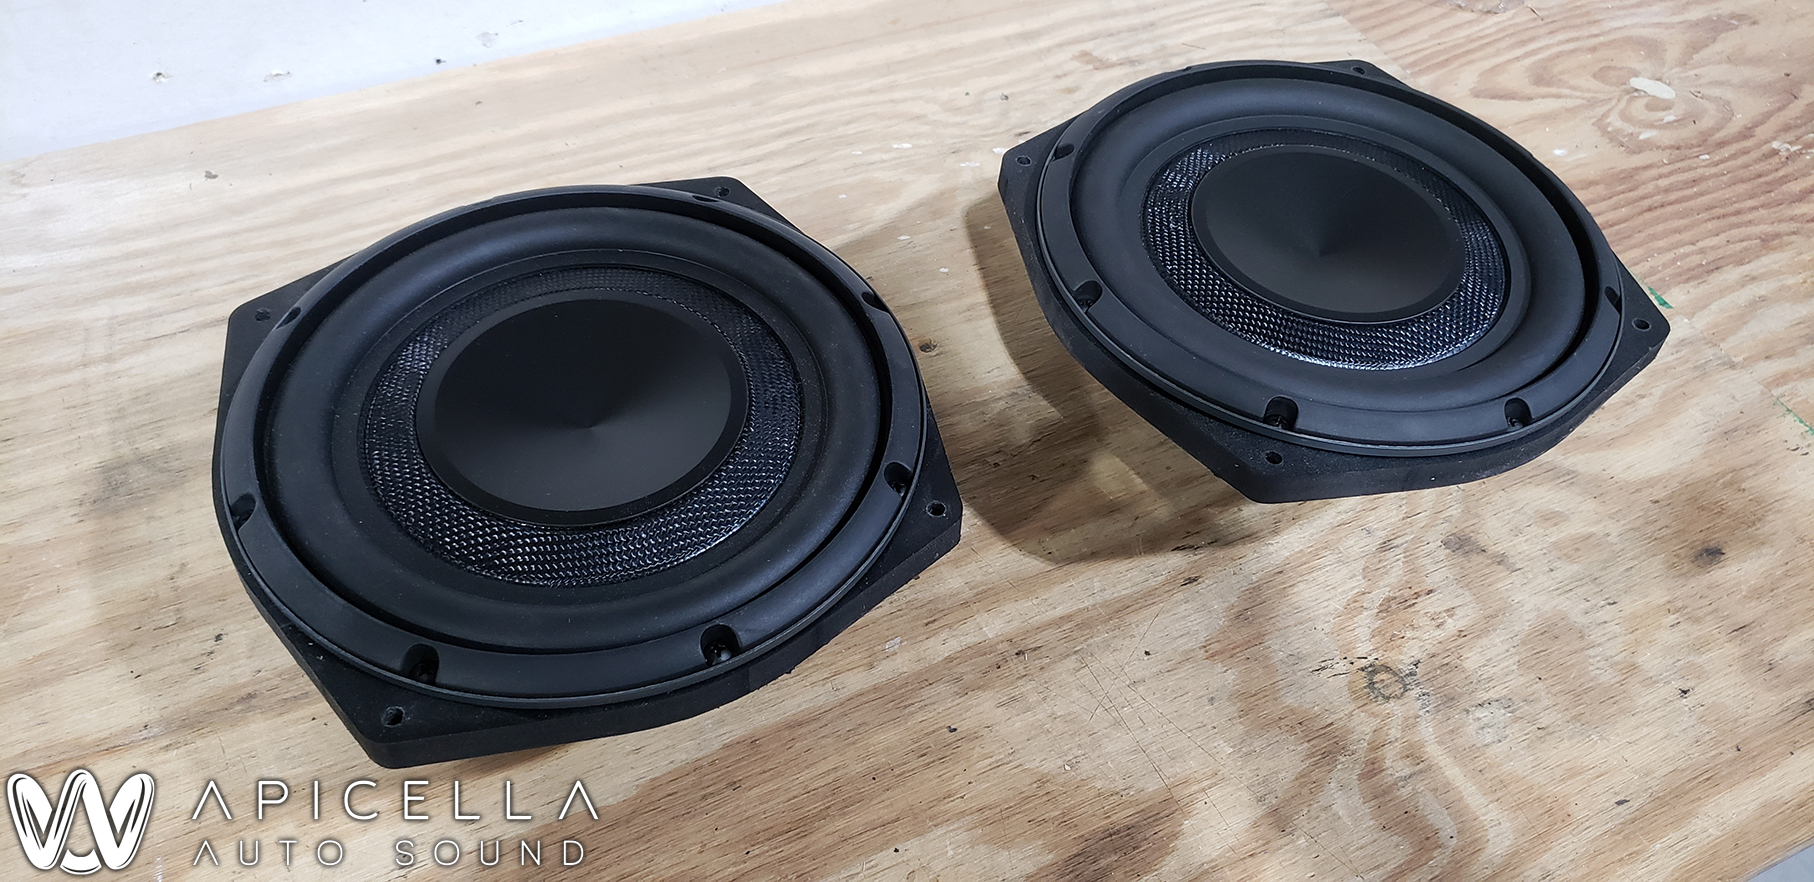
. Audiofrog GS8ND2.
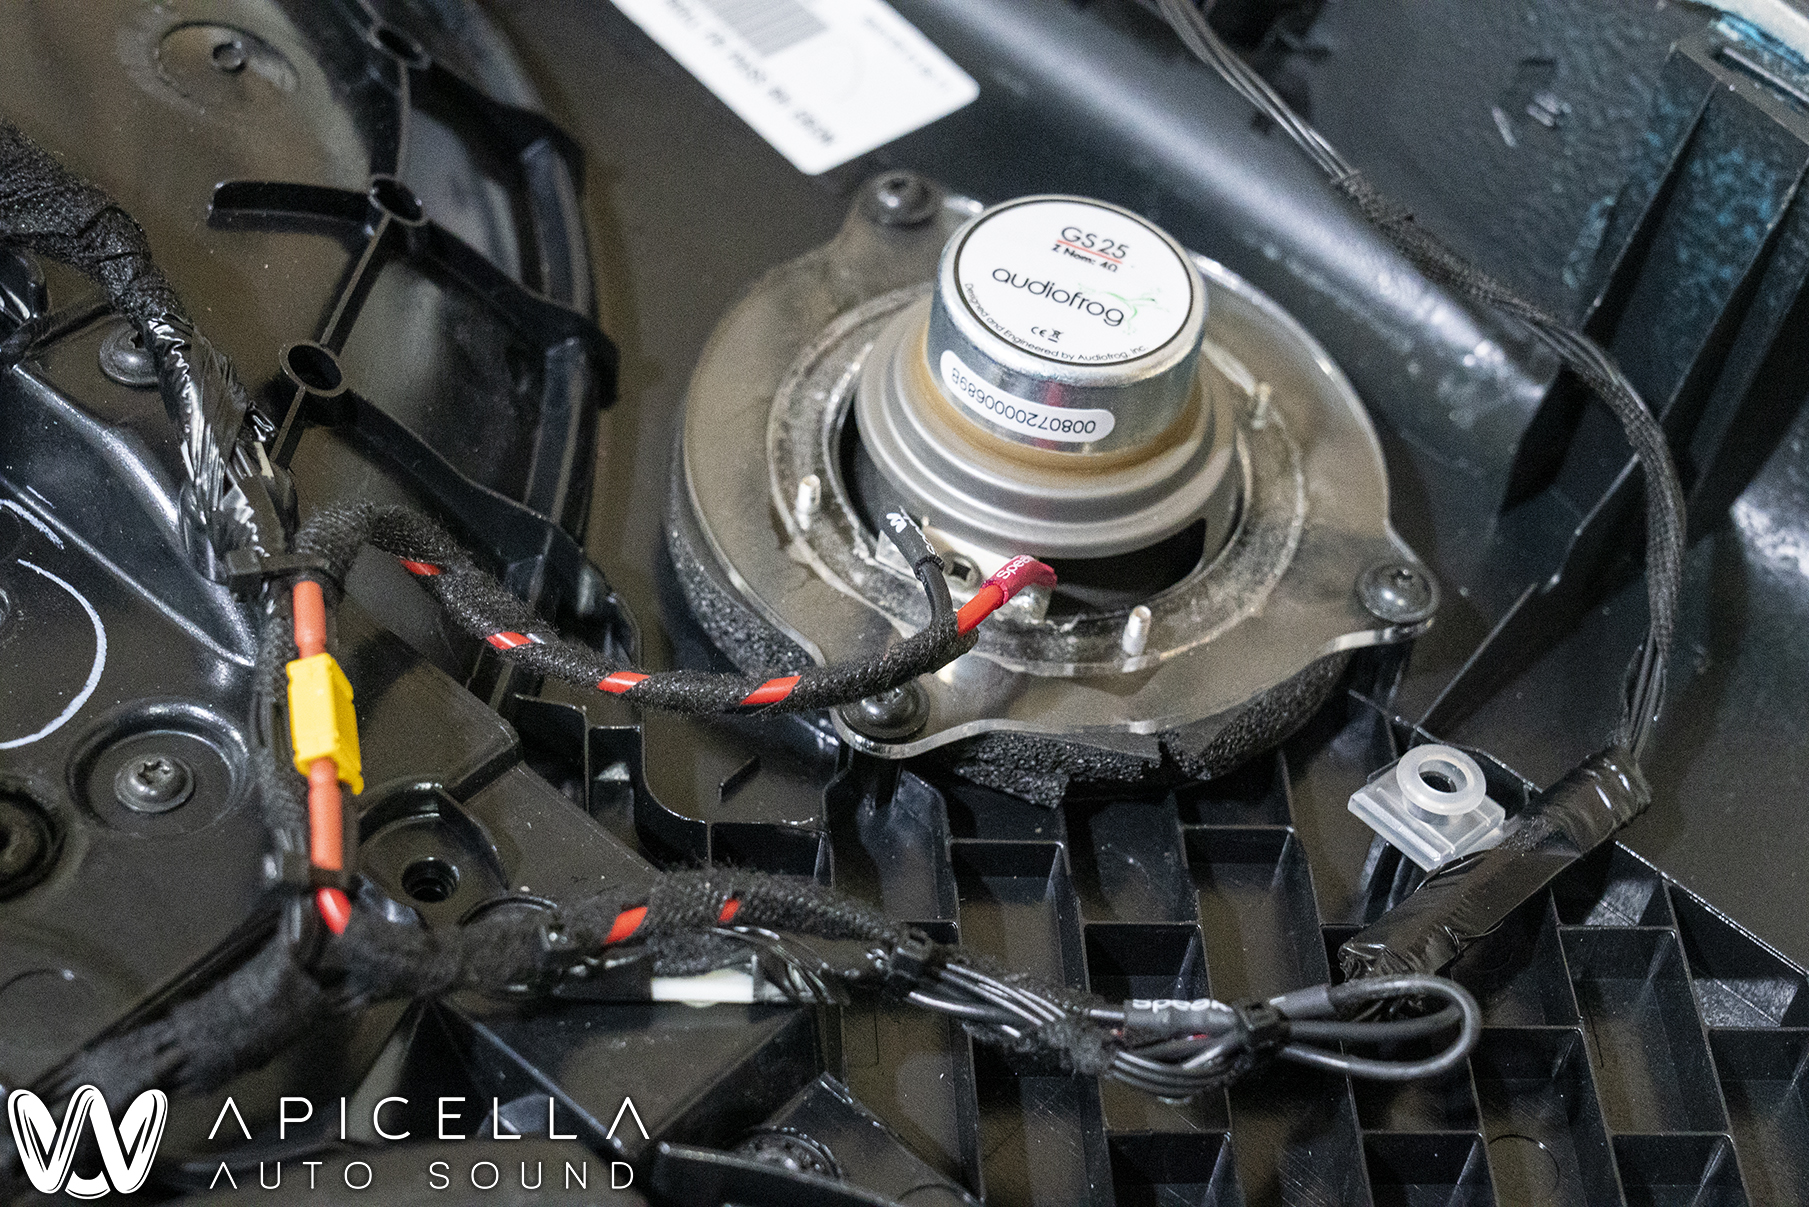
. Audiofrog GS25.
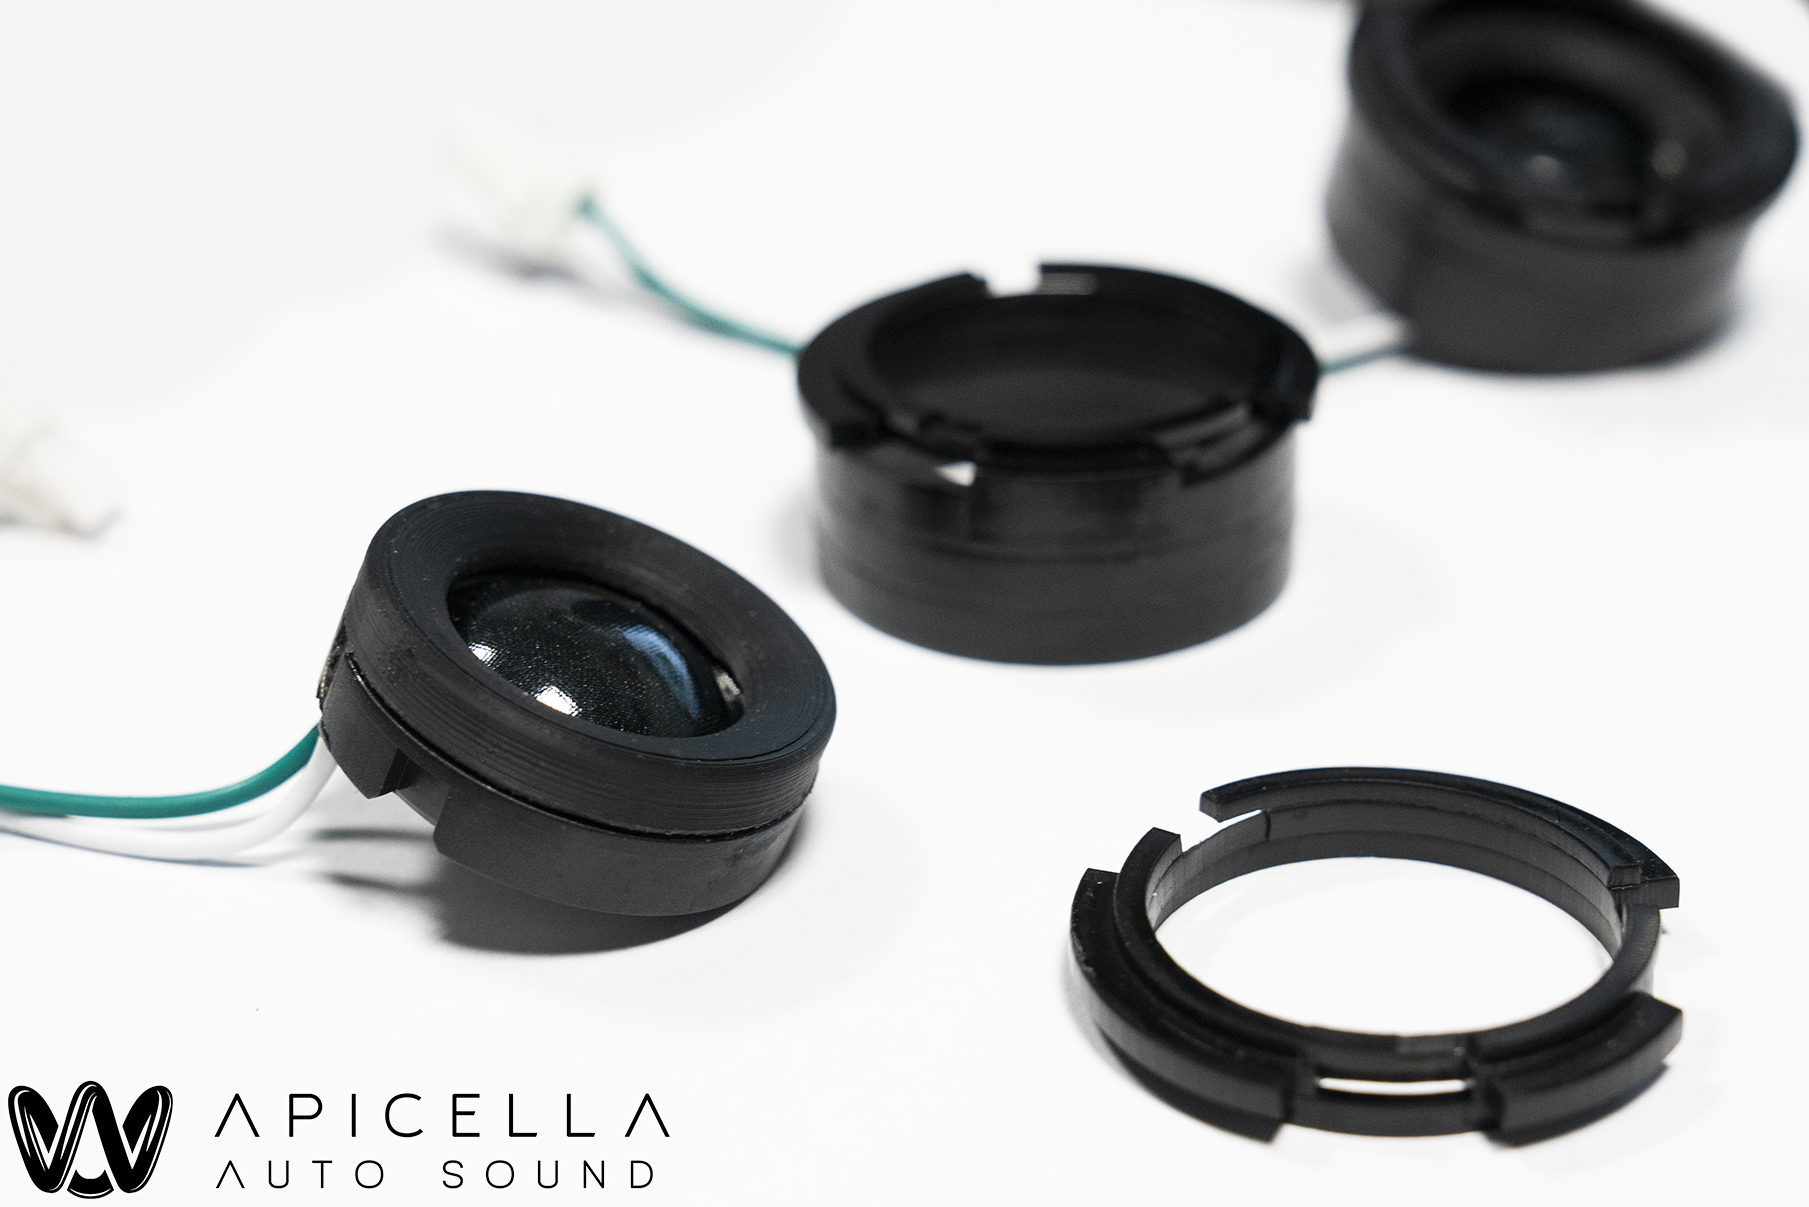
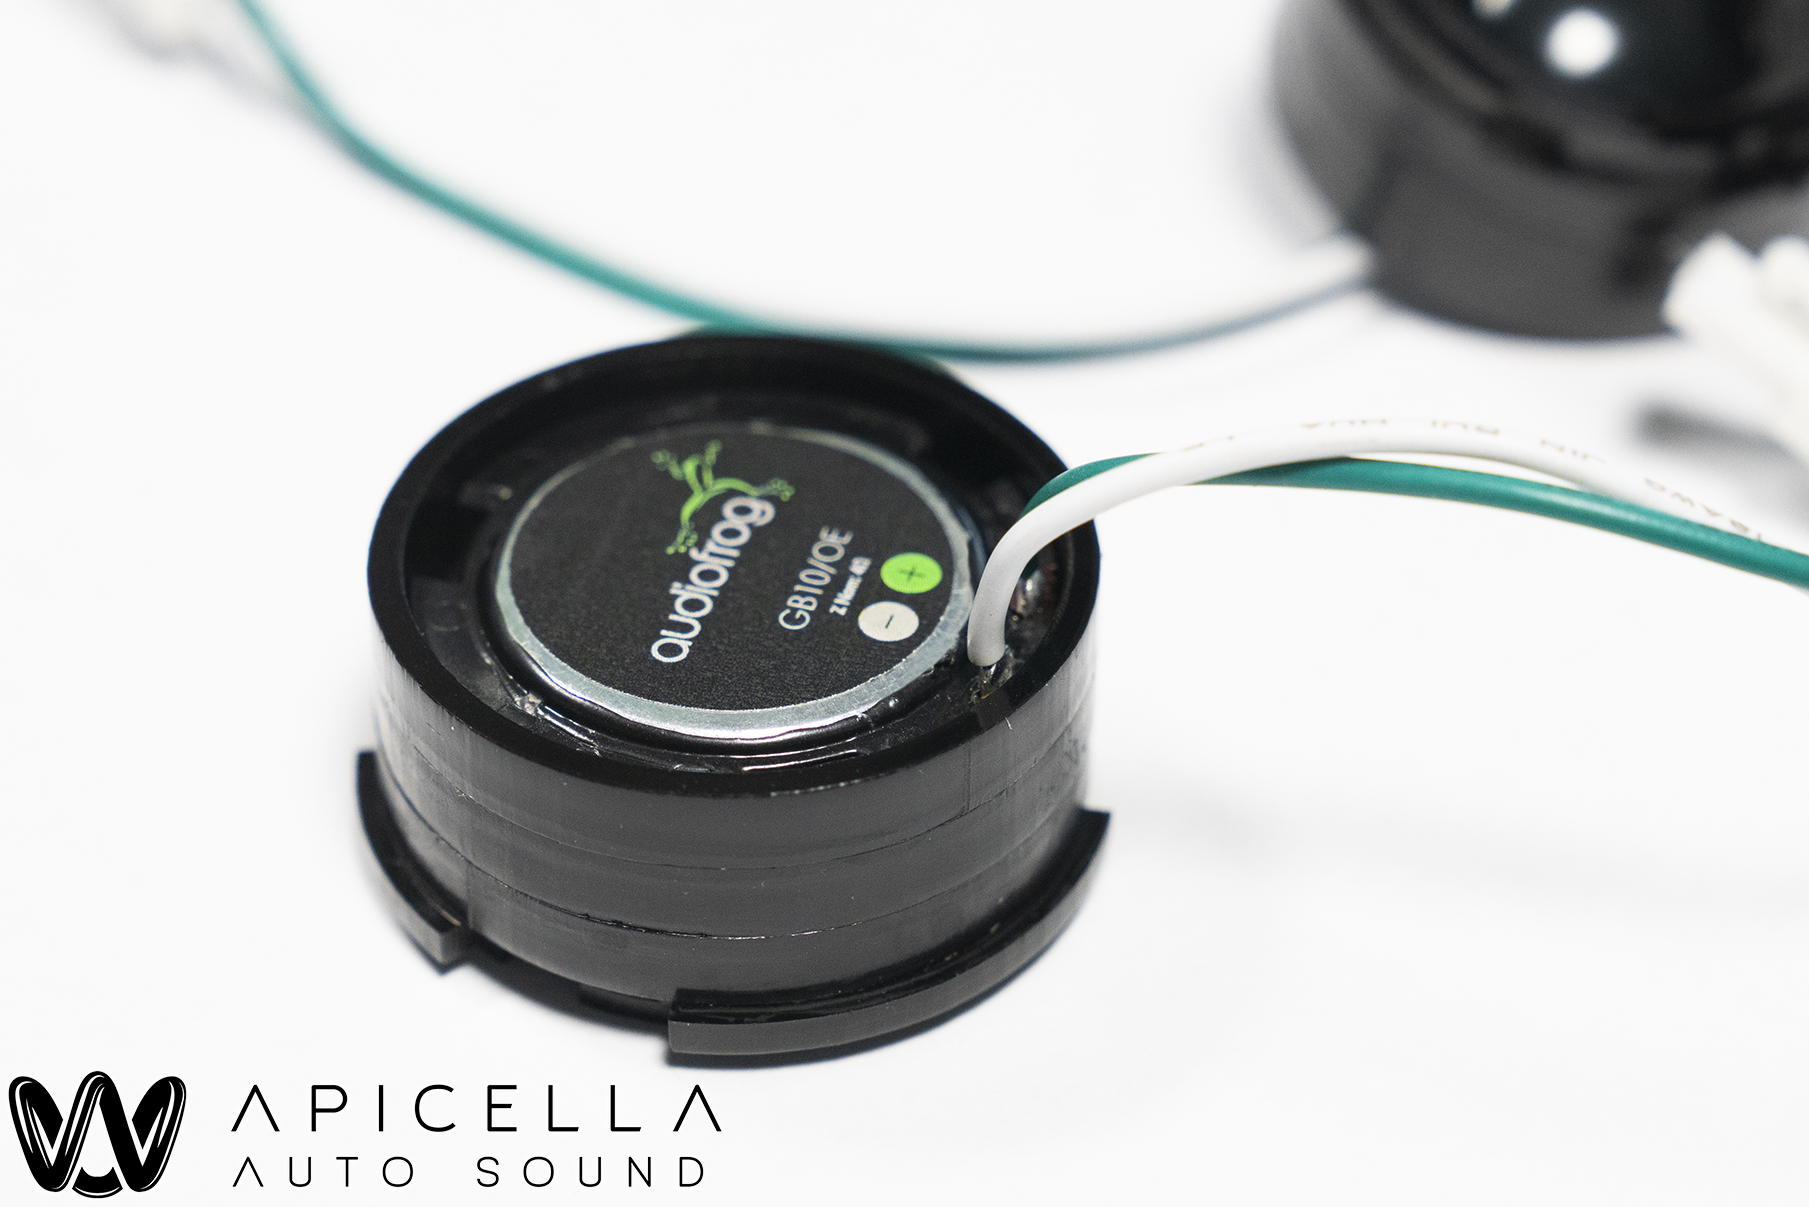
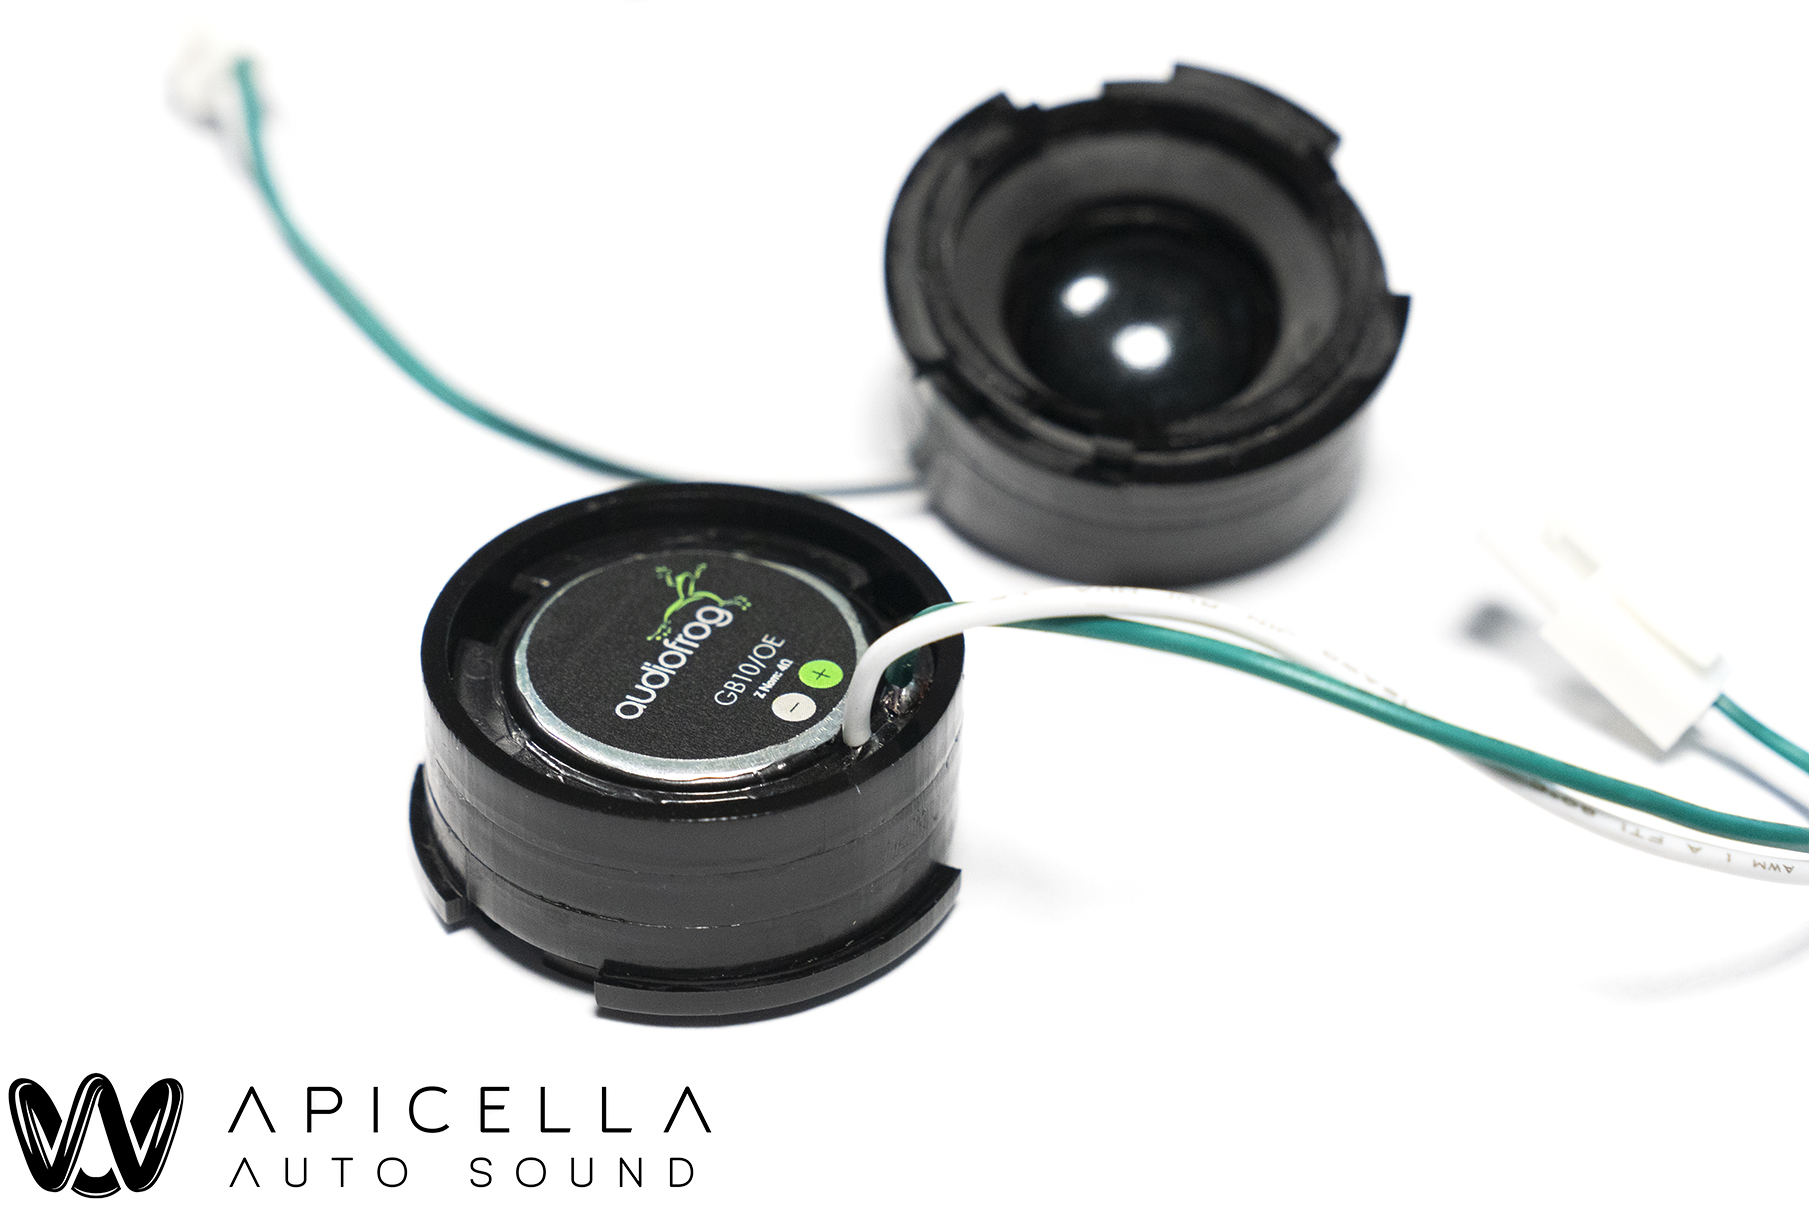
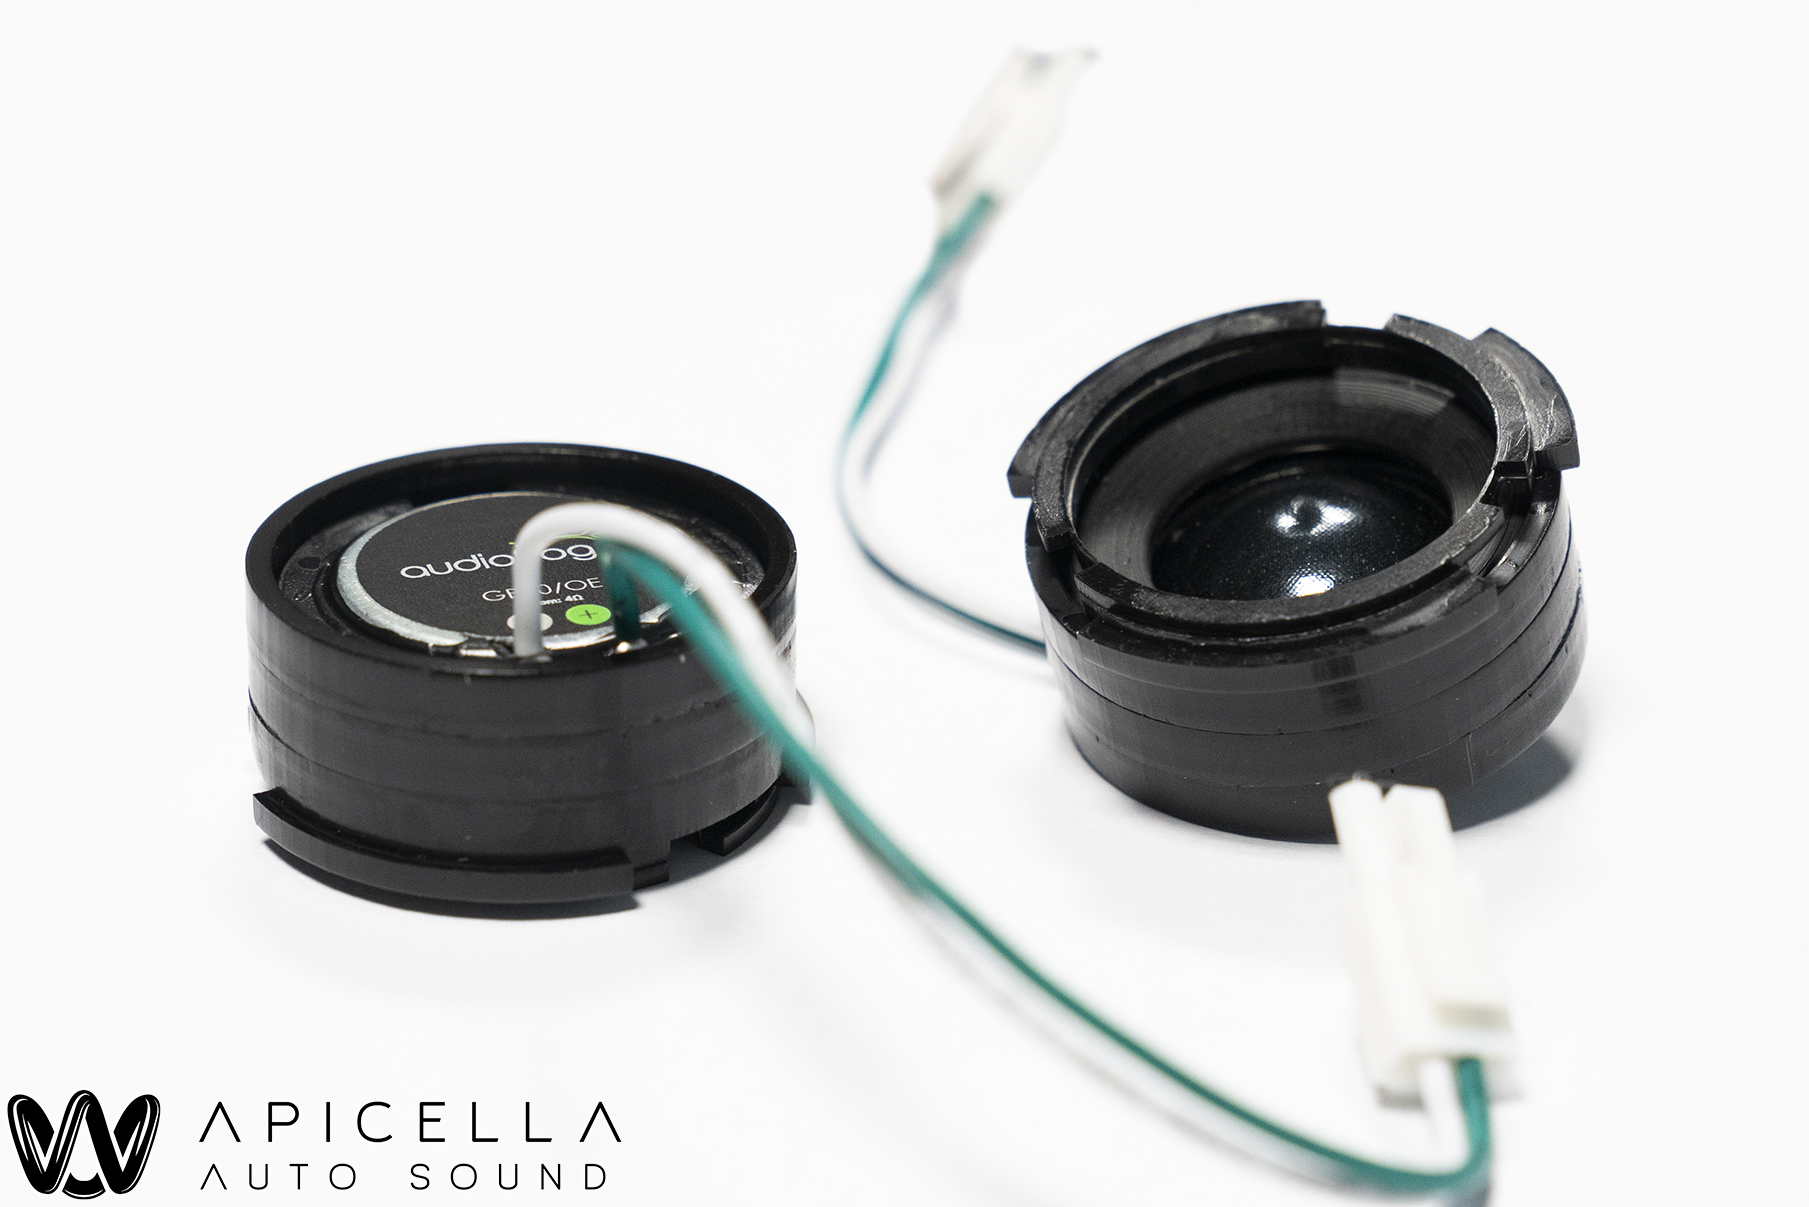
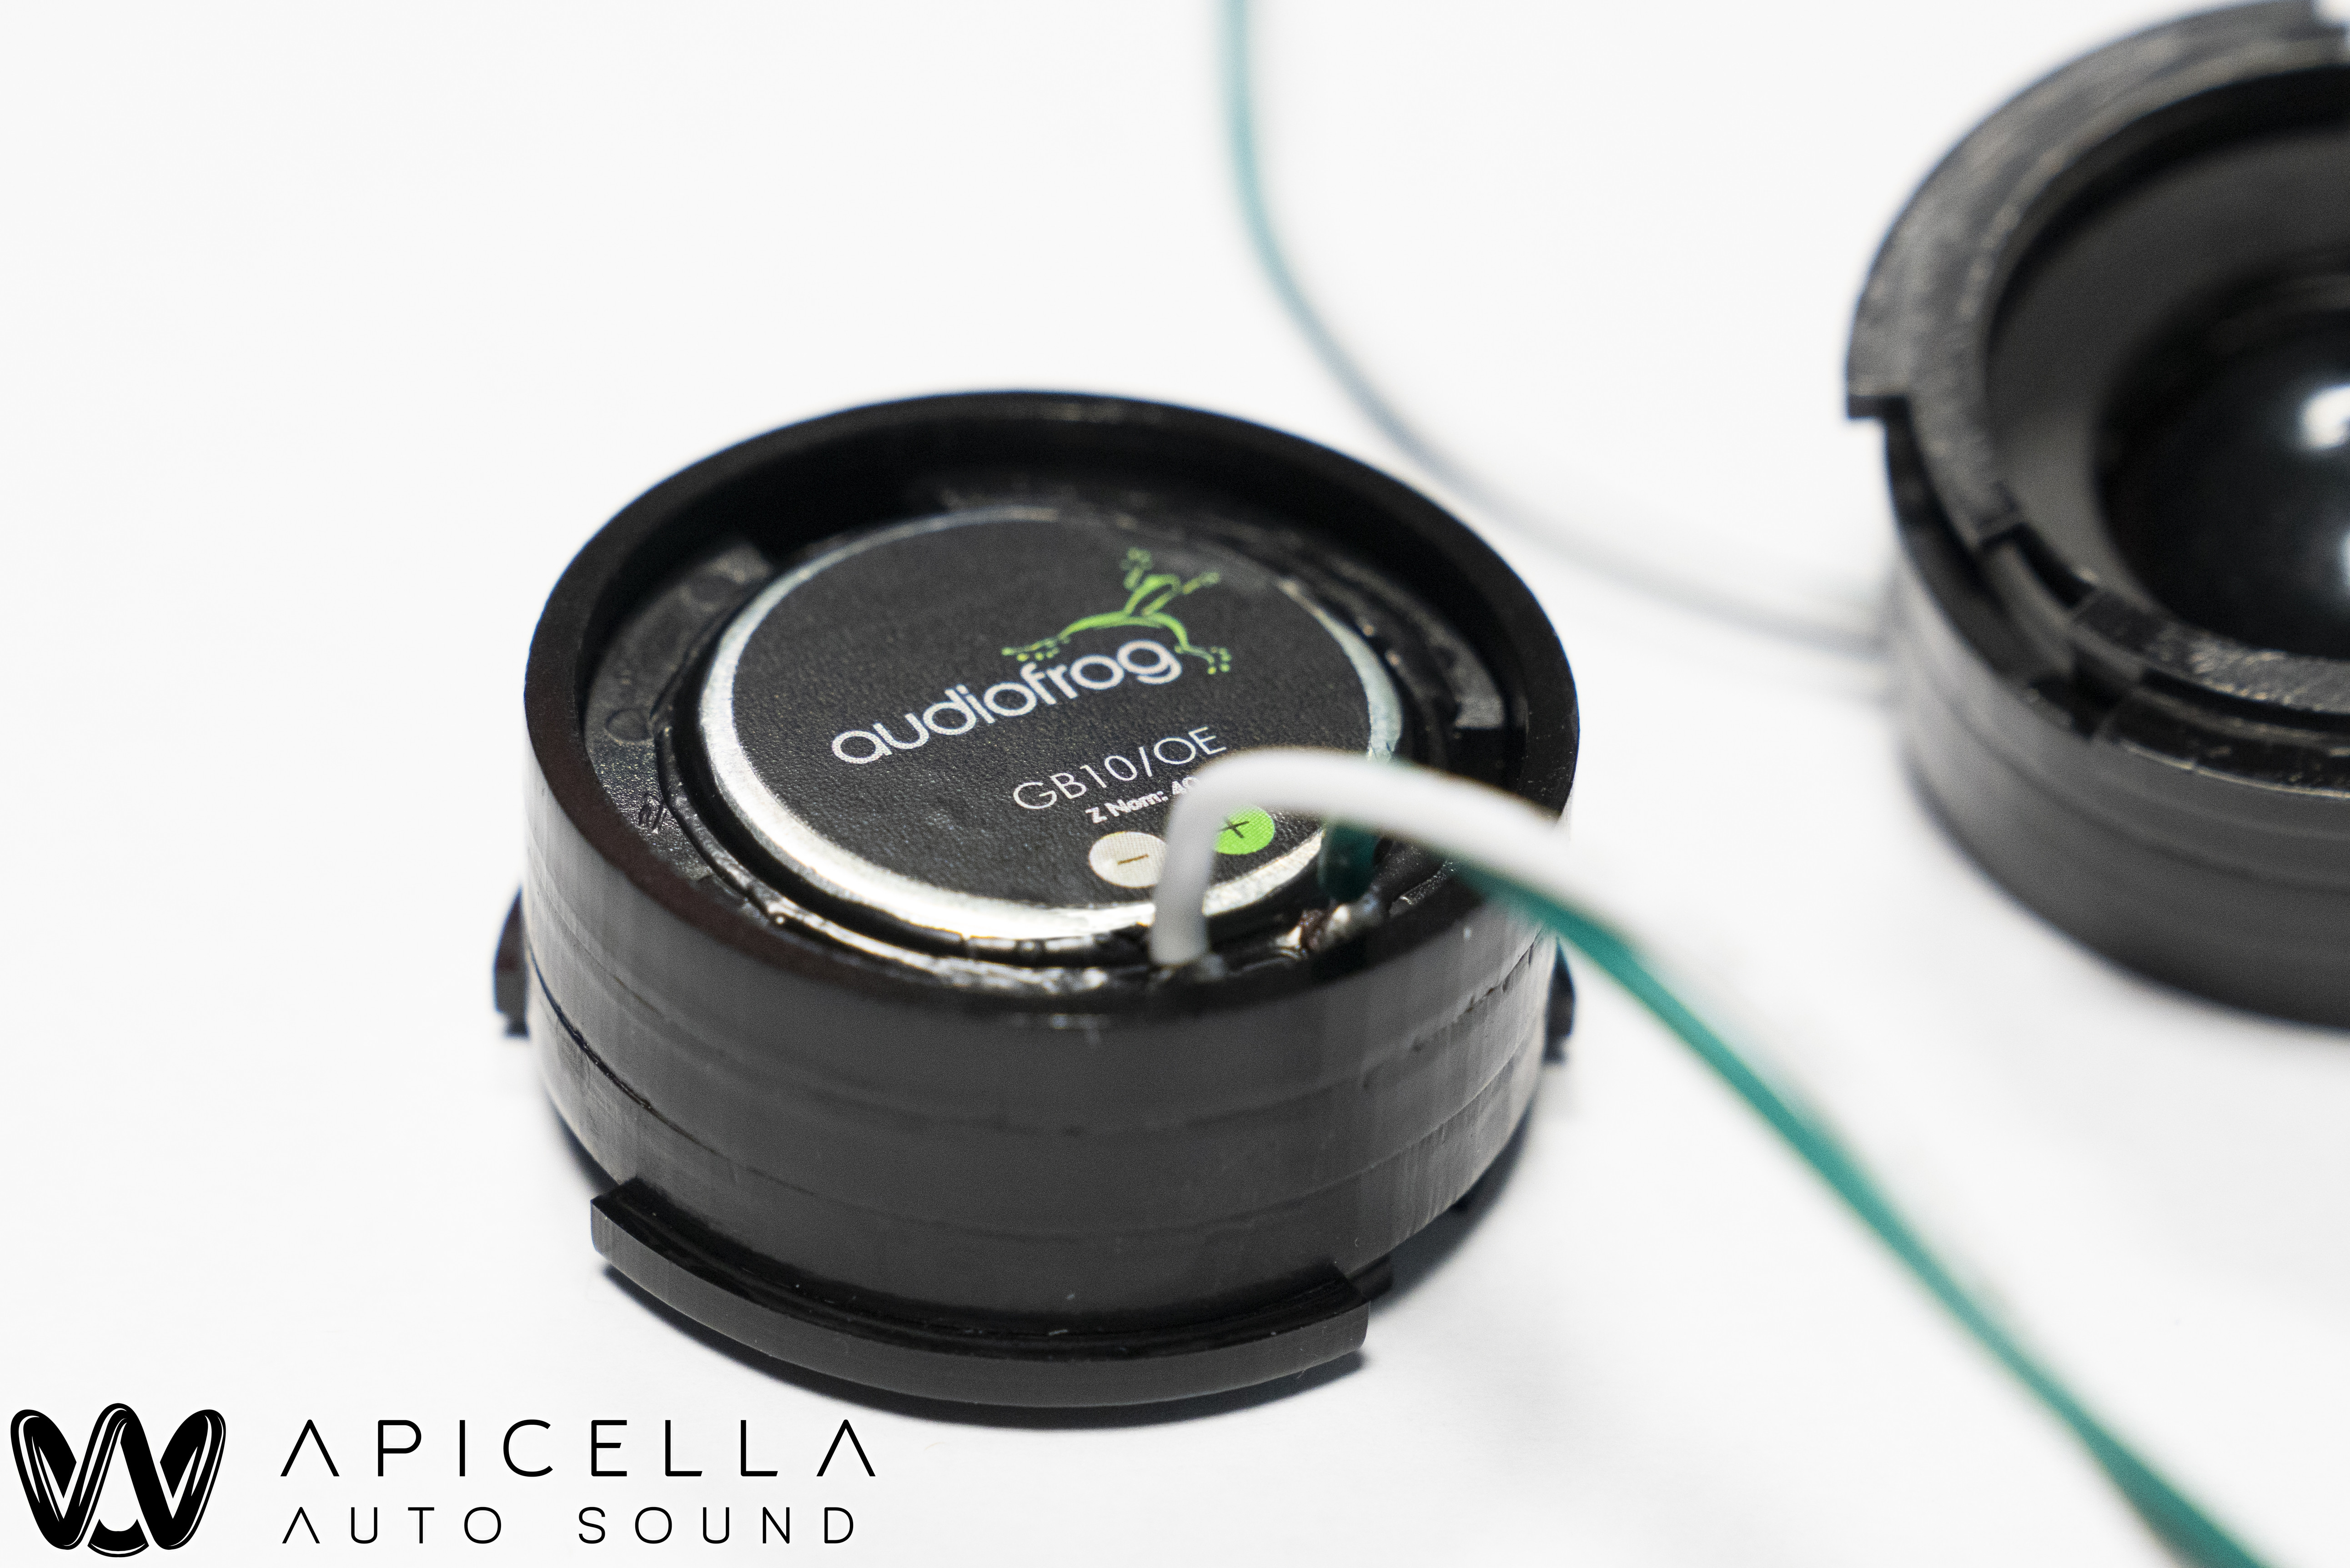
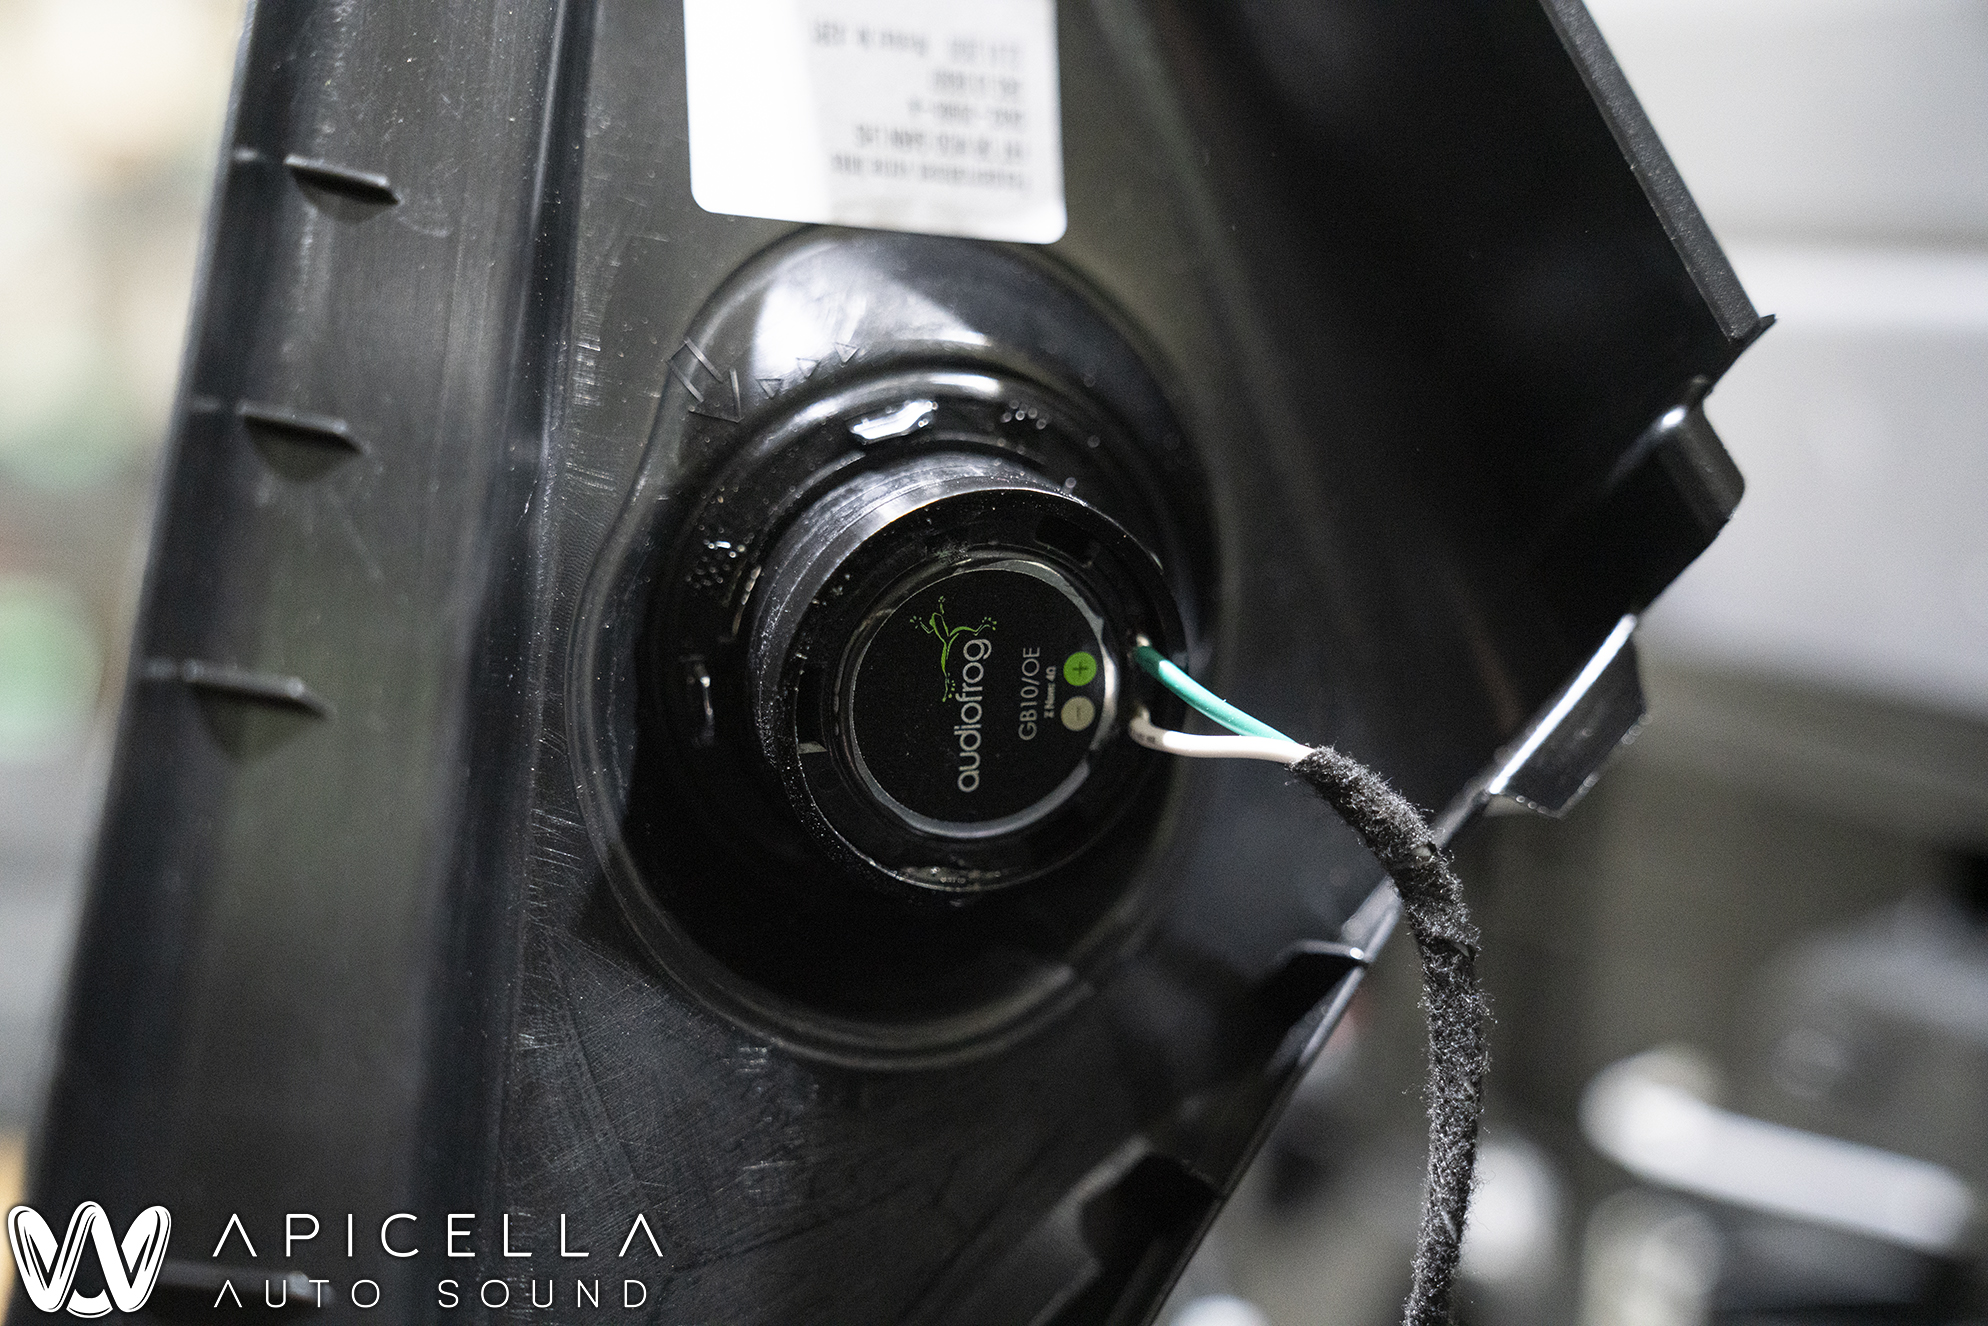
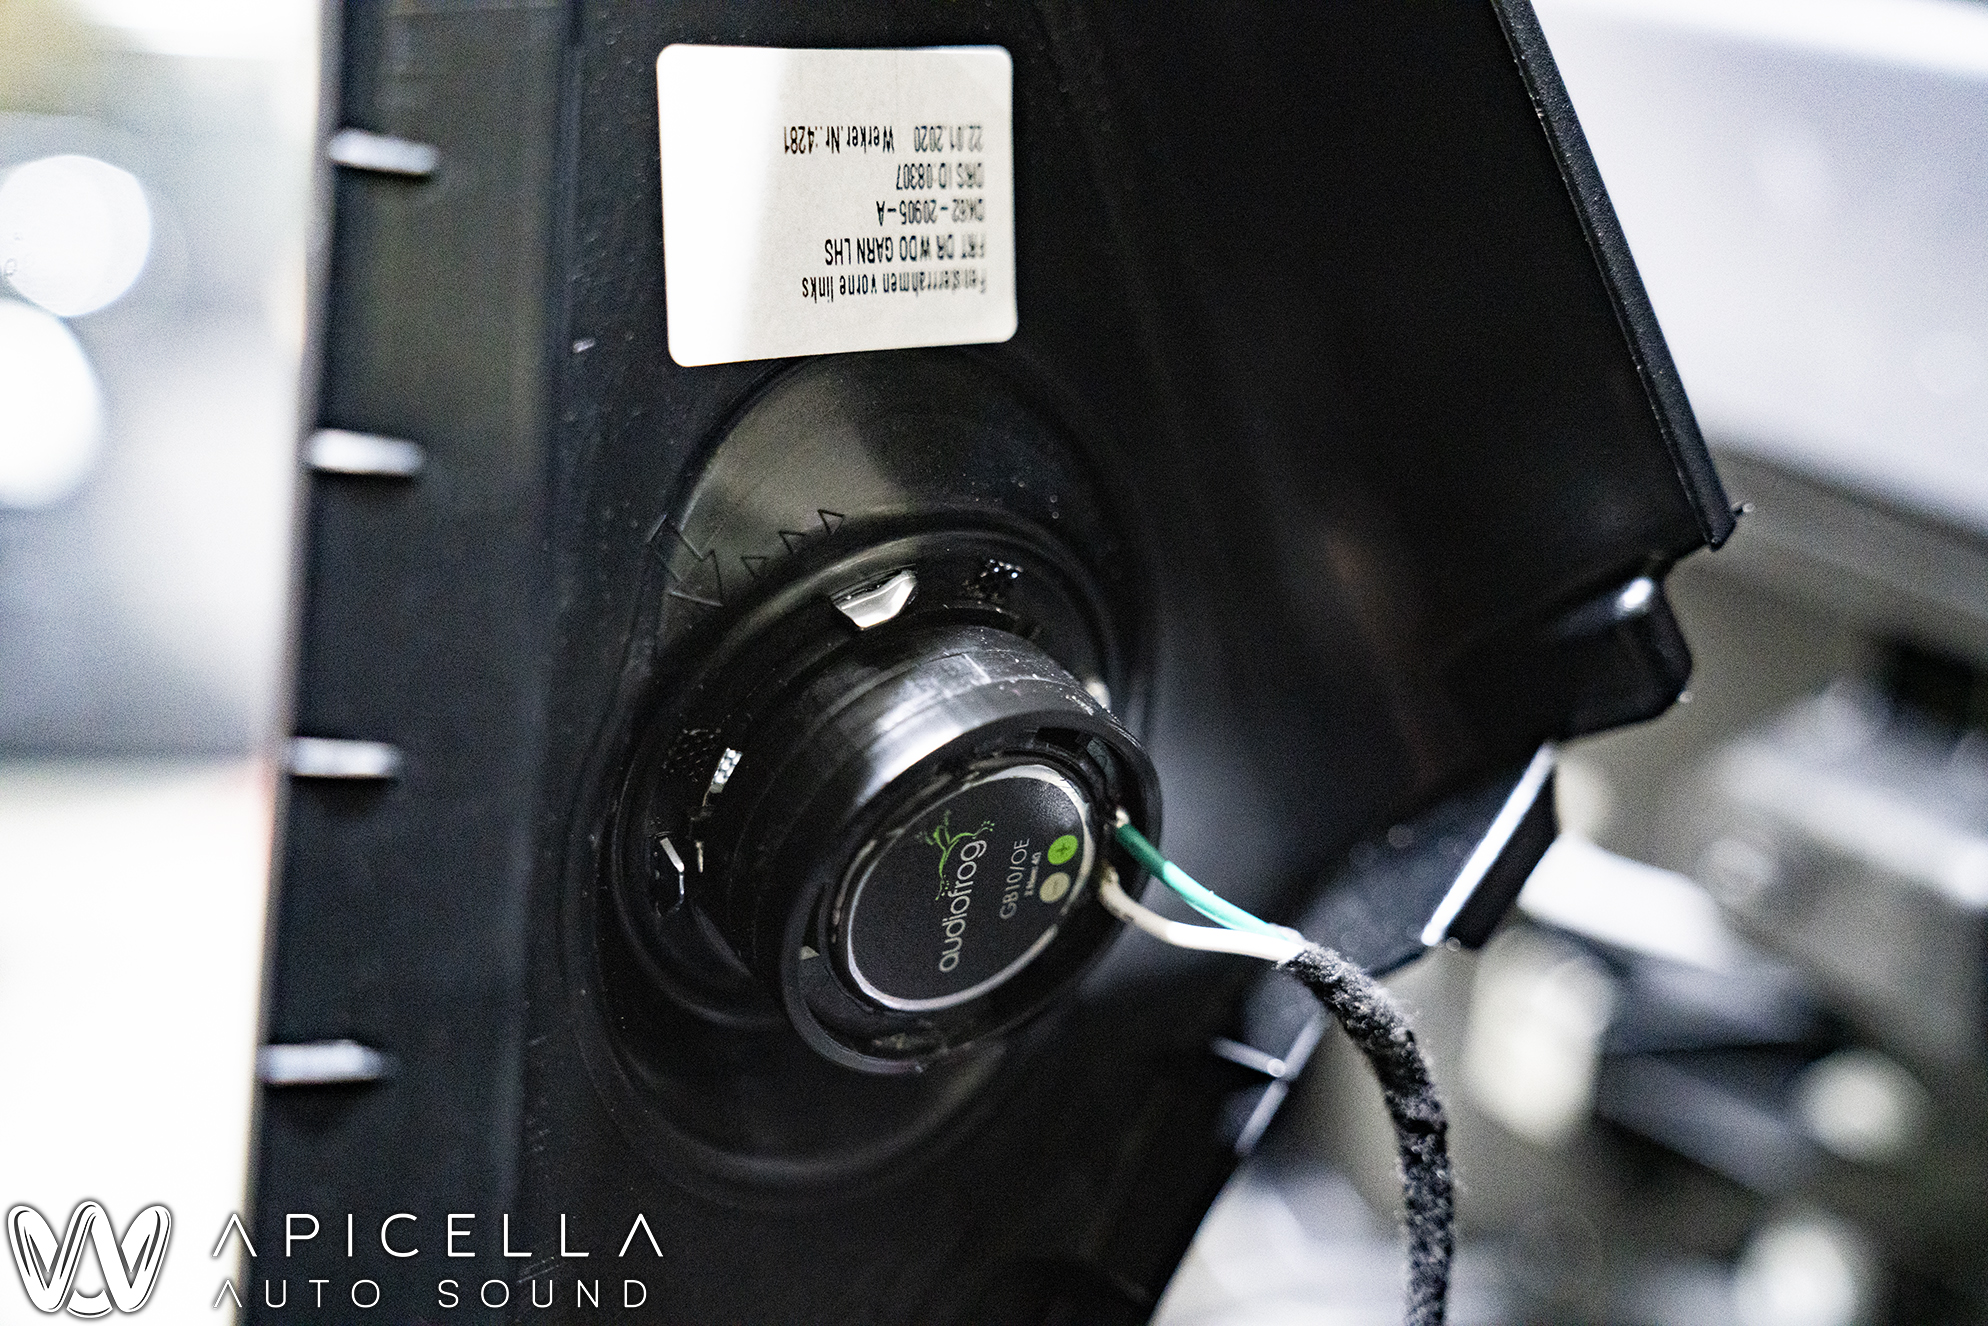
. Audiofrog GB10oe.
. OEM rear speakers.
. ResoNix Sound Solutions sound deadening.
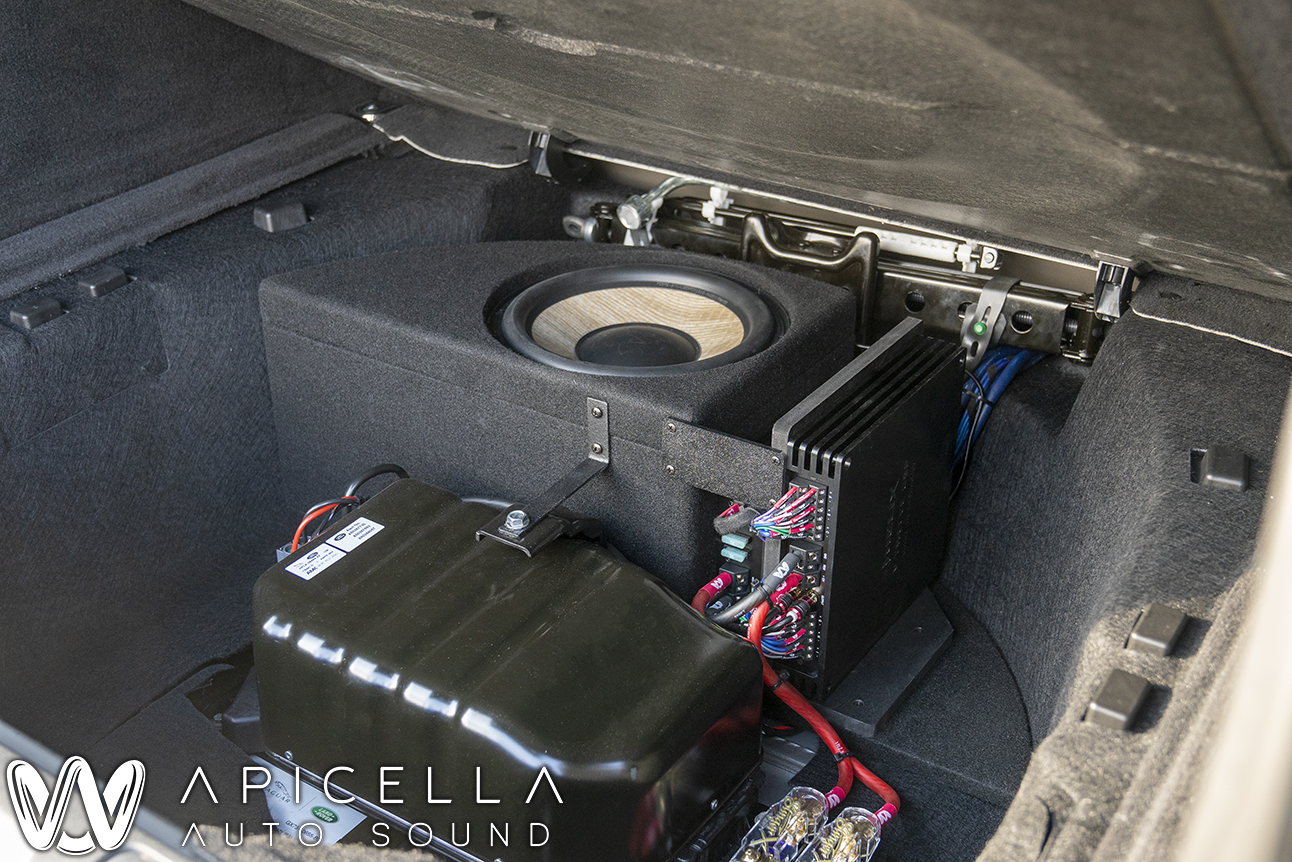
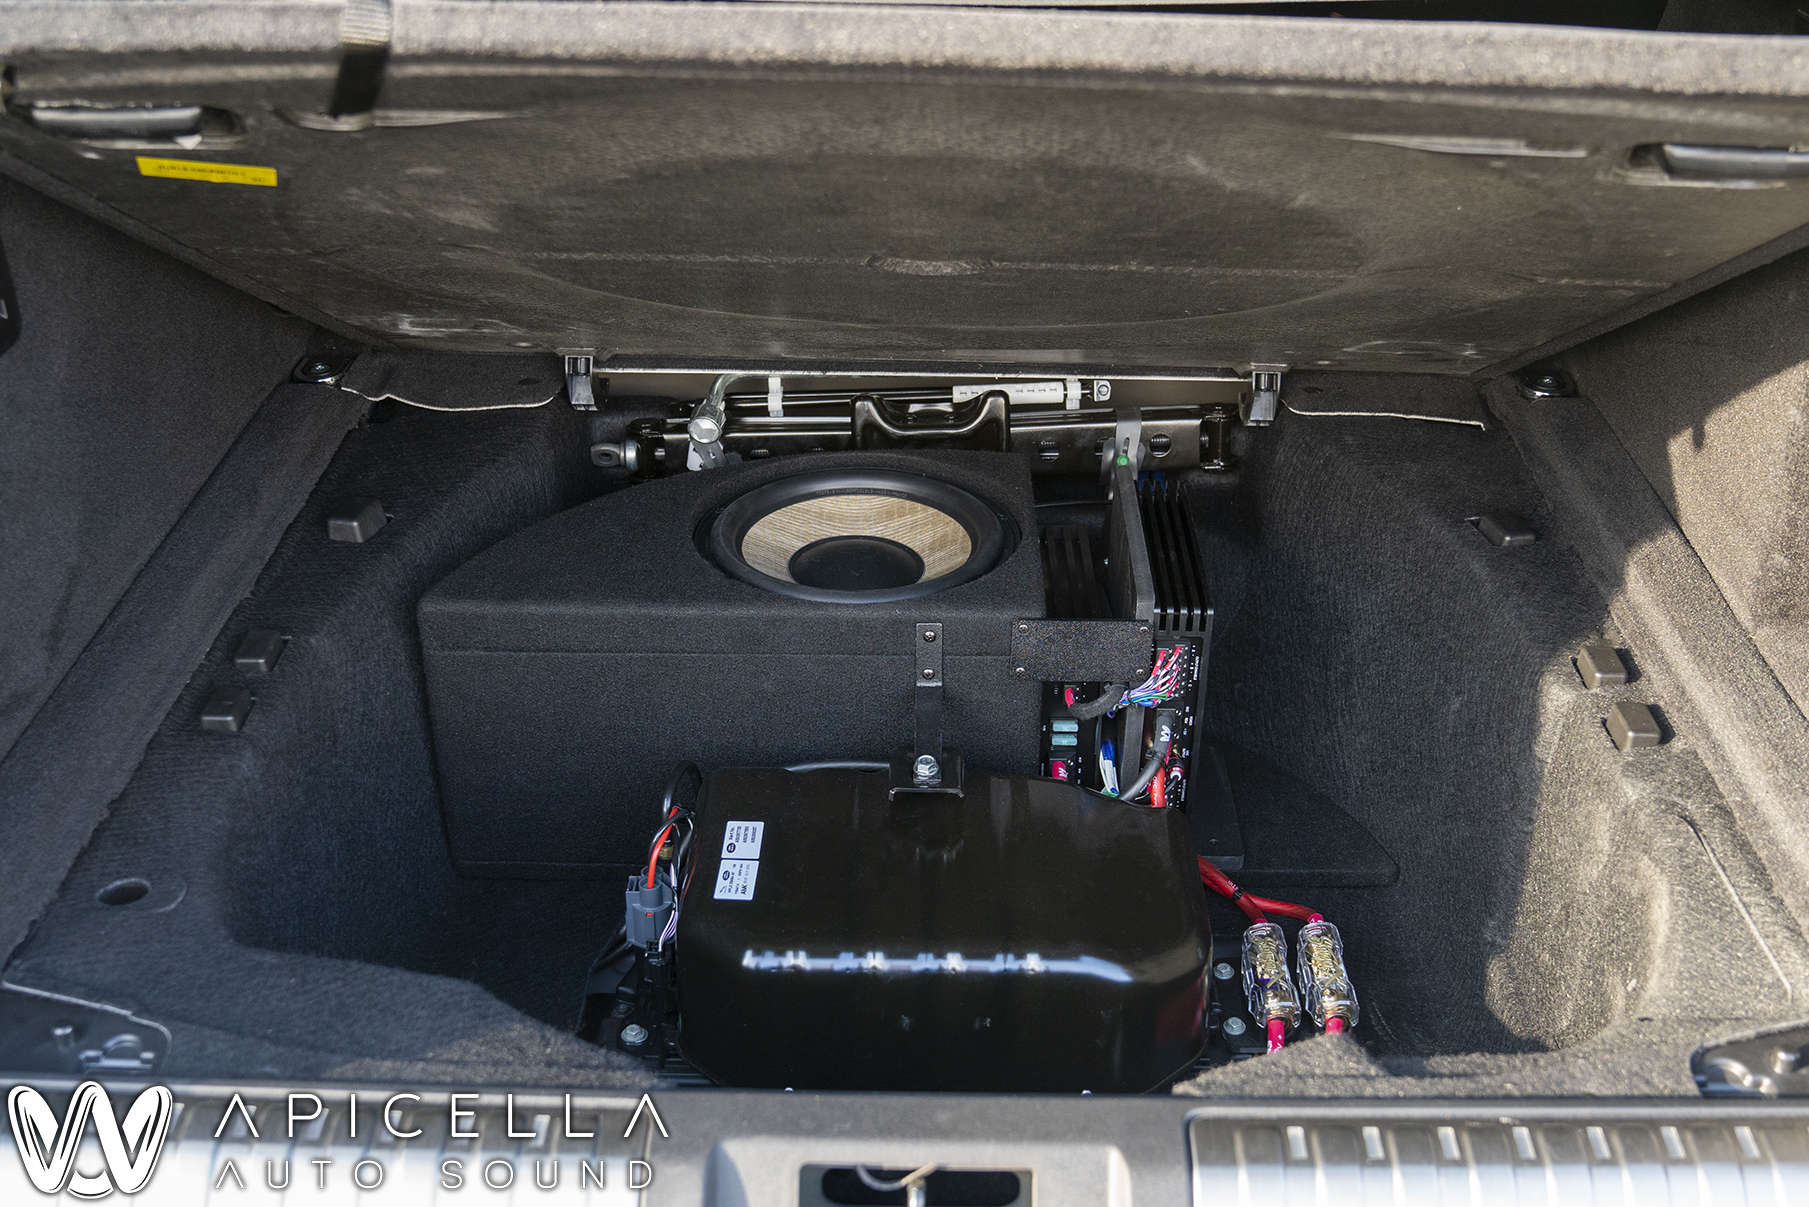
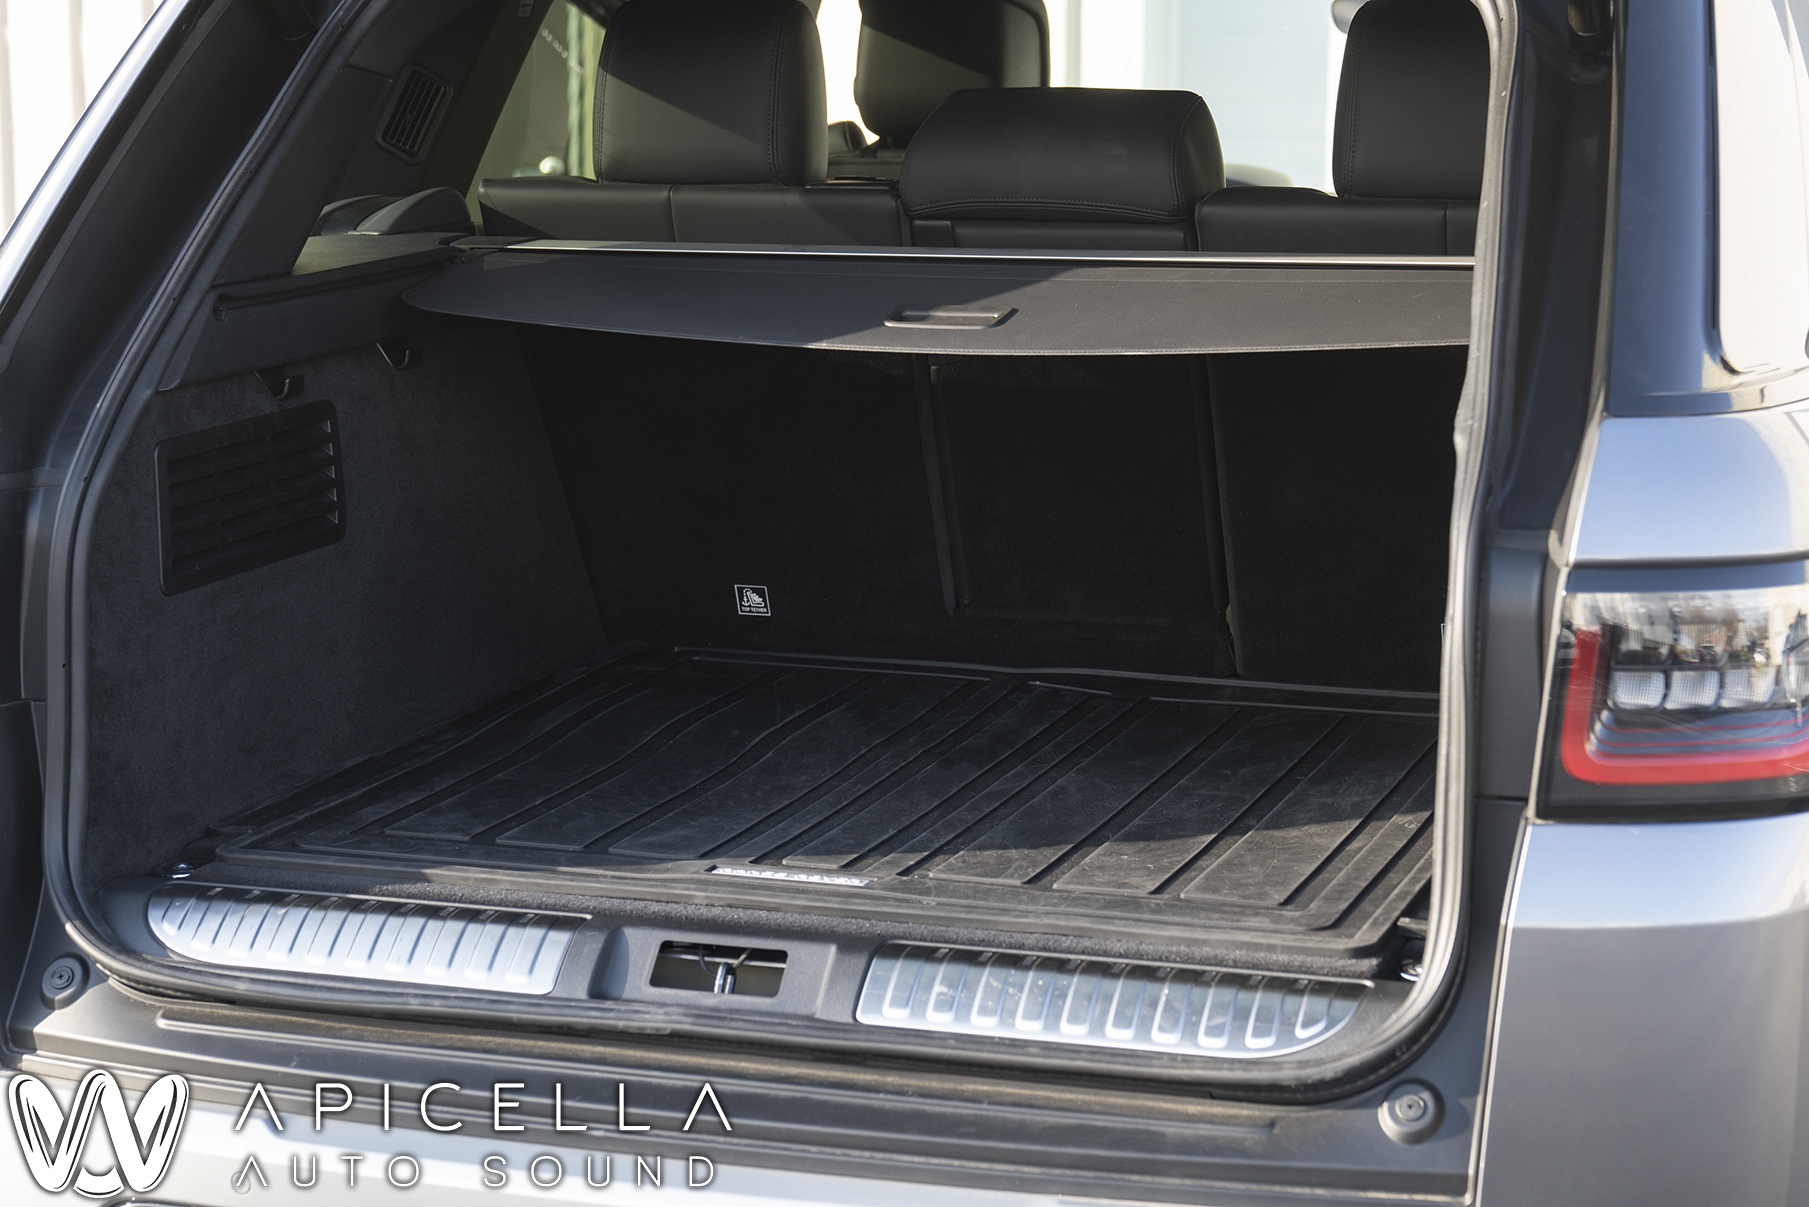
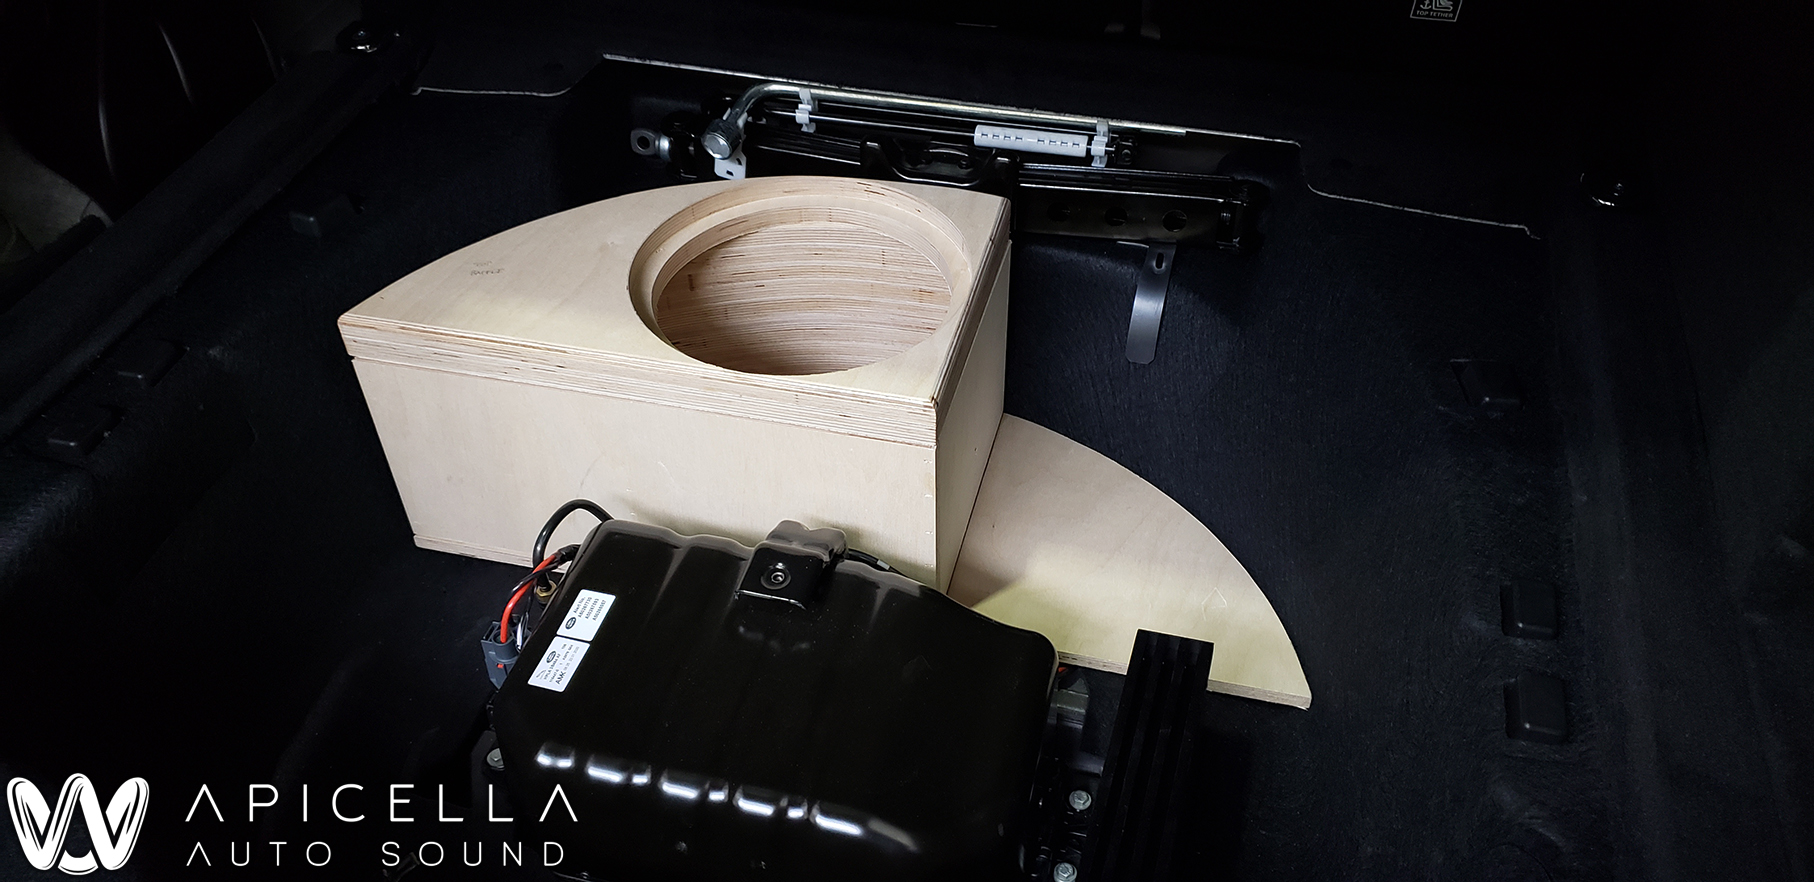
The Helix V Twelve was used to integrate after the OEM amplifier and provided all of the necessary input eq and summing capabilities that we could ask for, while also powering all of the speakers in the car, including the OEM rear speakers. Since the Audiofrog GS8ND2 are dual 2-ohm midbass speakers, they were powered off of two channels for extra power. All OEM locations were used, and the spare tire was removed to house the subwoofer and the amplifiers since the owner has roadside assistance. The end result was a very impressive sound system that was completely hidden. Oh, nearly the entire install was done by our new employee, but that's an announcement for when he's fully here and settled into New York") .
.
PS, the video walkthrough can be found here..
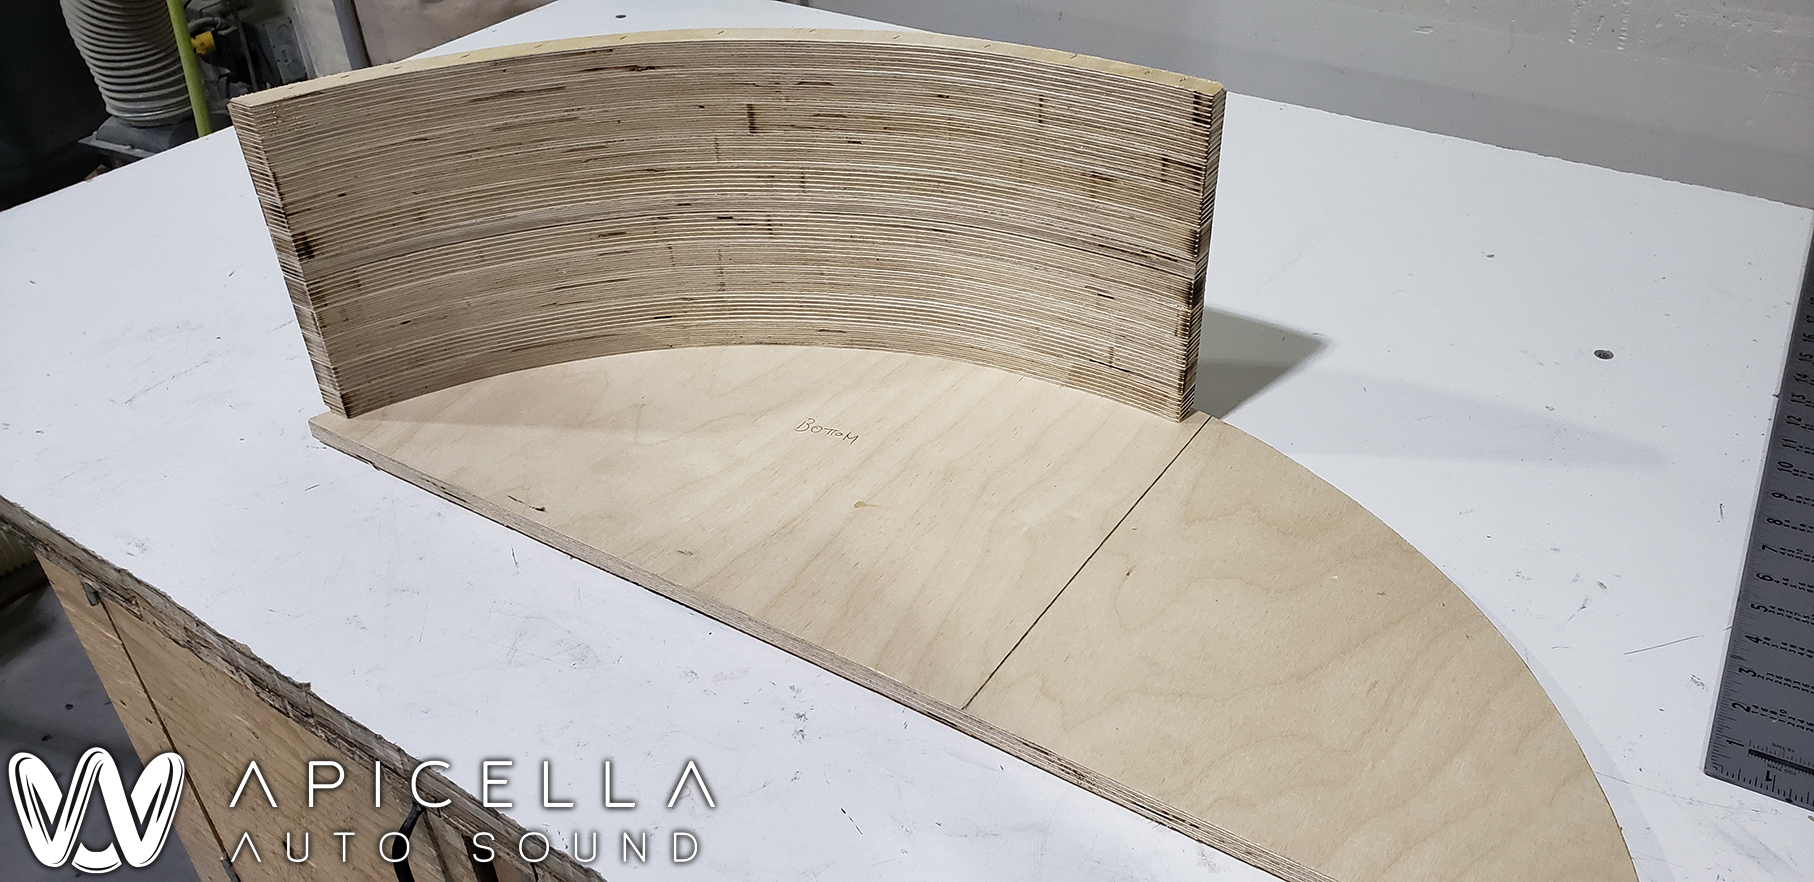
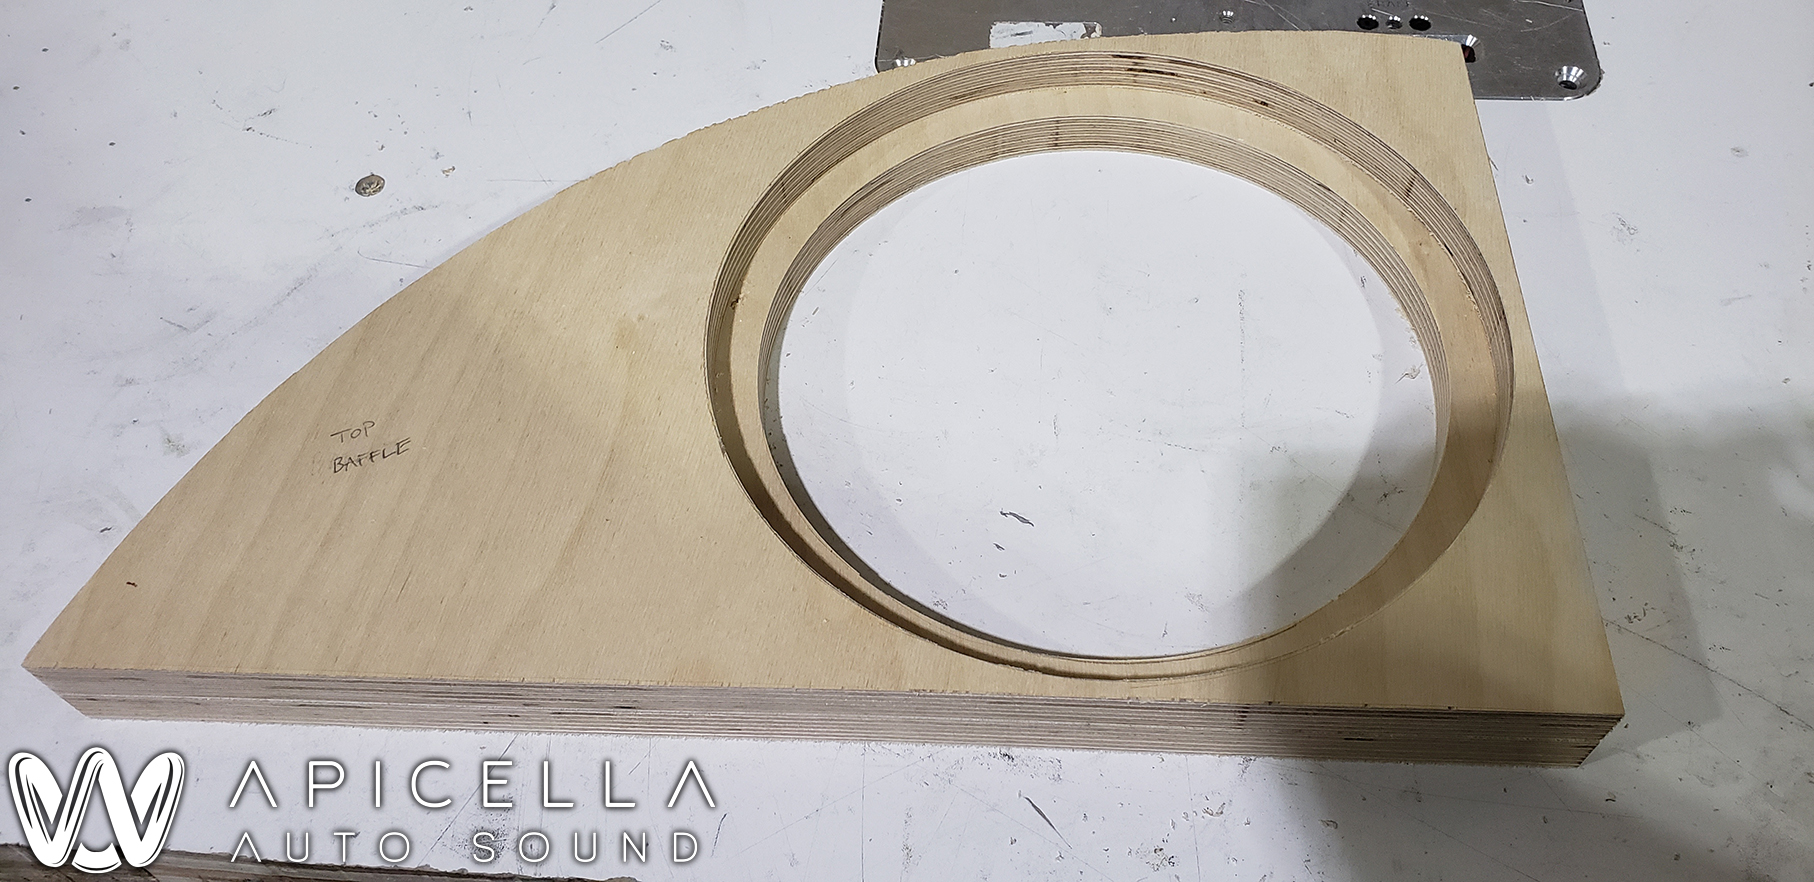
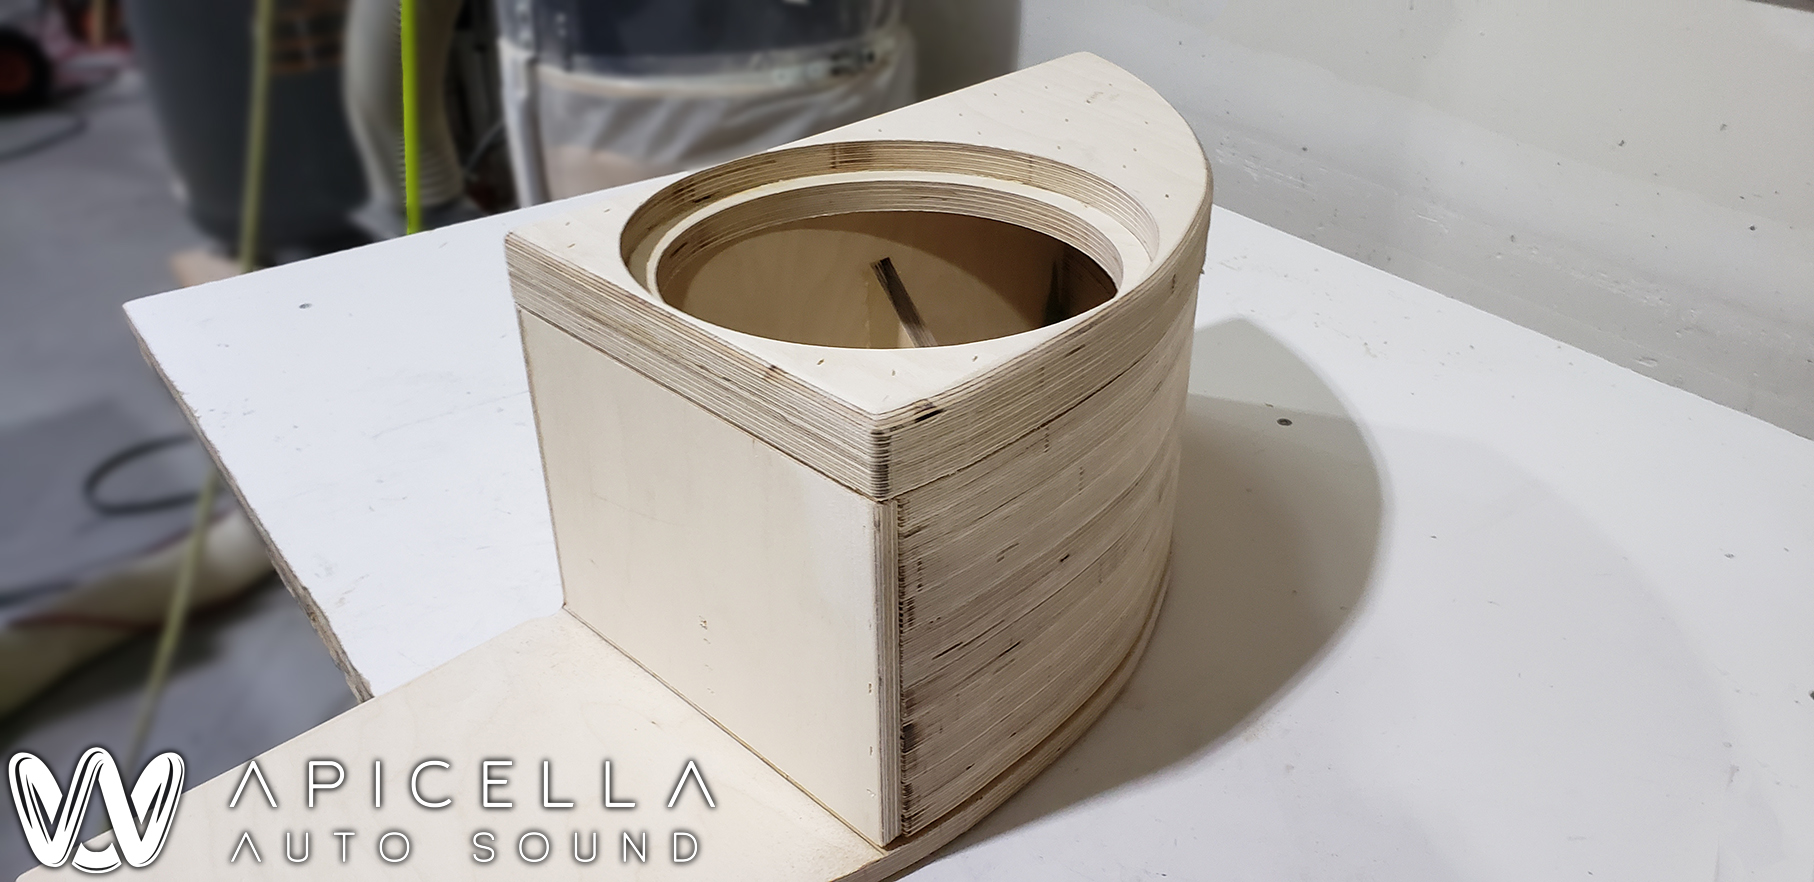
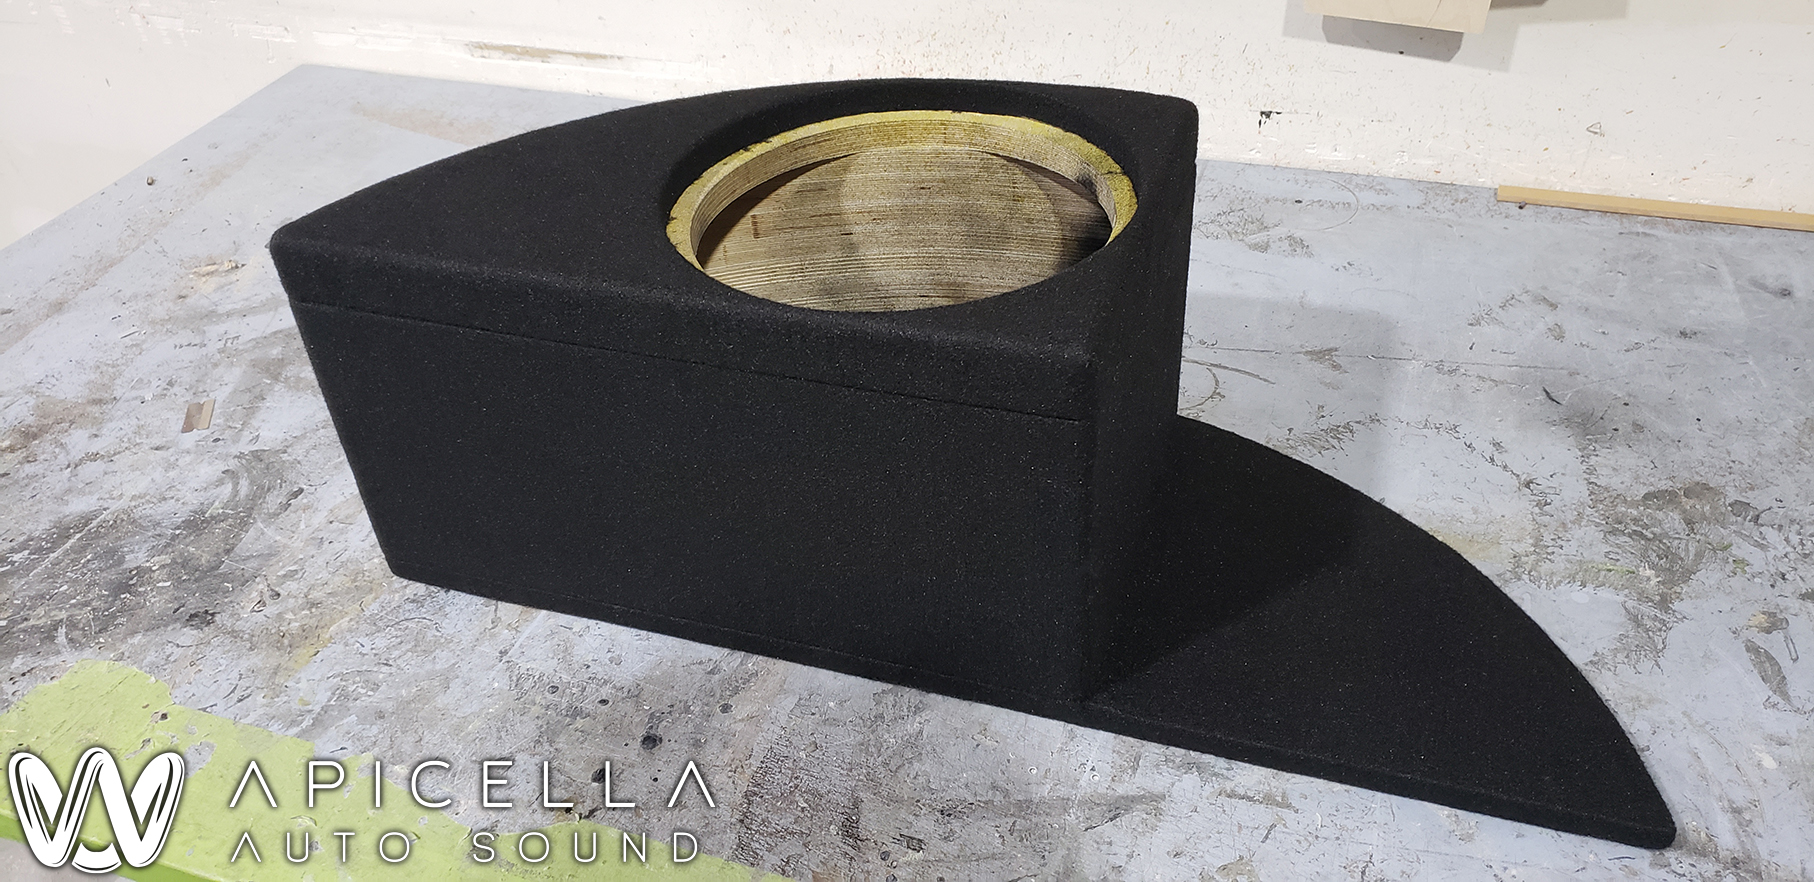
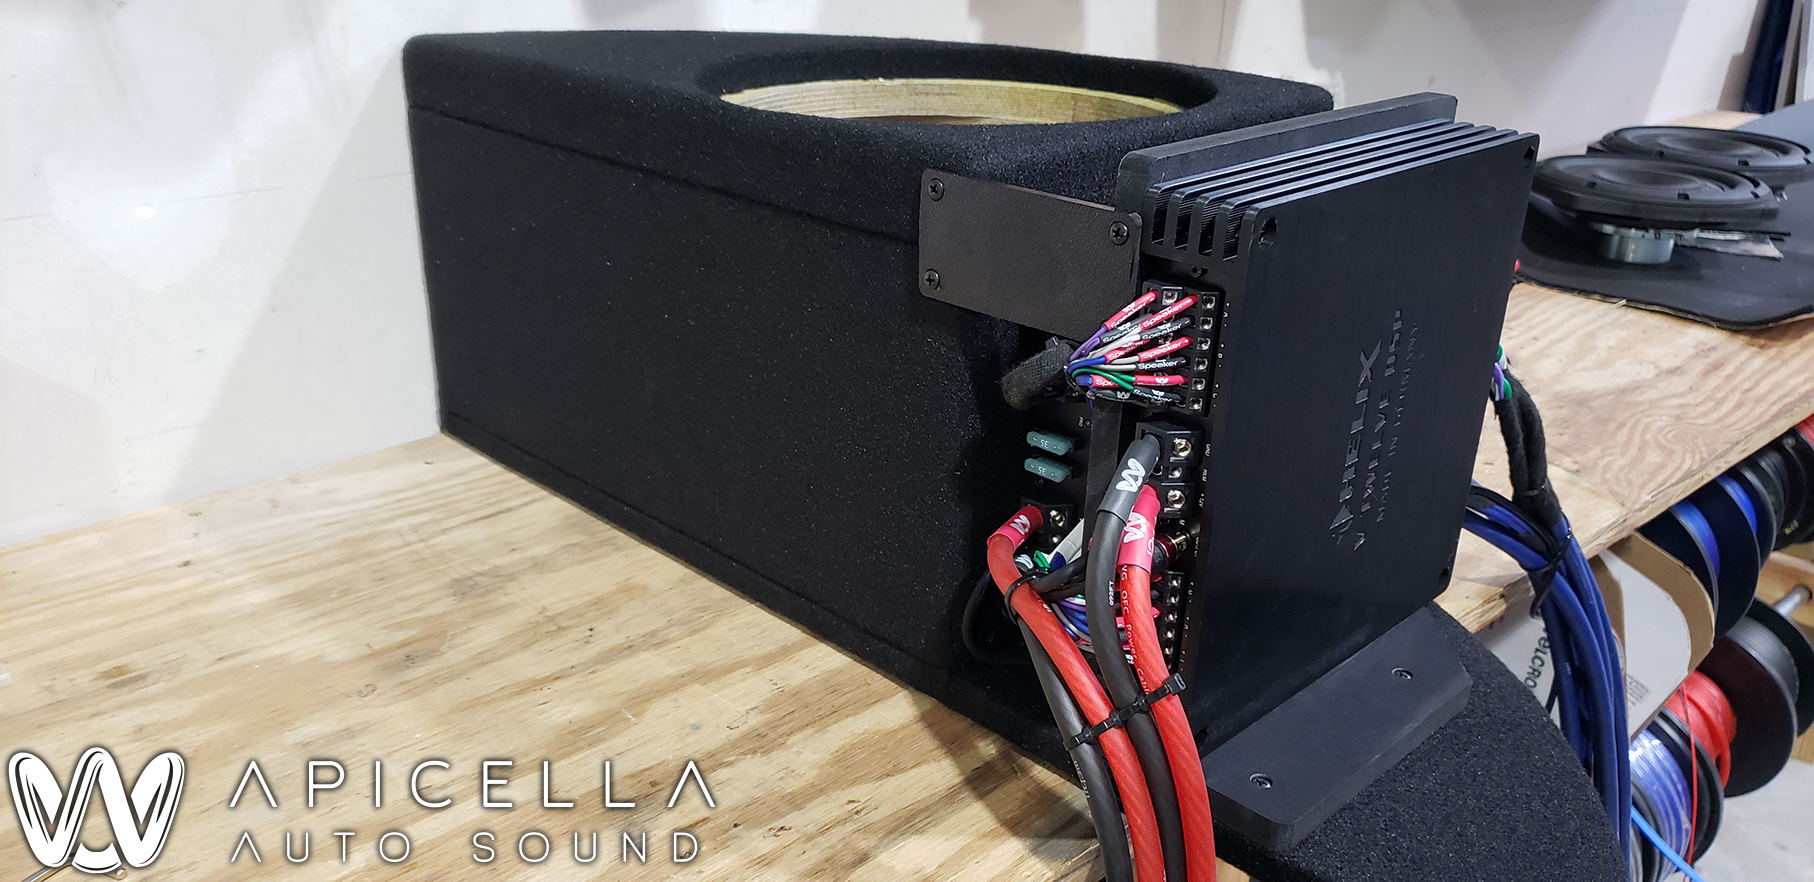
First up was building the subwoofer enclosure. Baltic birch is the only wood we use here. We "stack-fabbed" part of it to fit in the spare tire well while getting the most airspace possible. Once it was finished, it was wrapped in an OEM matching trunk liner carpet.
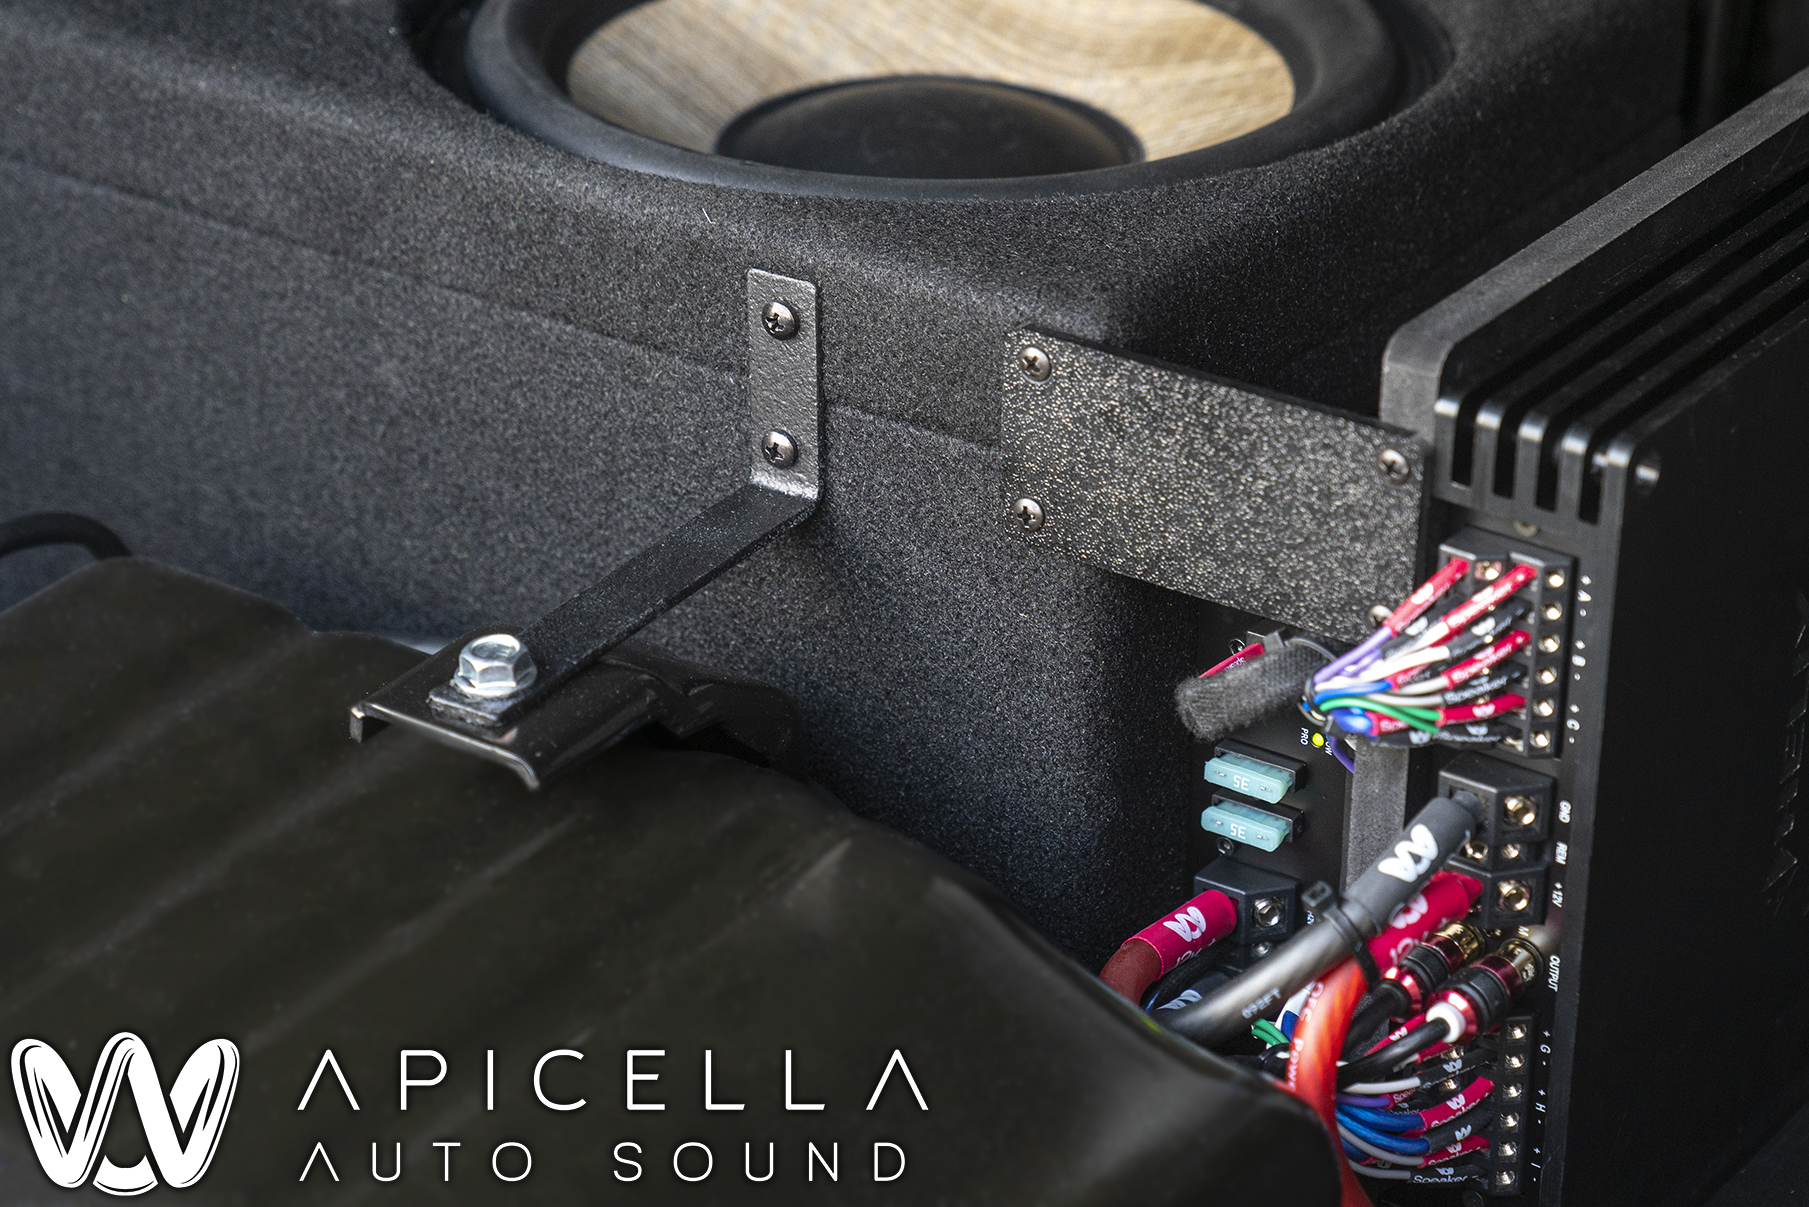
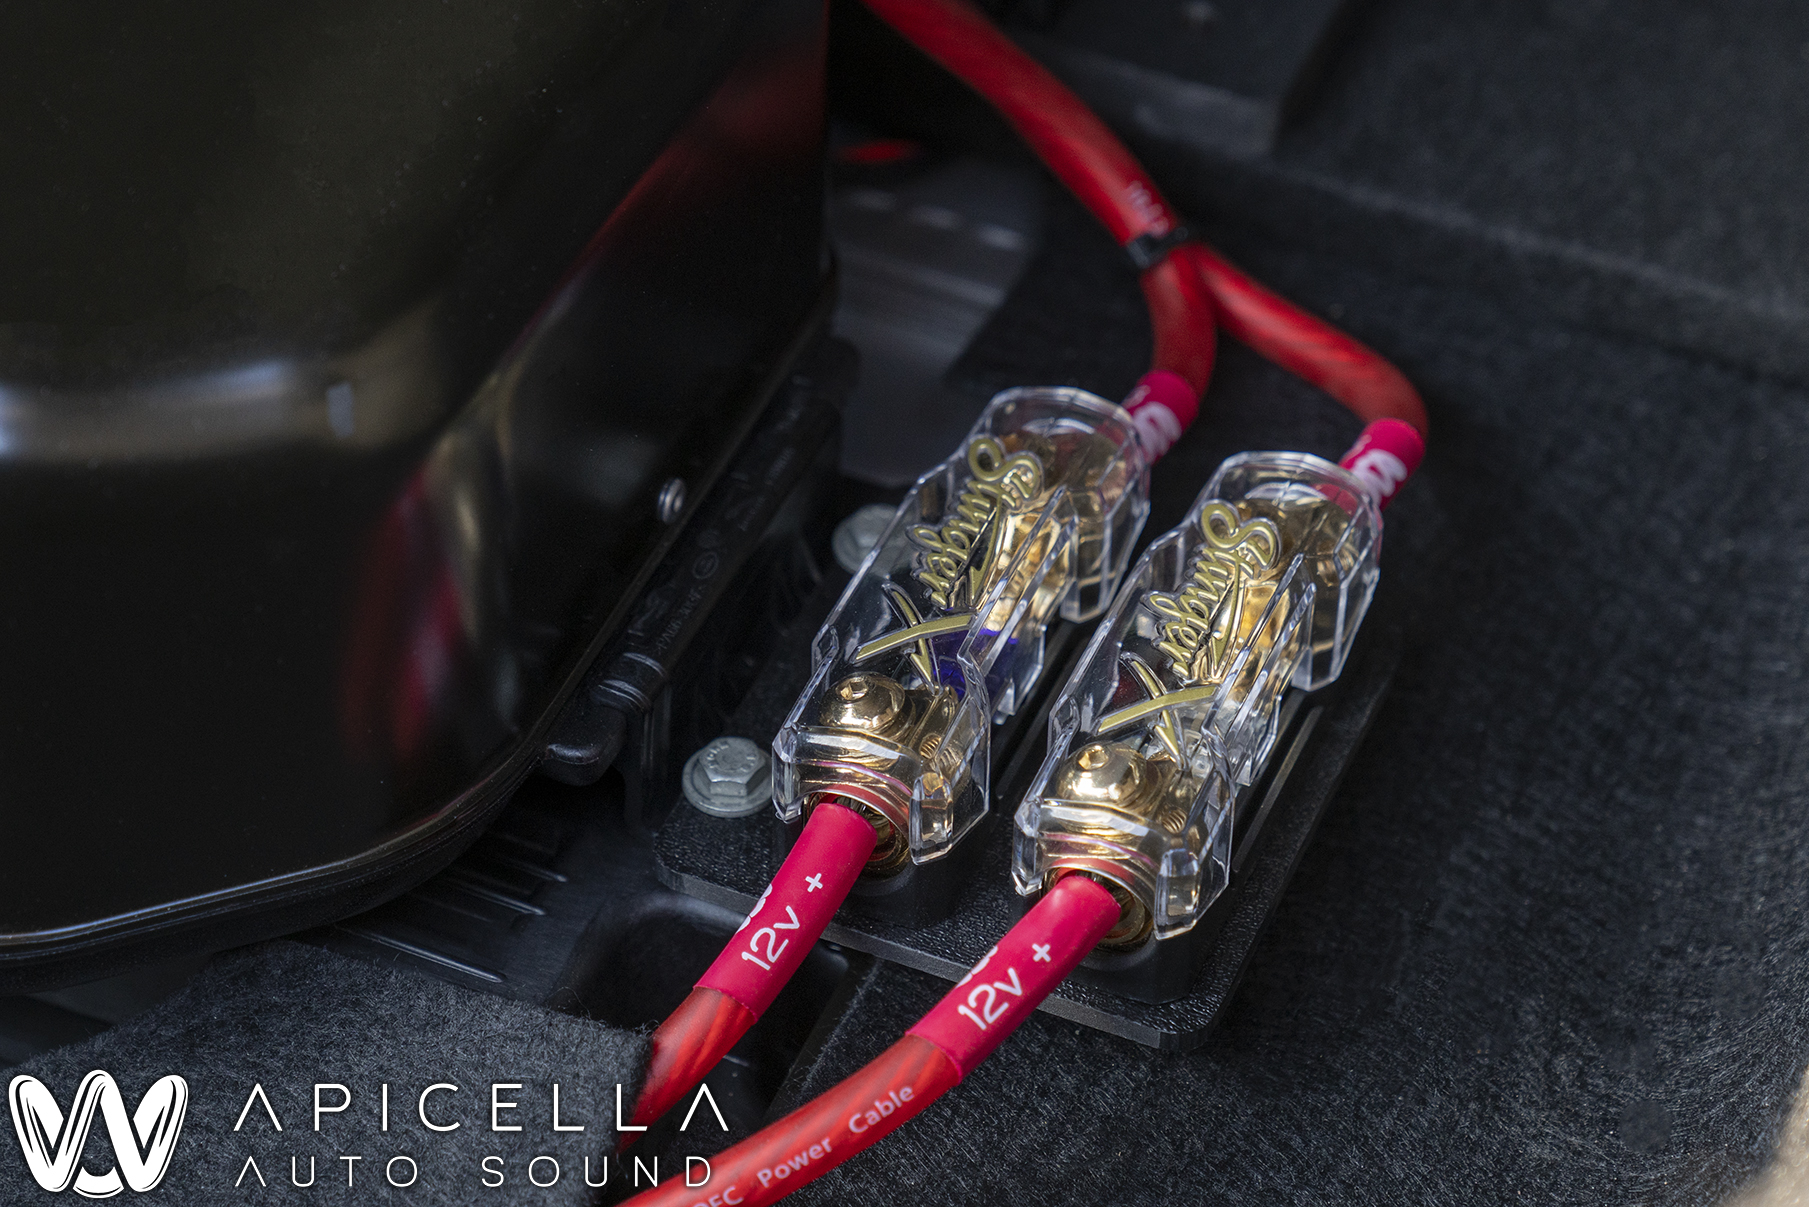
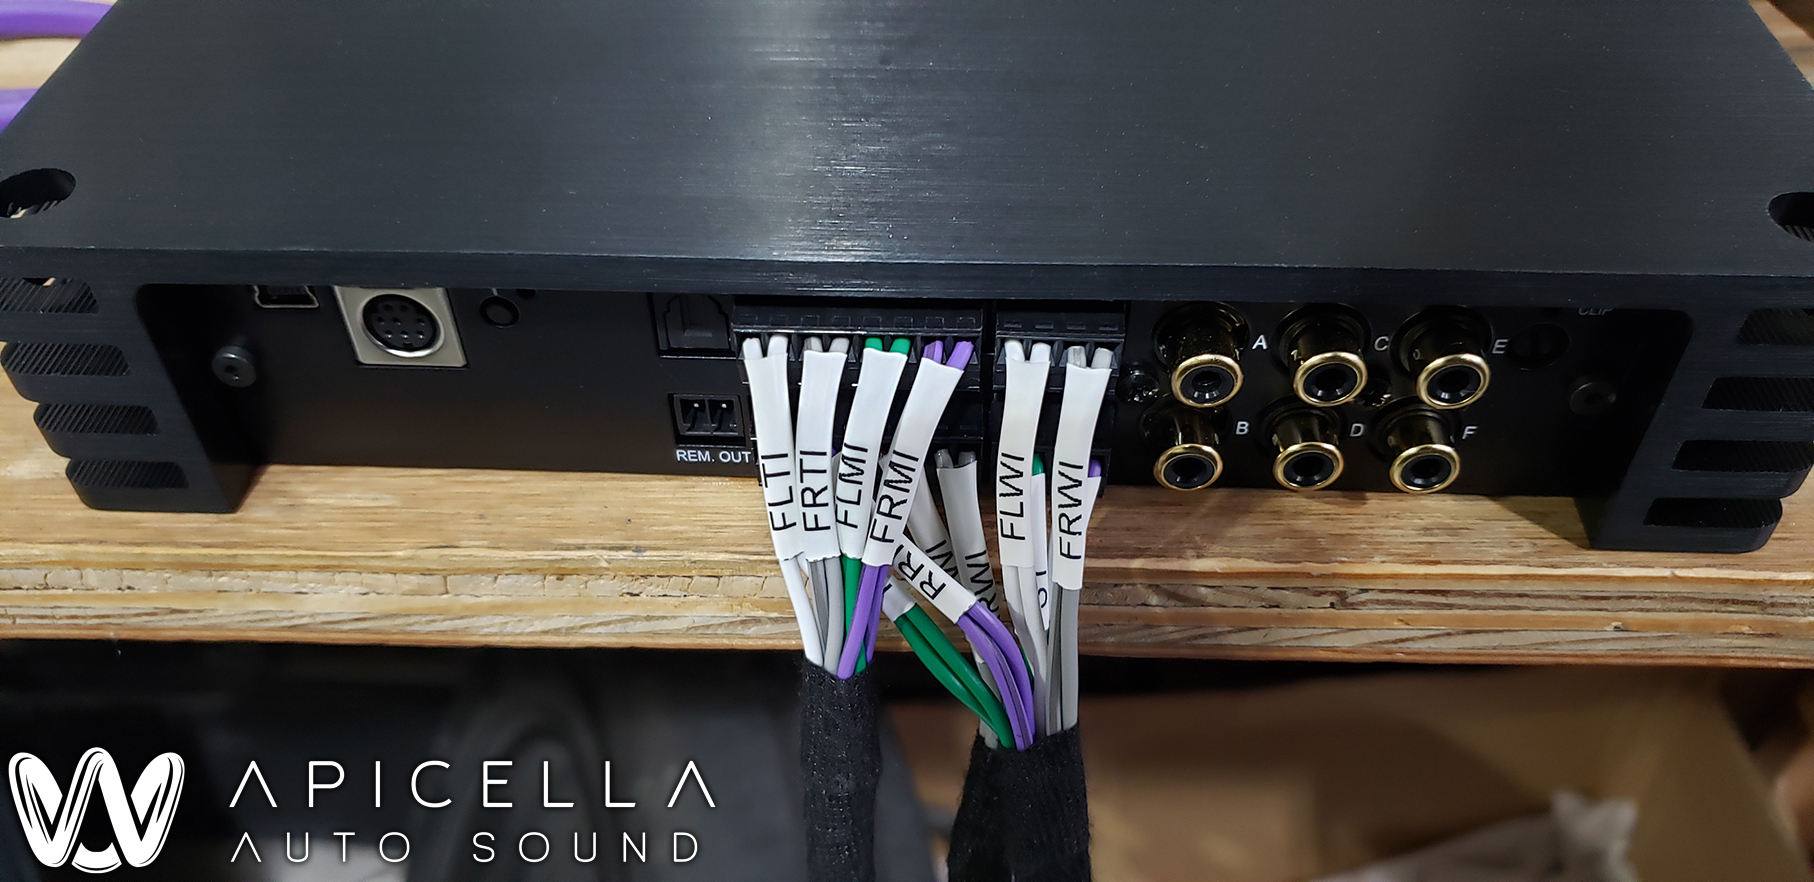
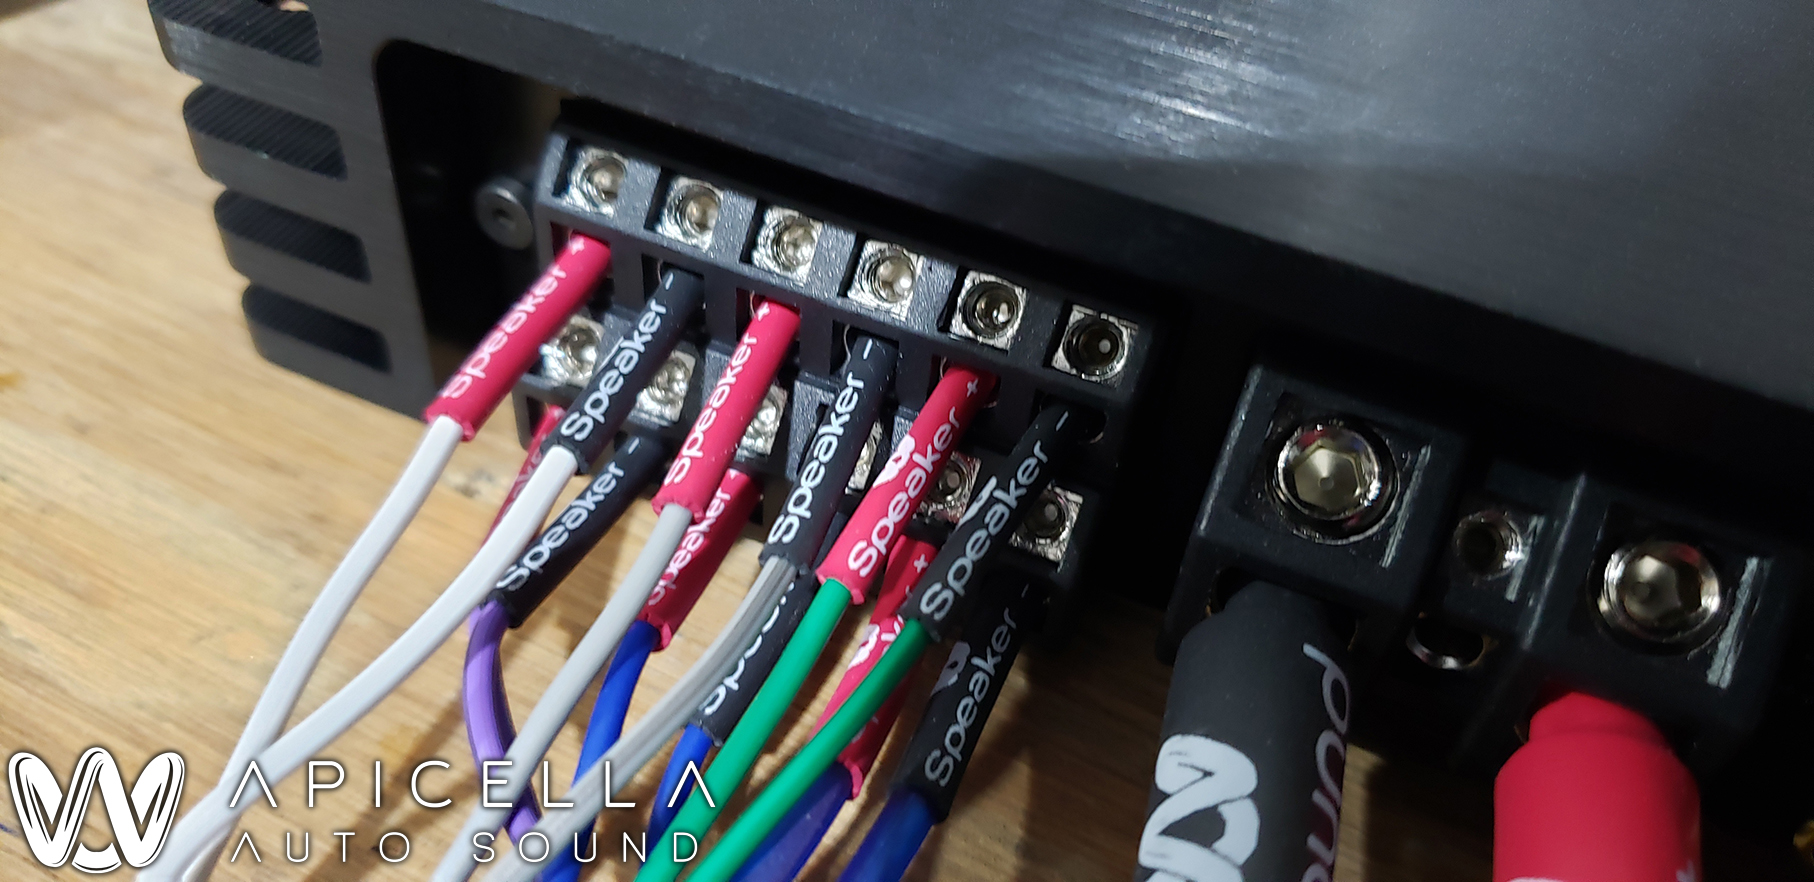
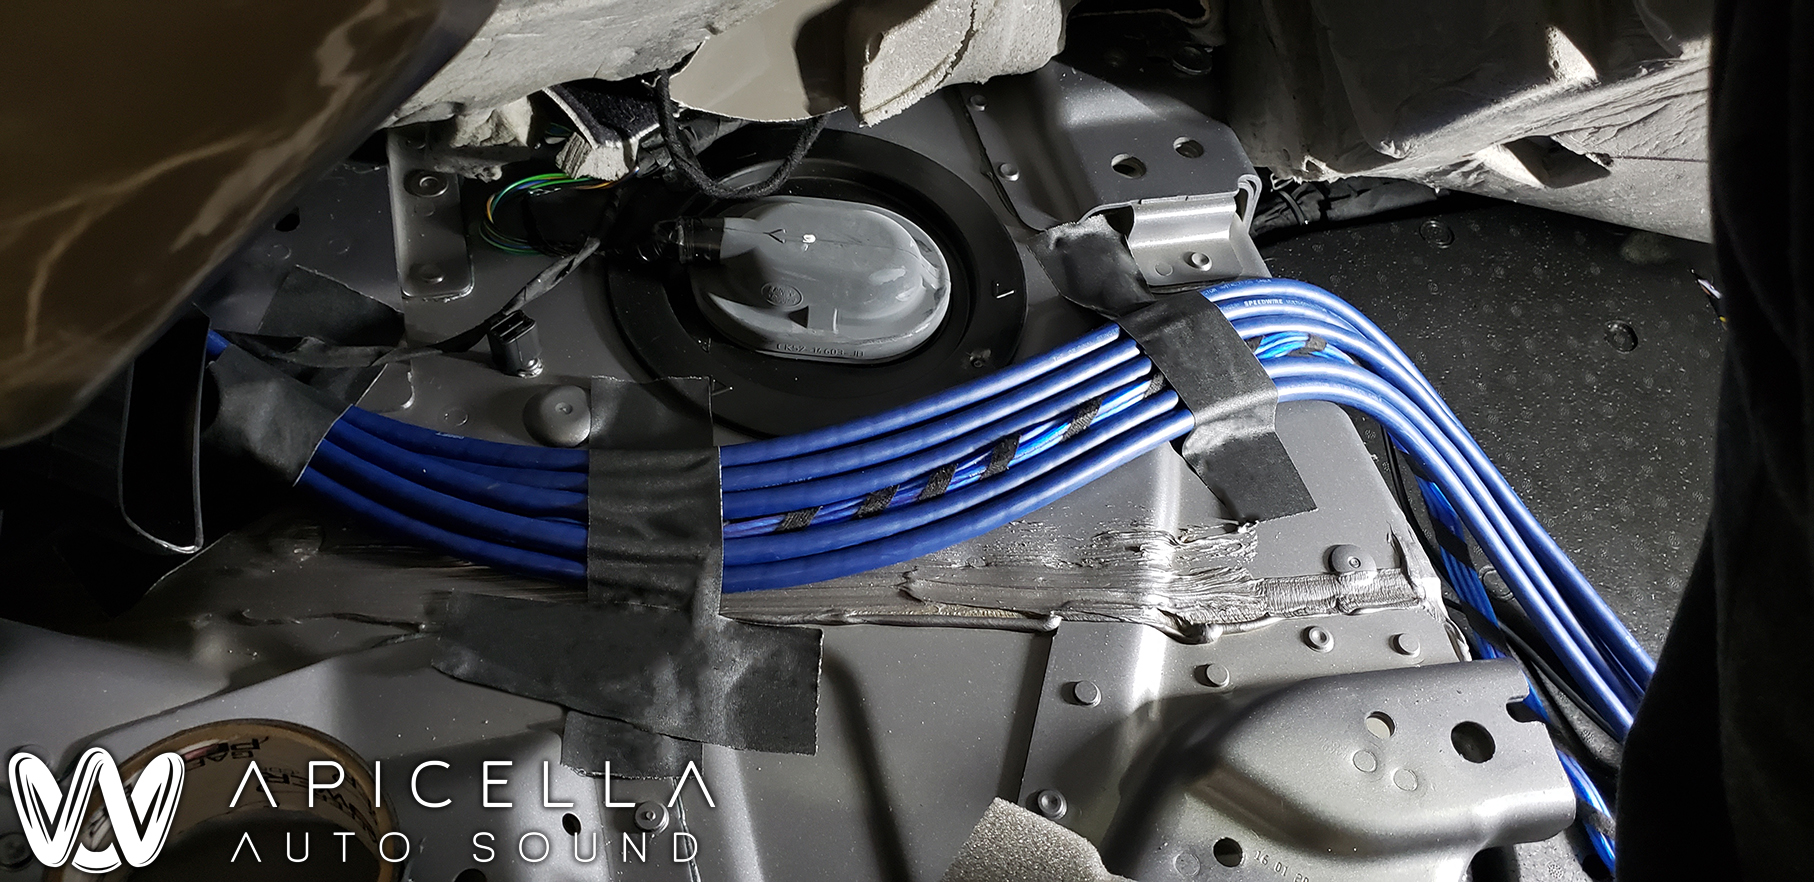
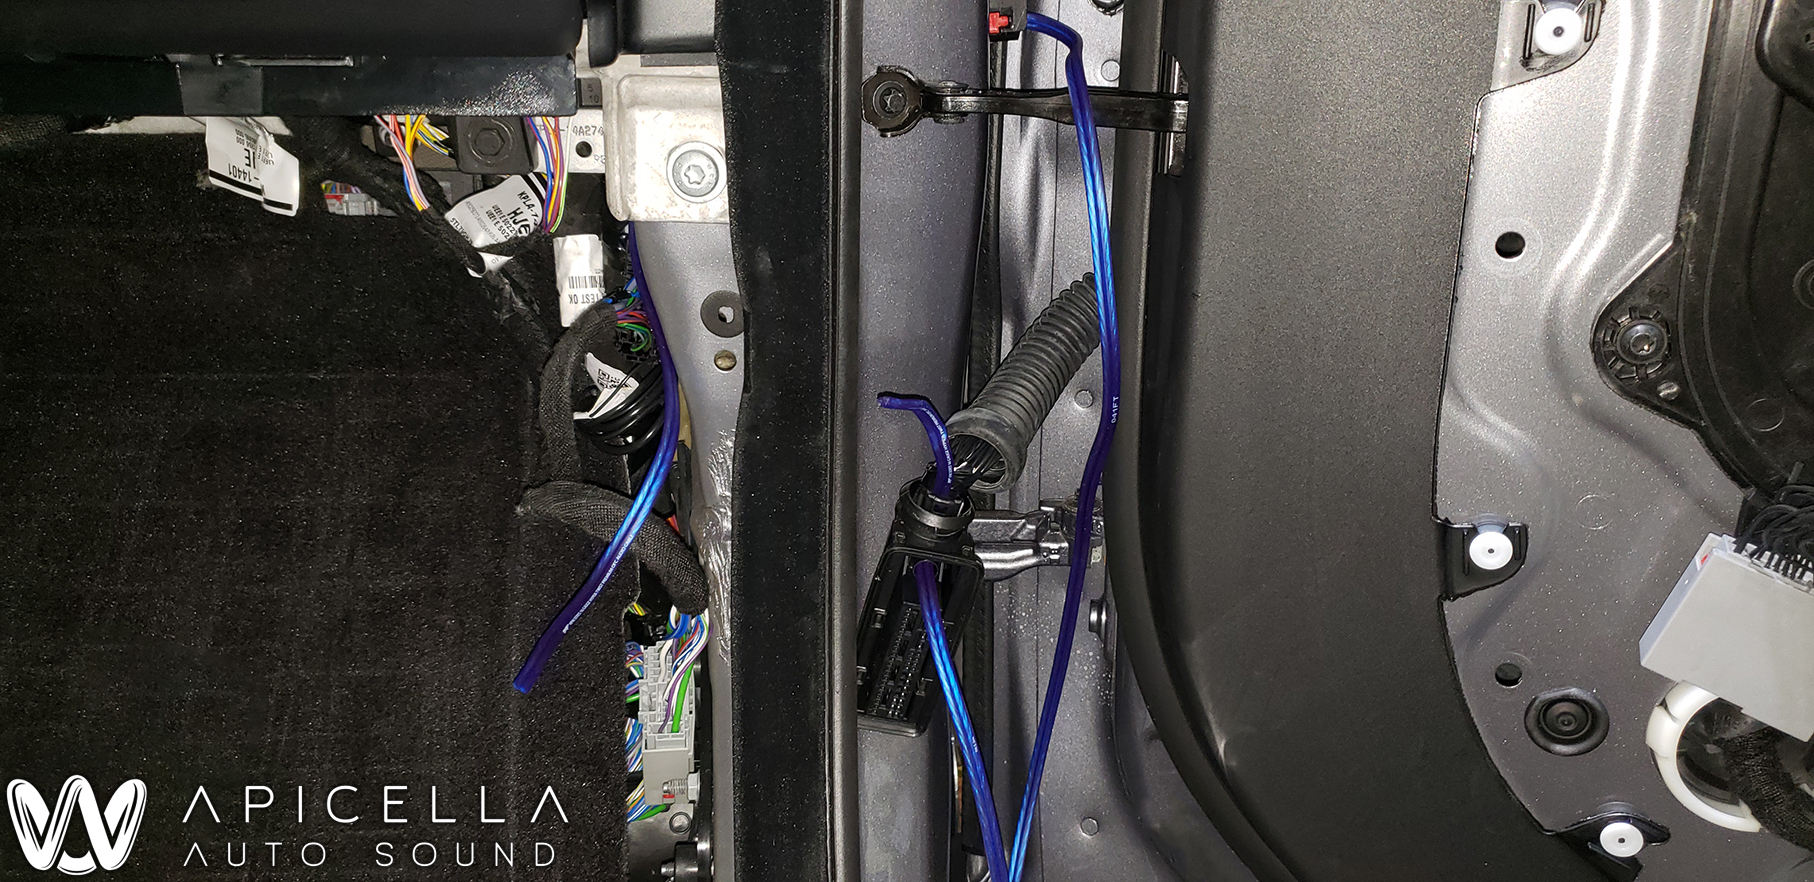
Once the enclosure and amplifier rack was completed, we started wiring the amplifiers appropriately and secured them to the amplifier rack. All inputs and outputs get labeled here, as do power/ground/turn on wires. Between all of the inputs we needed to grab from the OEM amplifier outputs and the new speaker wires we ran, there were over 50 individual wires run, all under the OEM carpet without a hint of detection. We also needed to fish another speaker wire through the molex plug in the door jam. That was thankfully easier than expected.
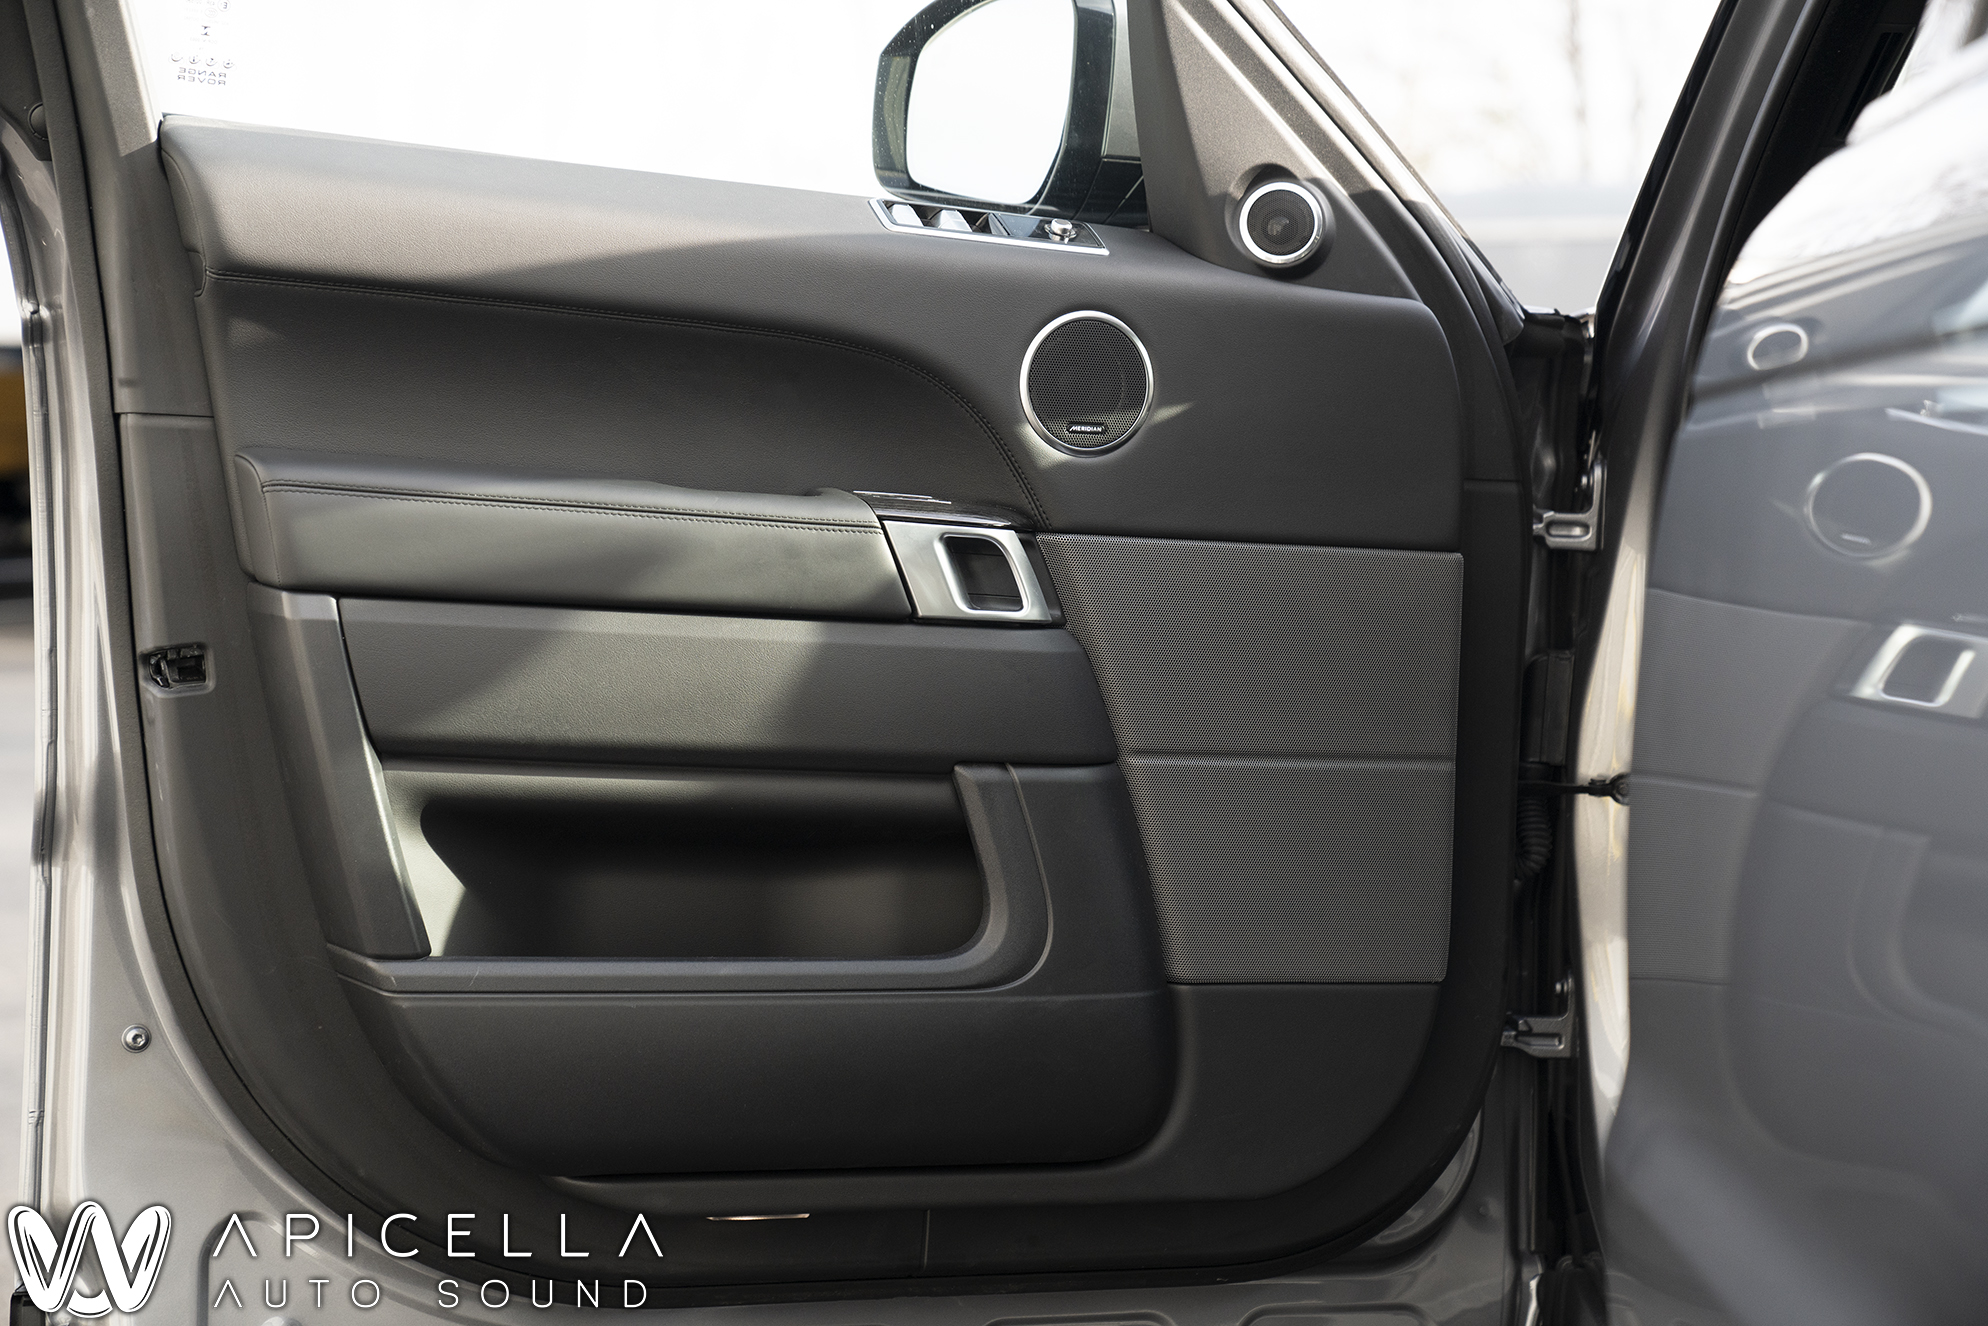
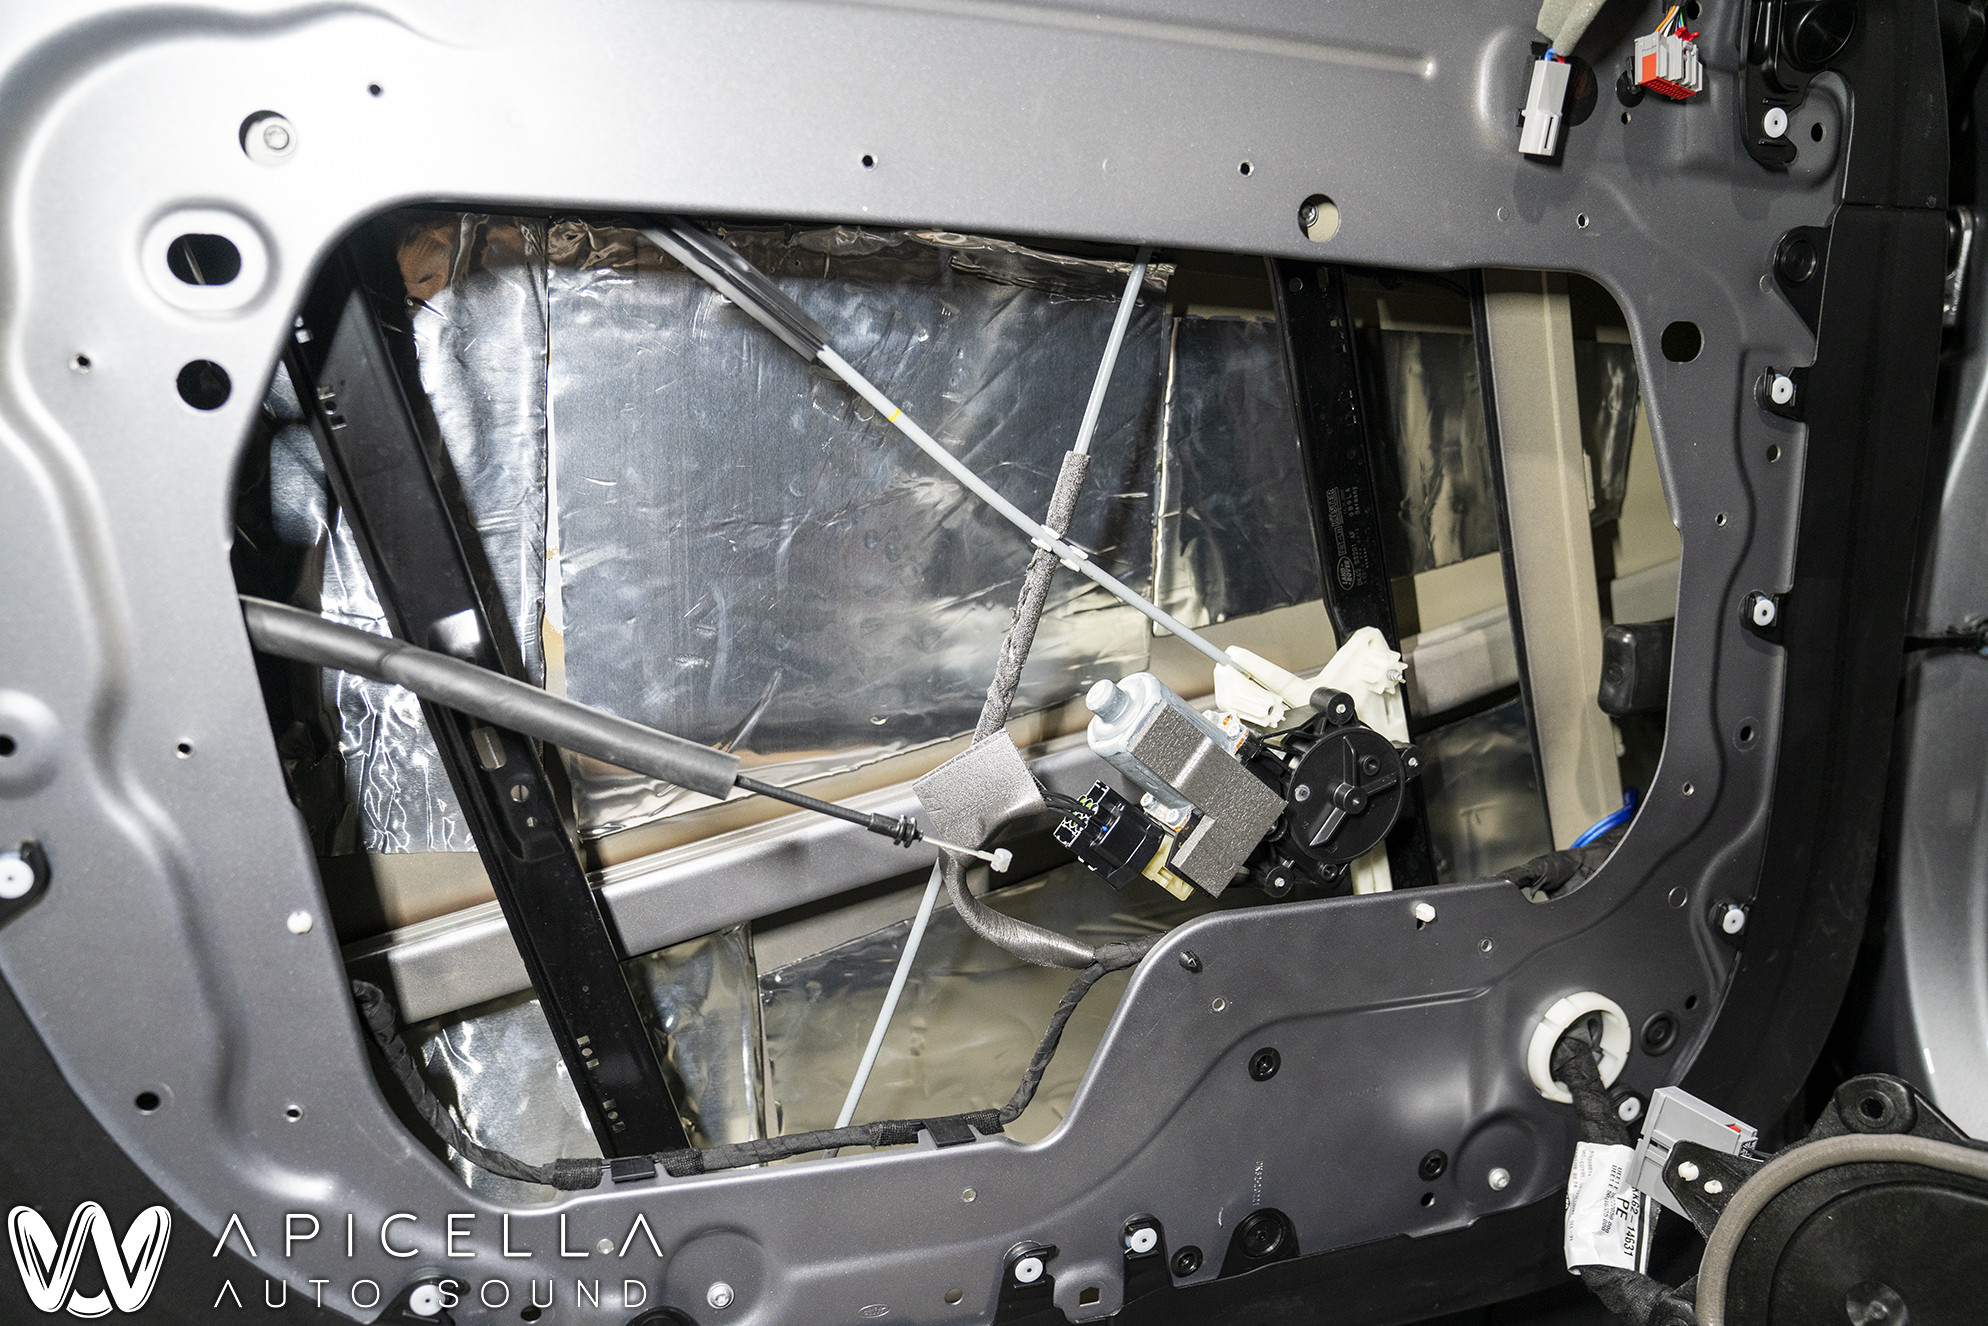
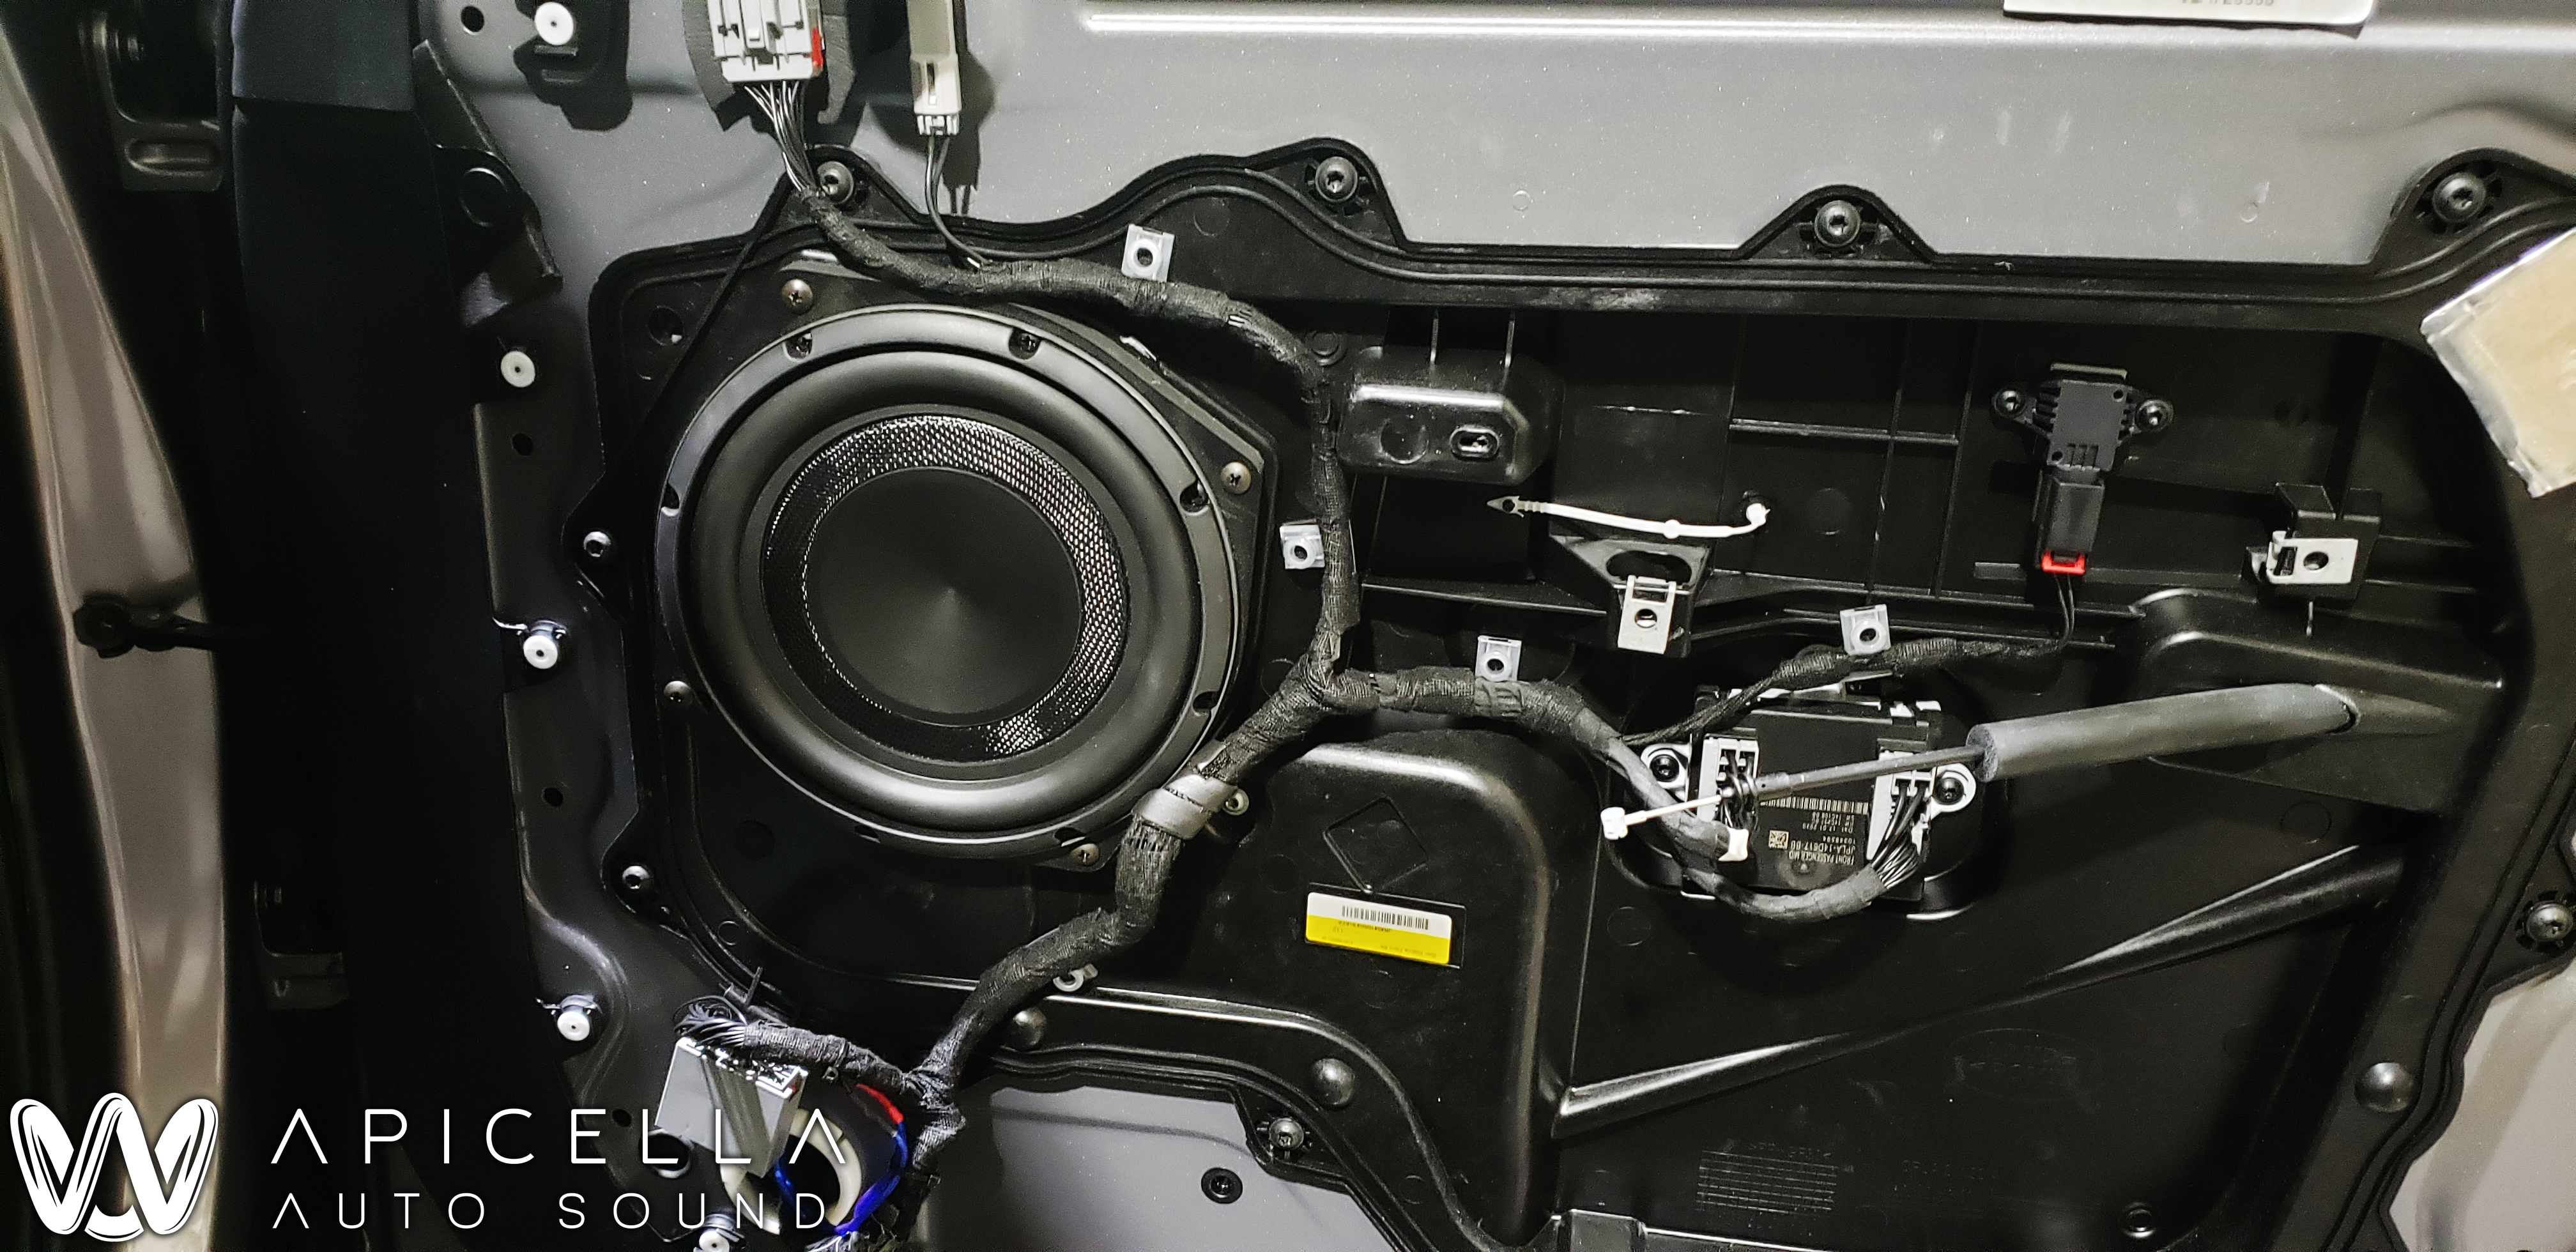
Once all of the wires ran, we got down and dirty with the sound treatment. Unfortunately, we didn't get a ton of pics of this like I planned on, but the outer door skins received full coverage with ResoNix Squares, while the inner skin and door panel were spot treated with ResoNix Squares, then followed up with ResoNix CCF 7
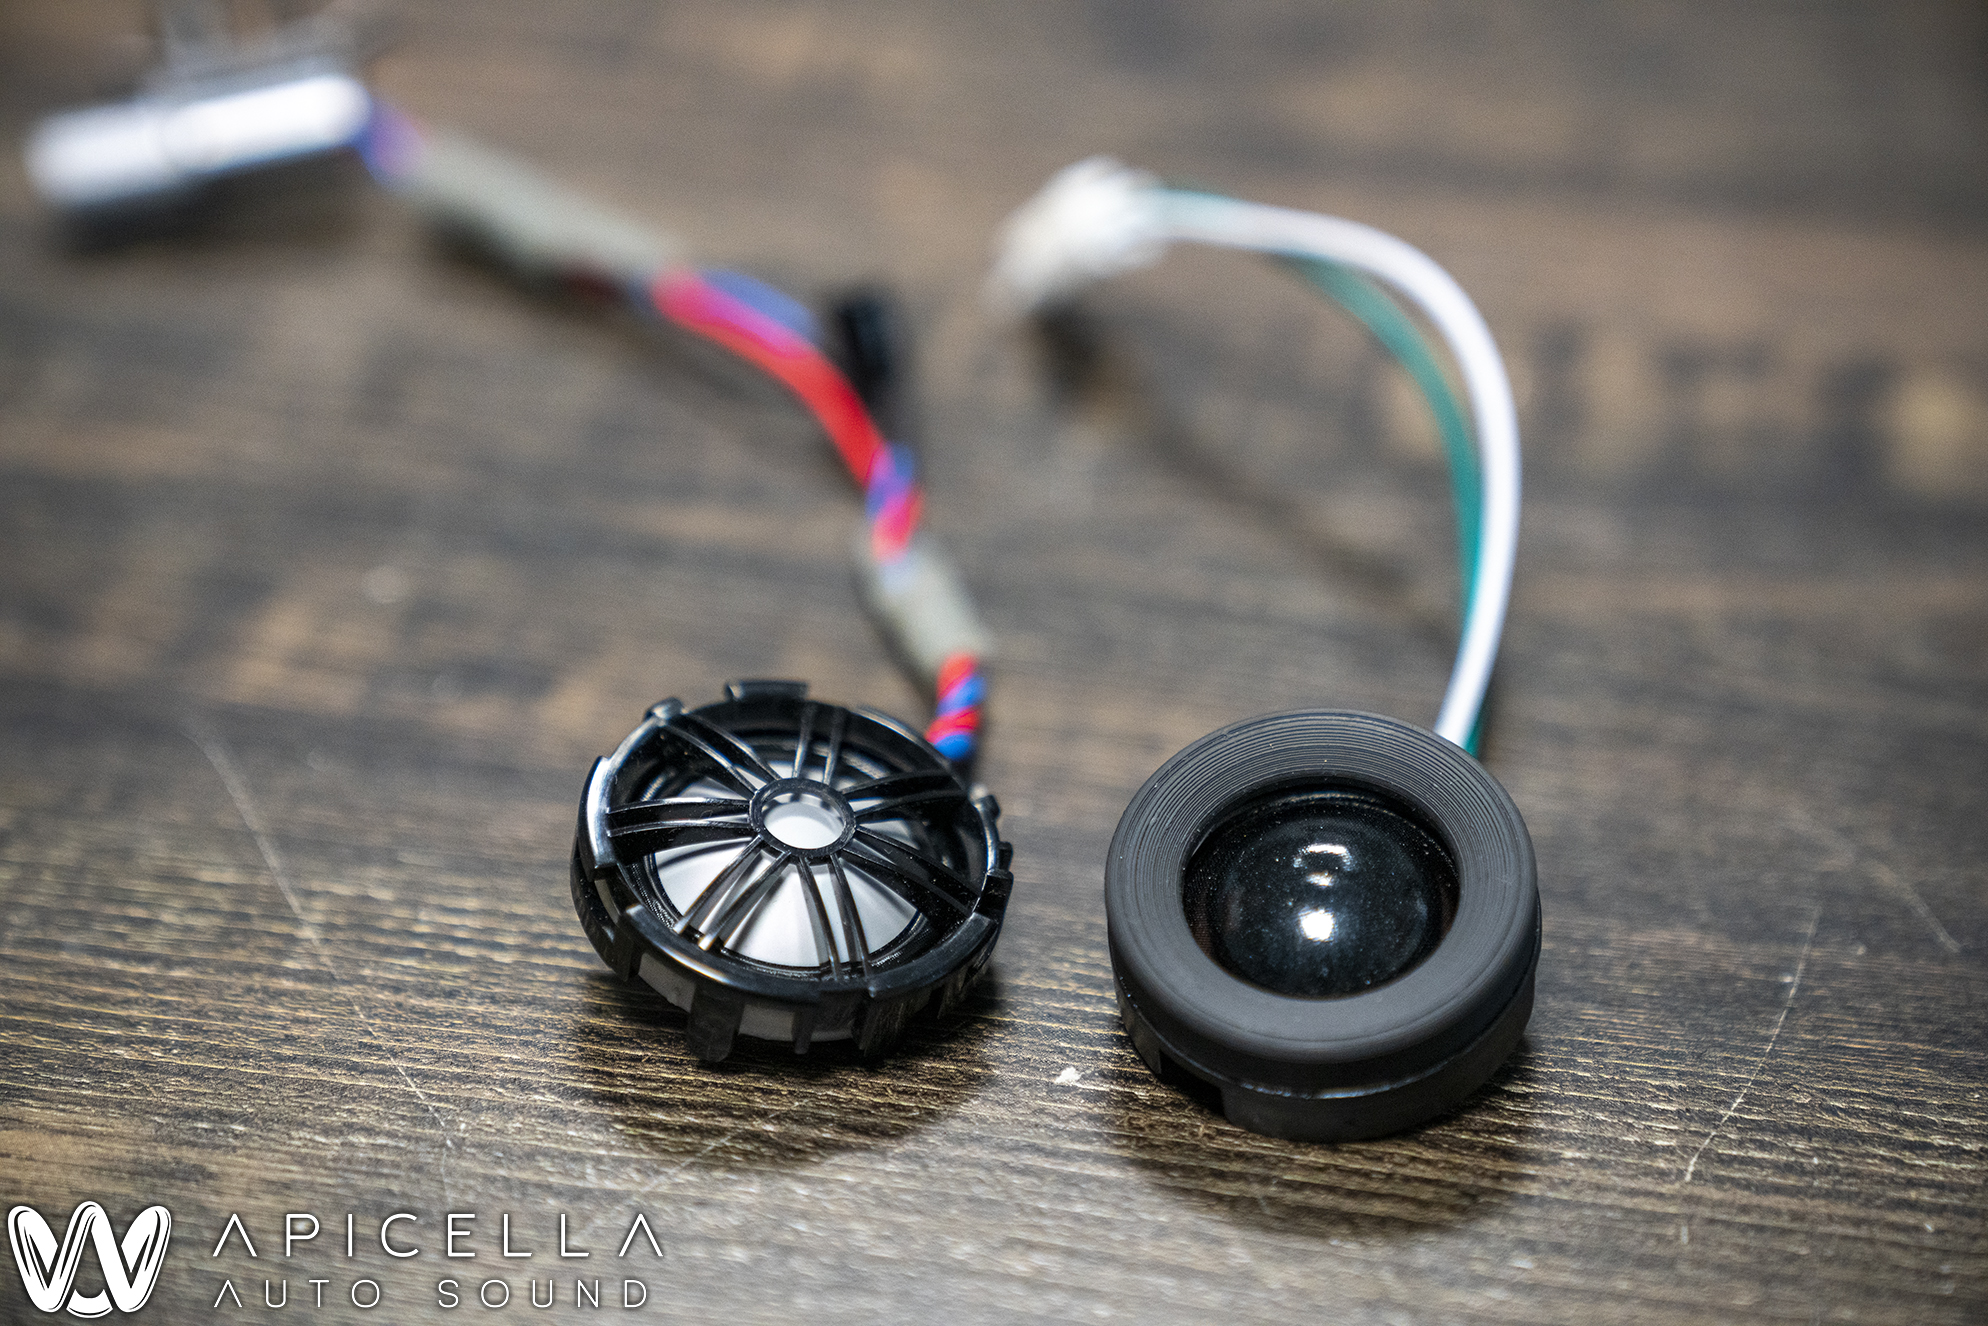
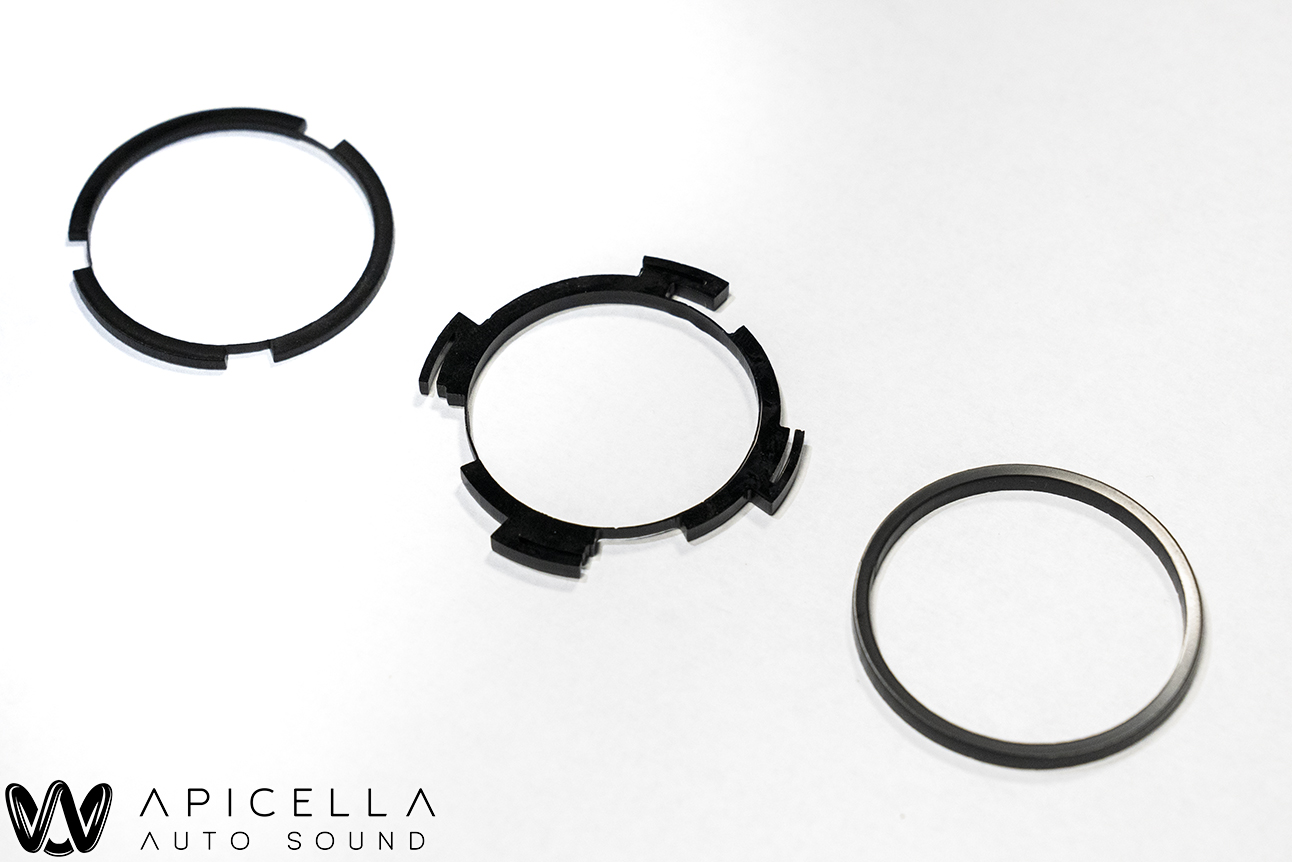
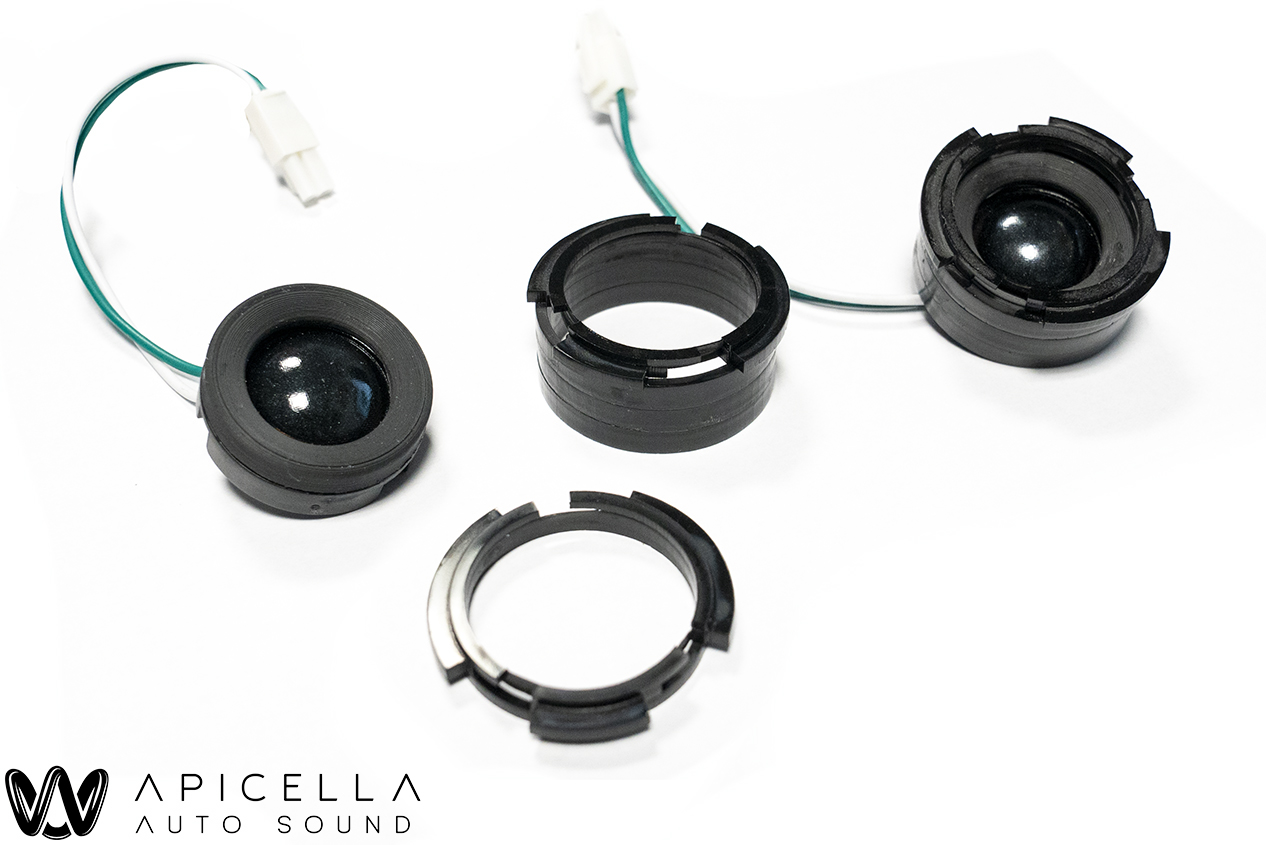
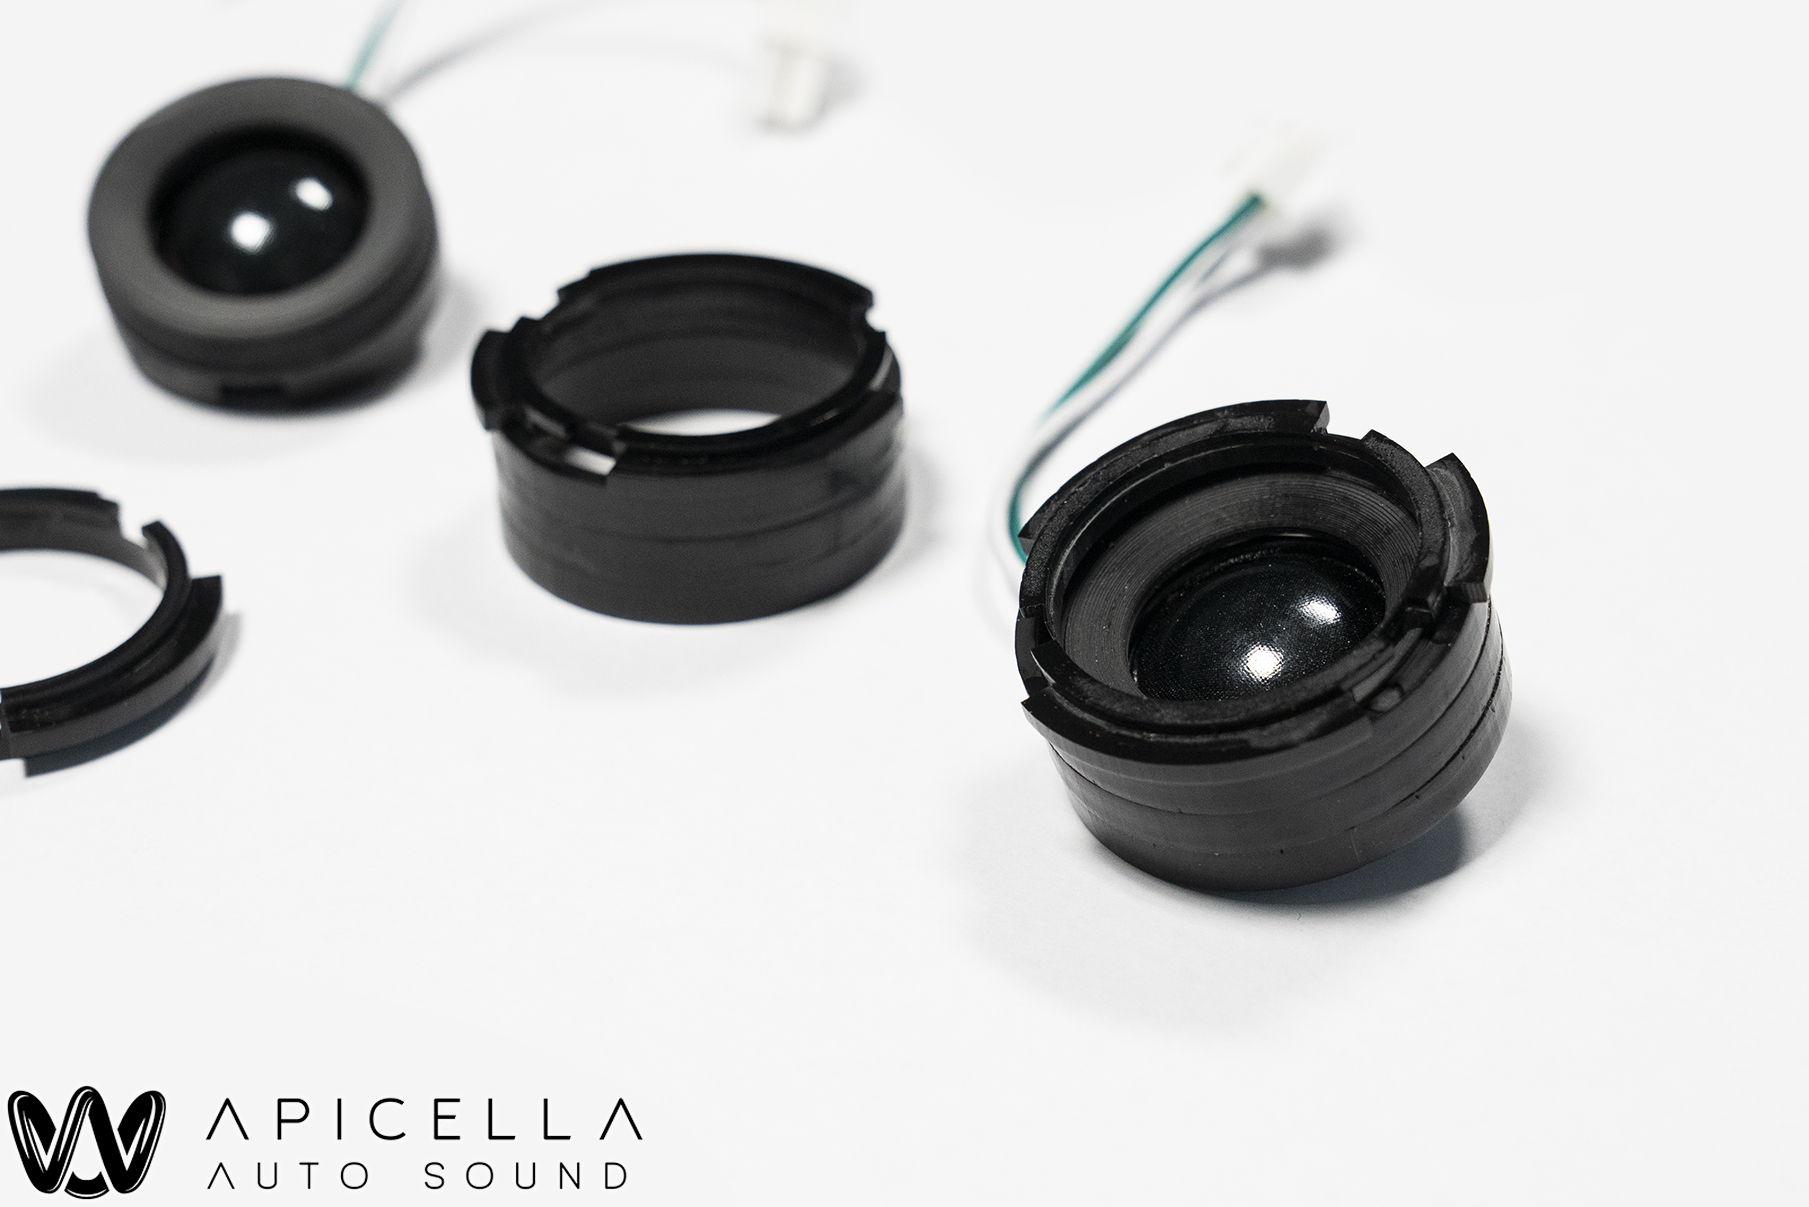
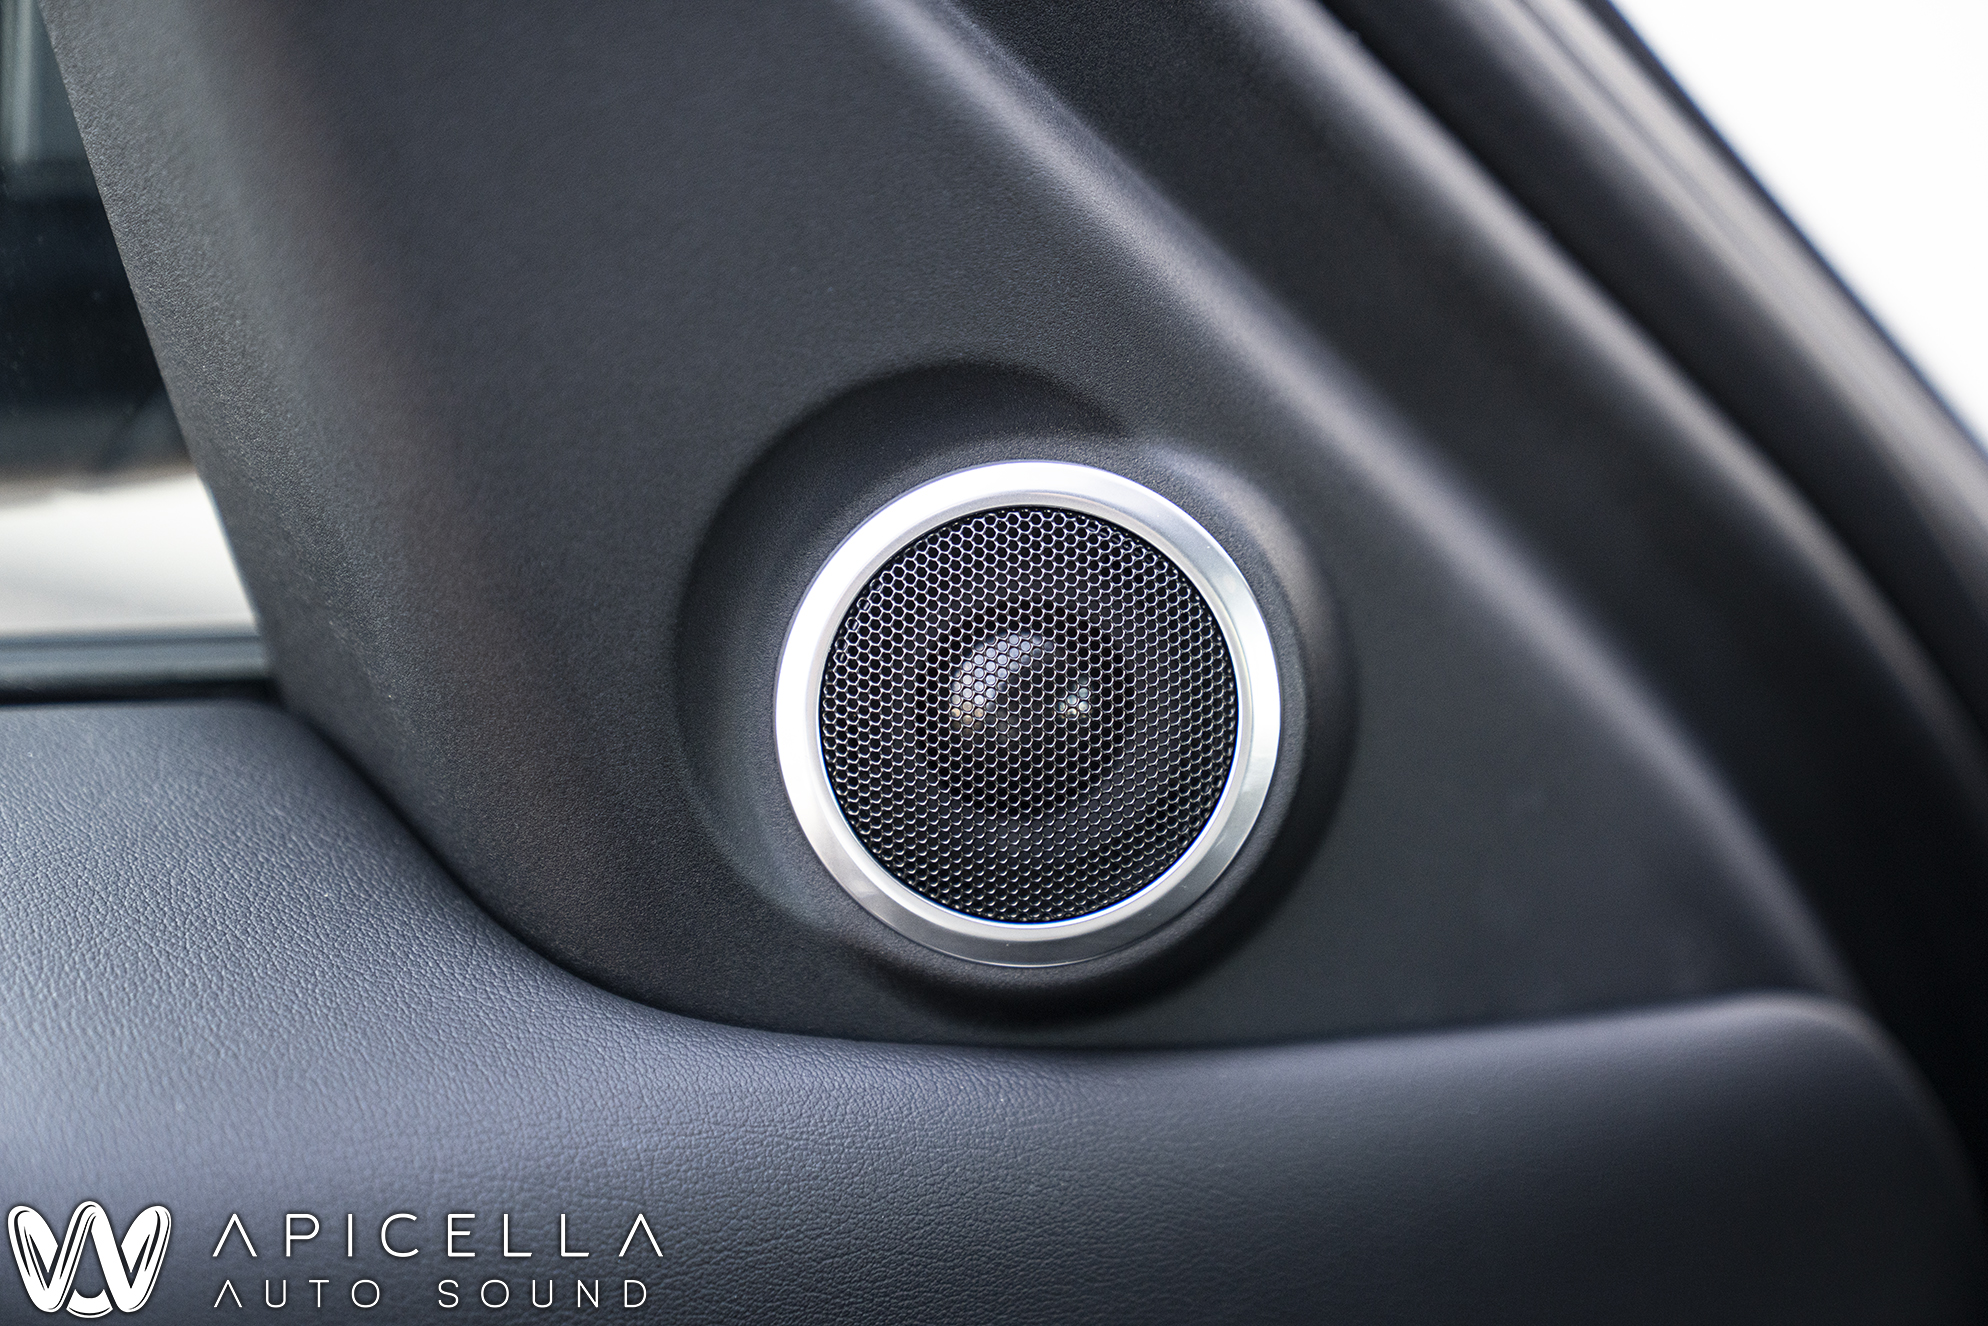
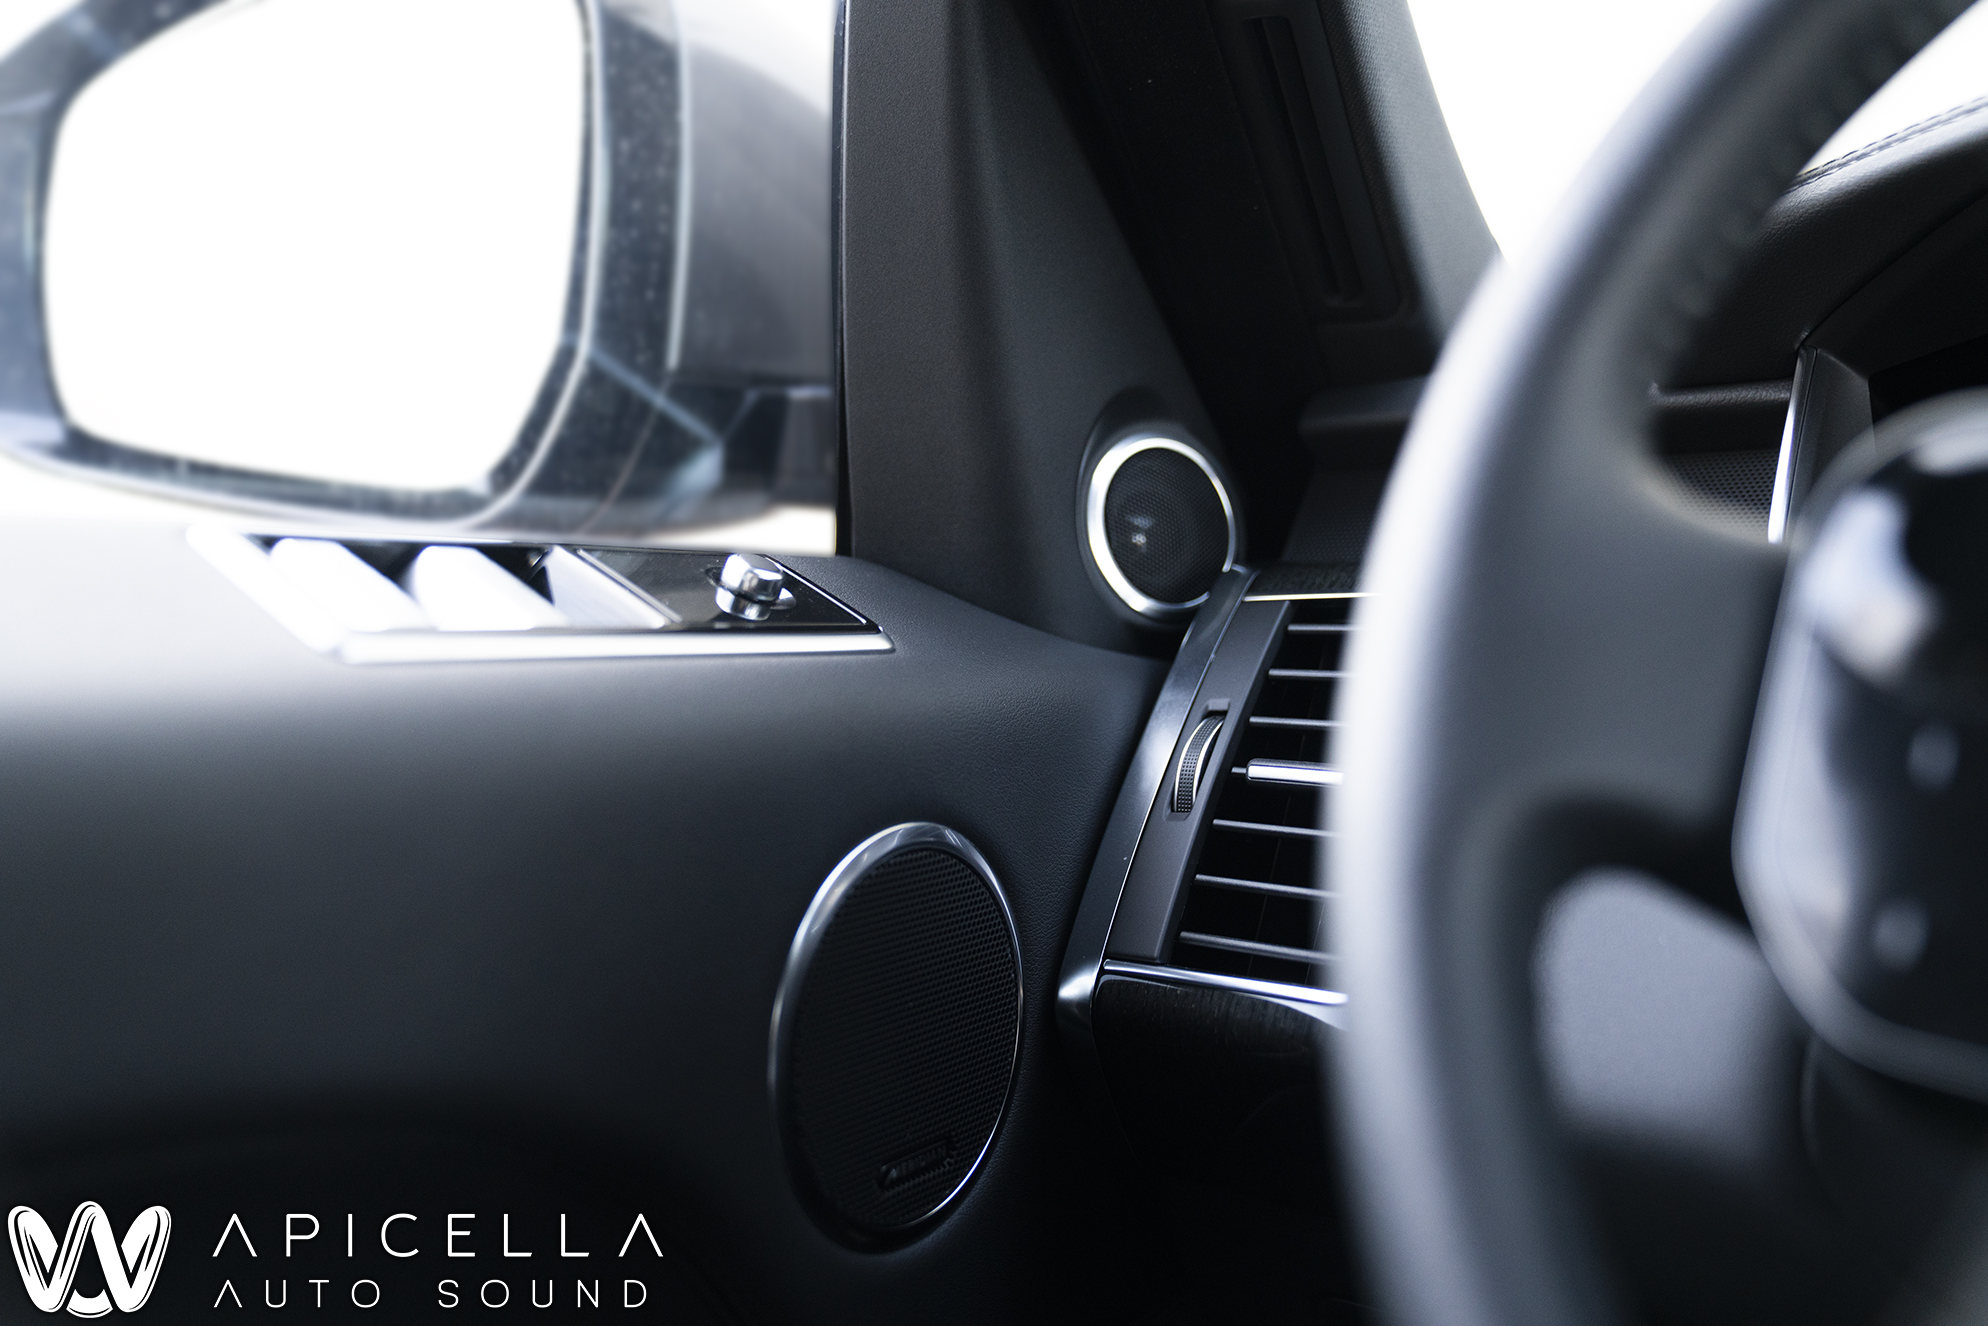
After the doors were all deadened, we laser cut a baffle for the Audiofrog GS25 to drop right into the OEM location and secure to the door panel using the OEM hardware. The baffle and the driver were both sealed to their appropriate surfaces using ResoNix CCF 7
The same was done with the midbass. This is to prevent any air leaks, which can sound like a very nasty distortion.
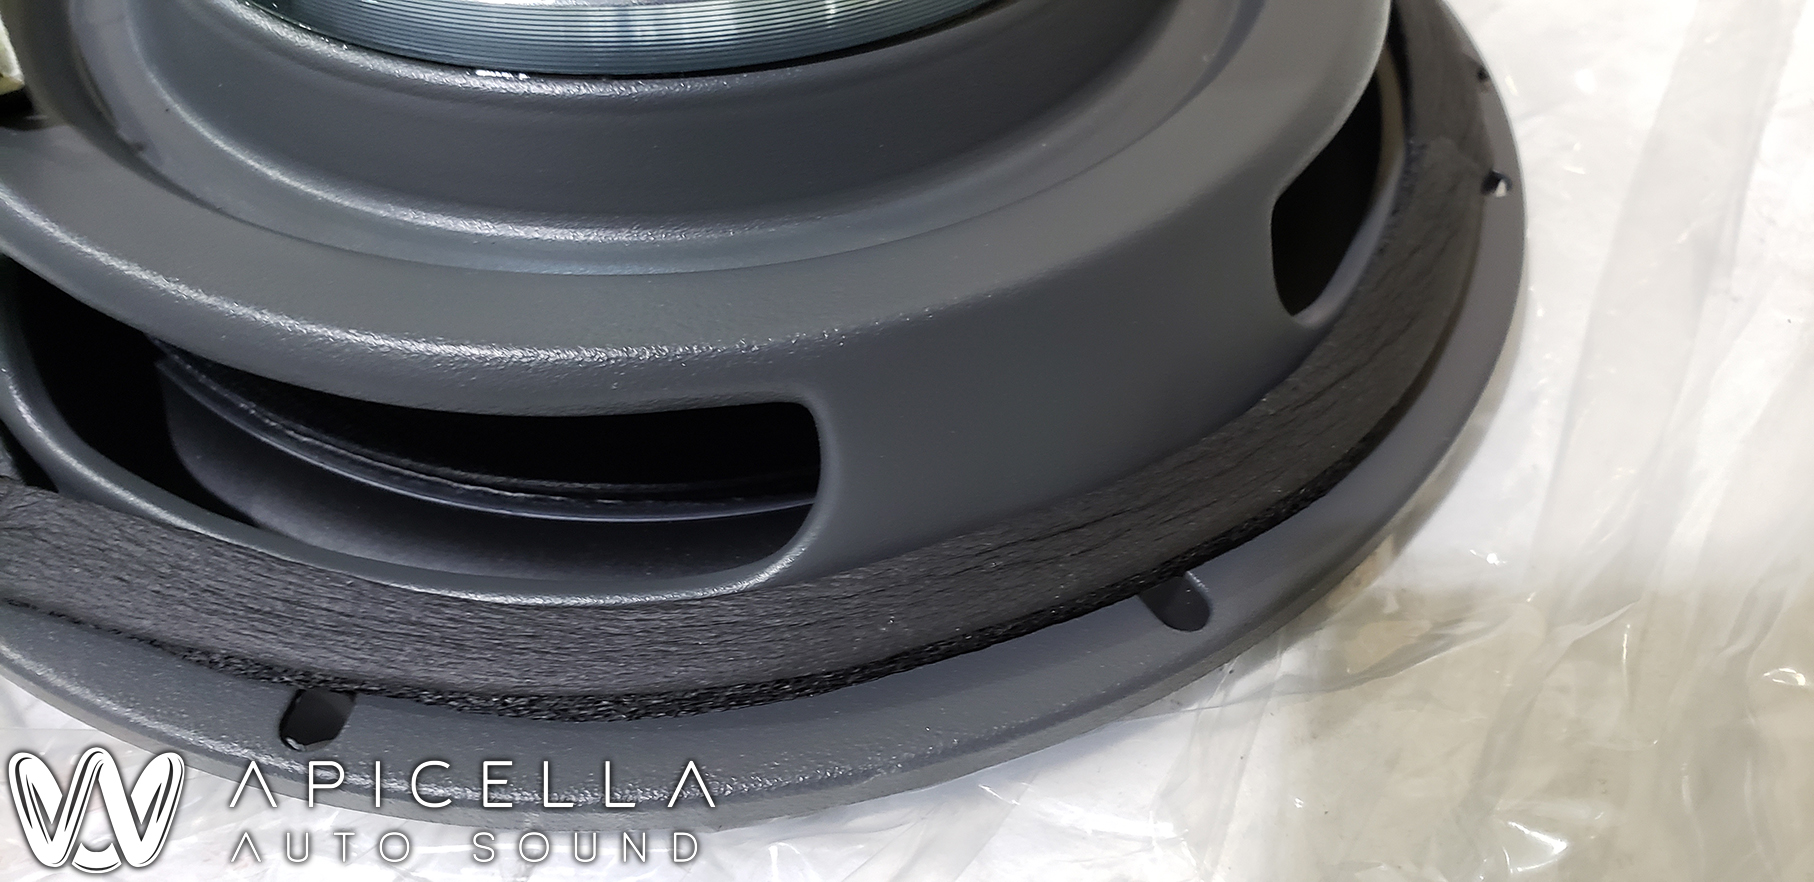
The GS8ND2's were secured to a PVC baffle that was copied from the OEM midbass drivers. Again, these secure to the OEM location using all OEM hardware.
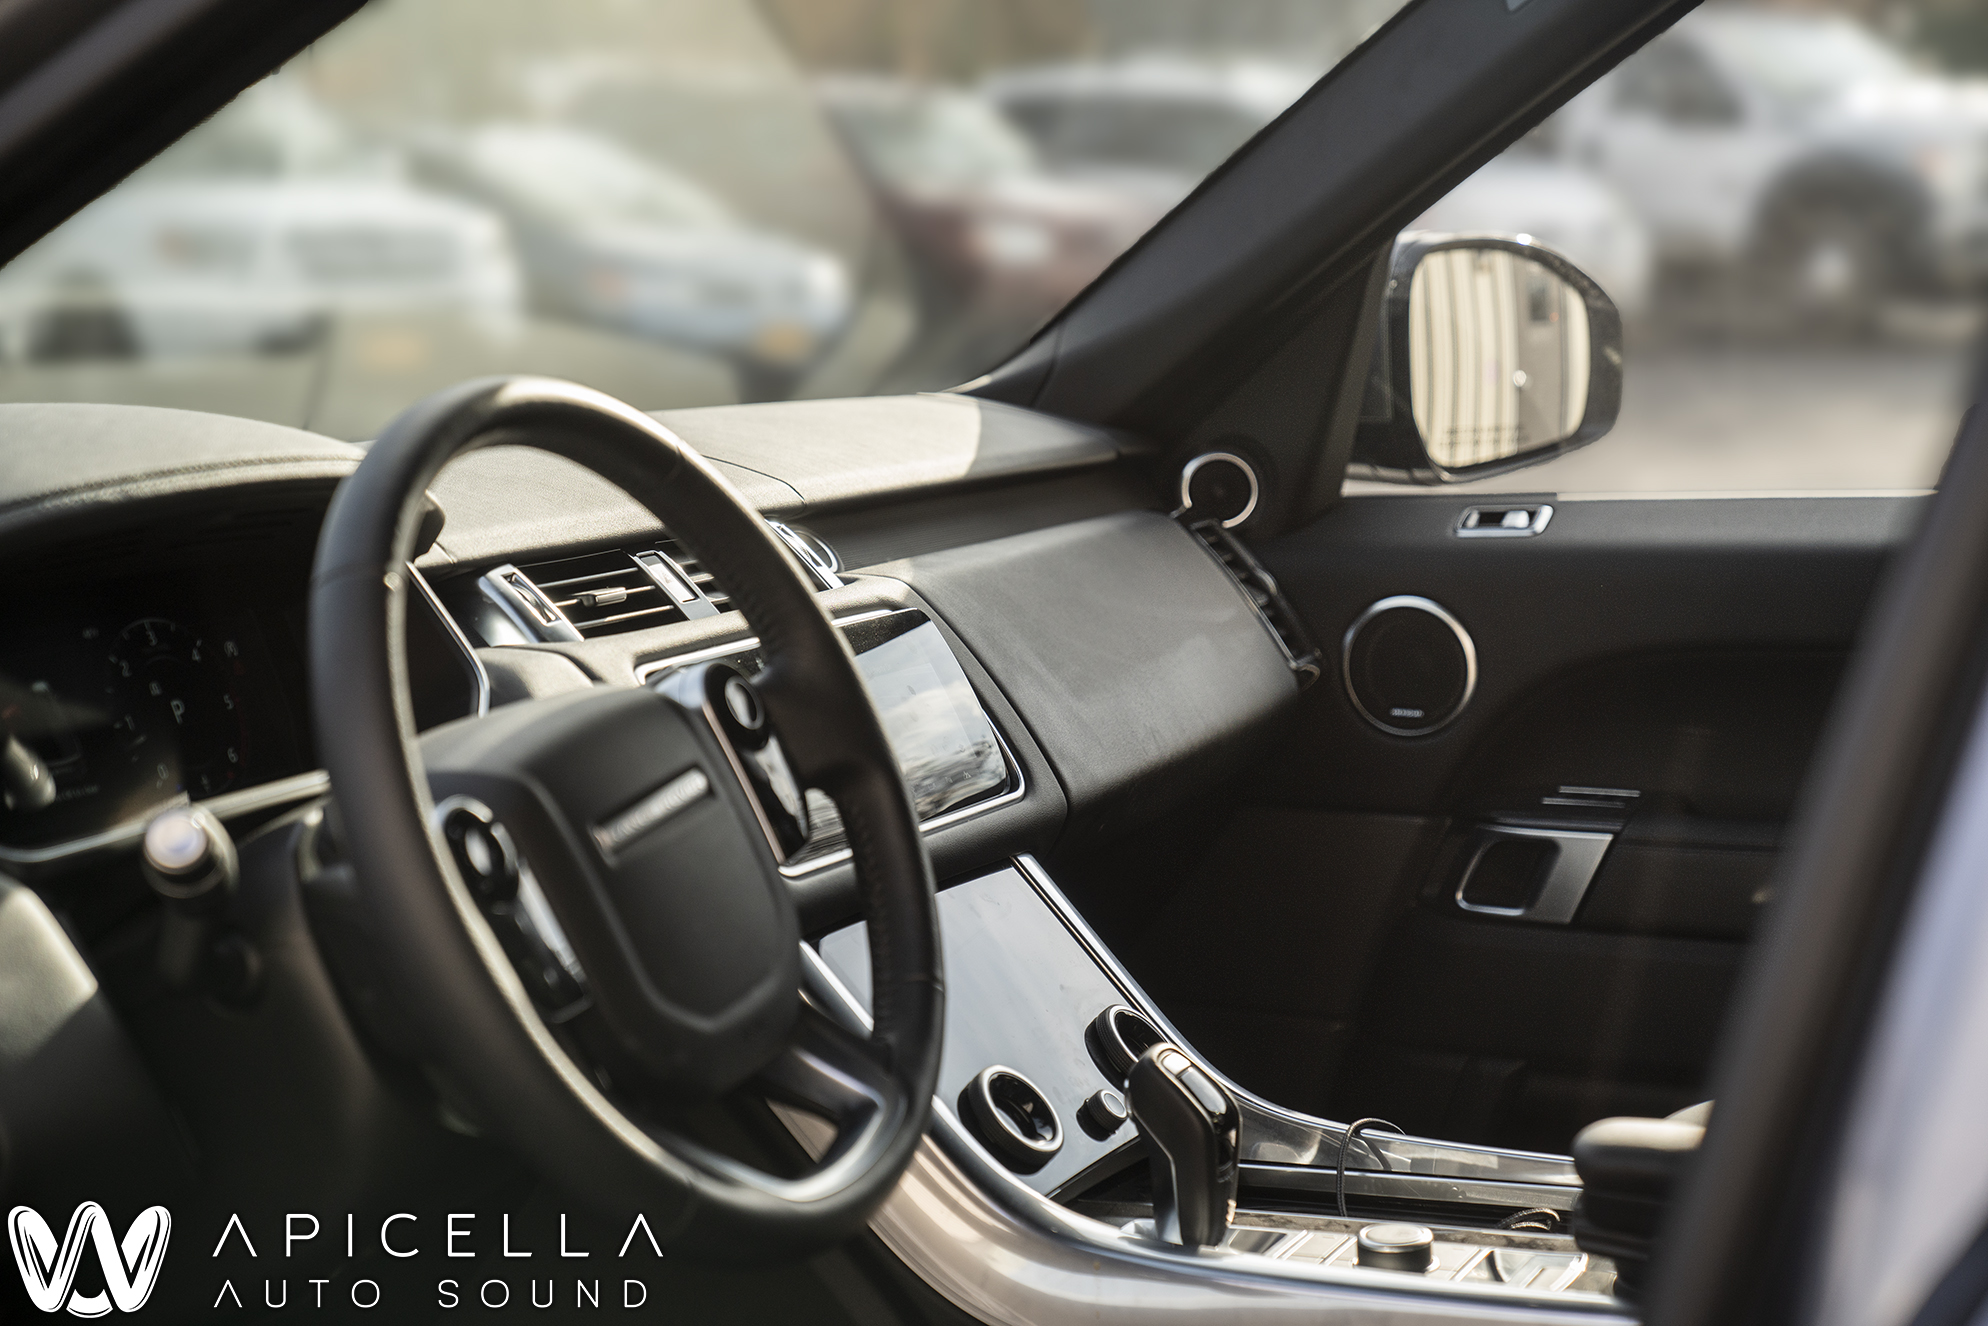
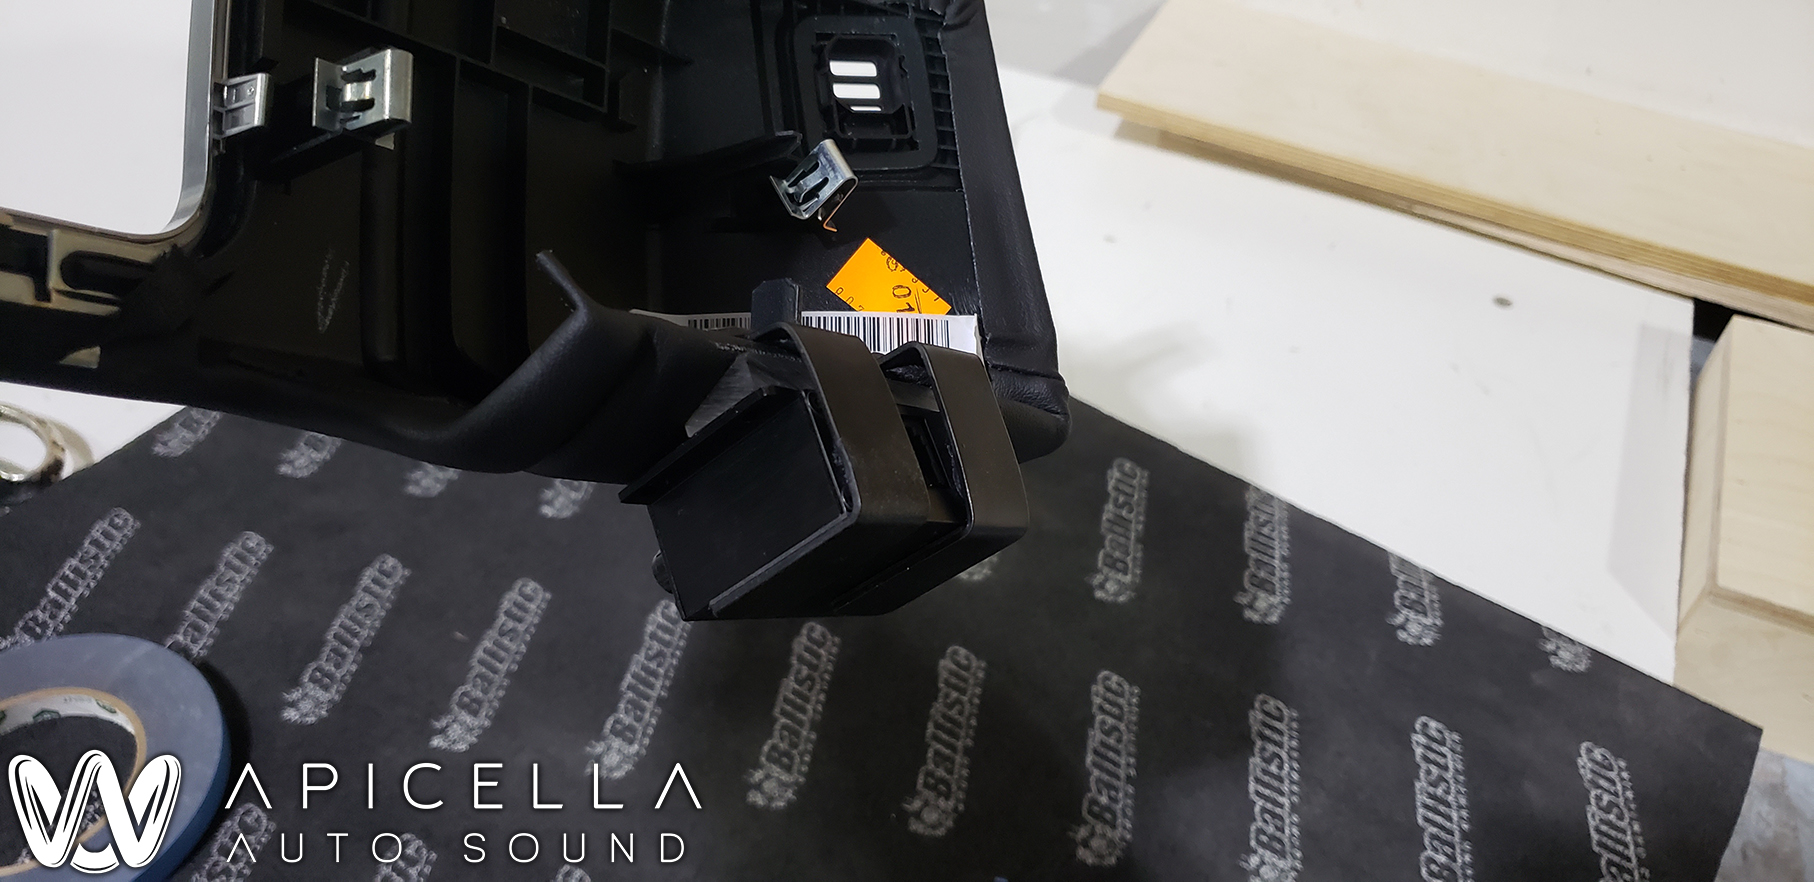
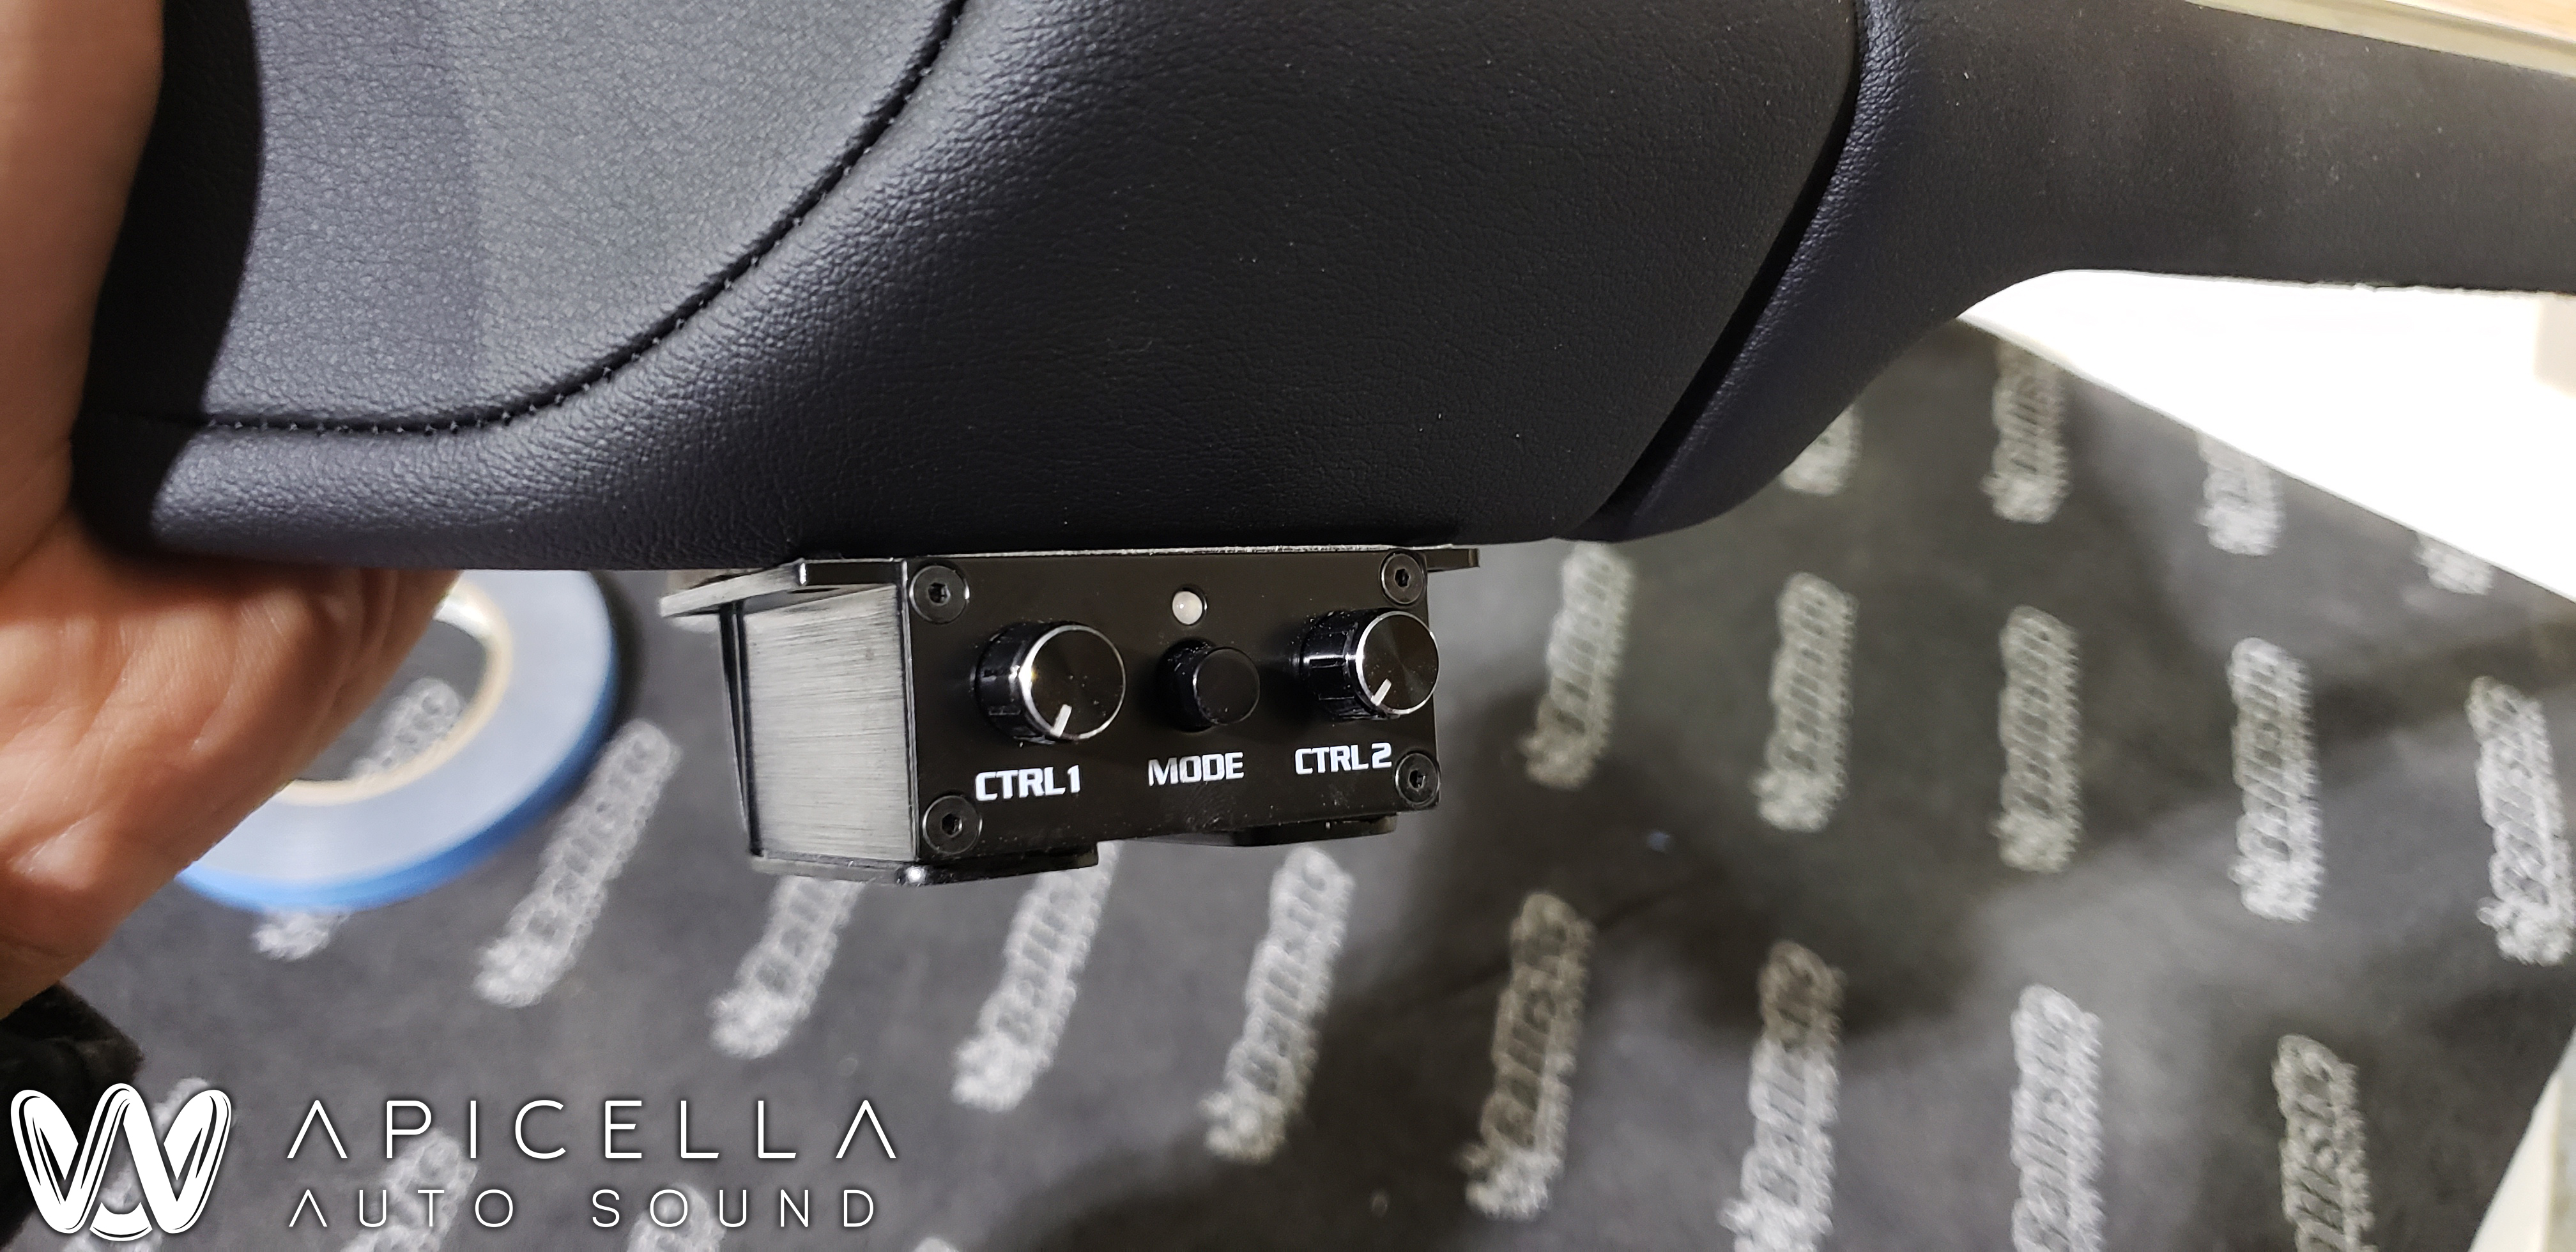
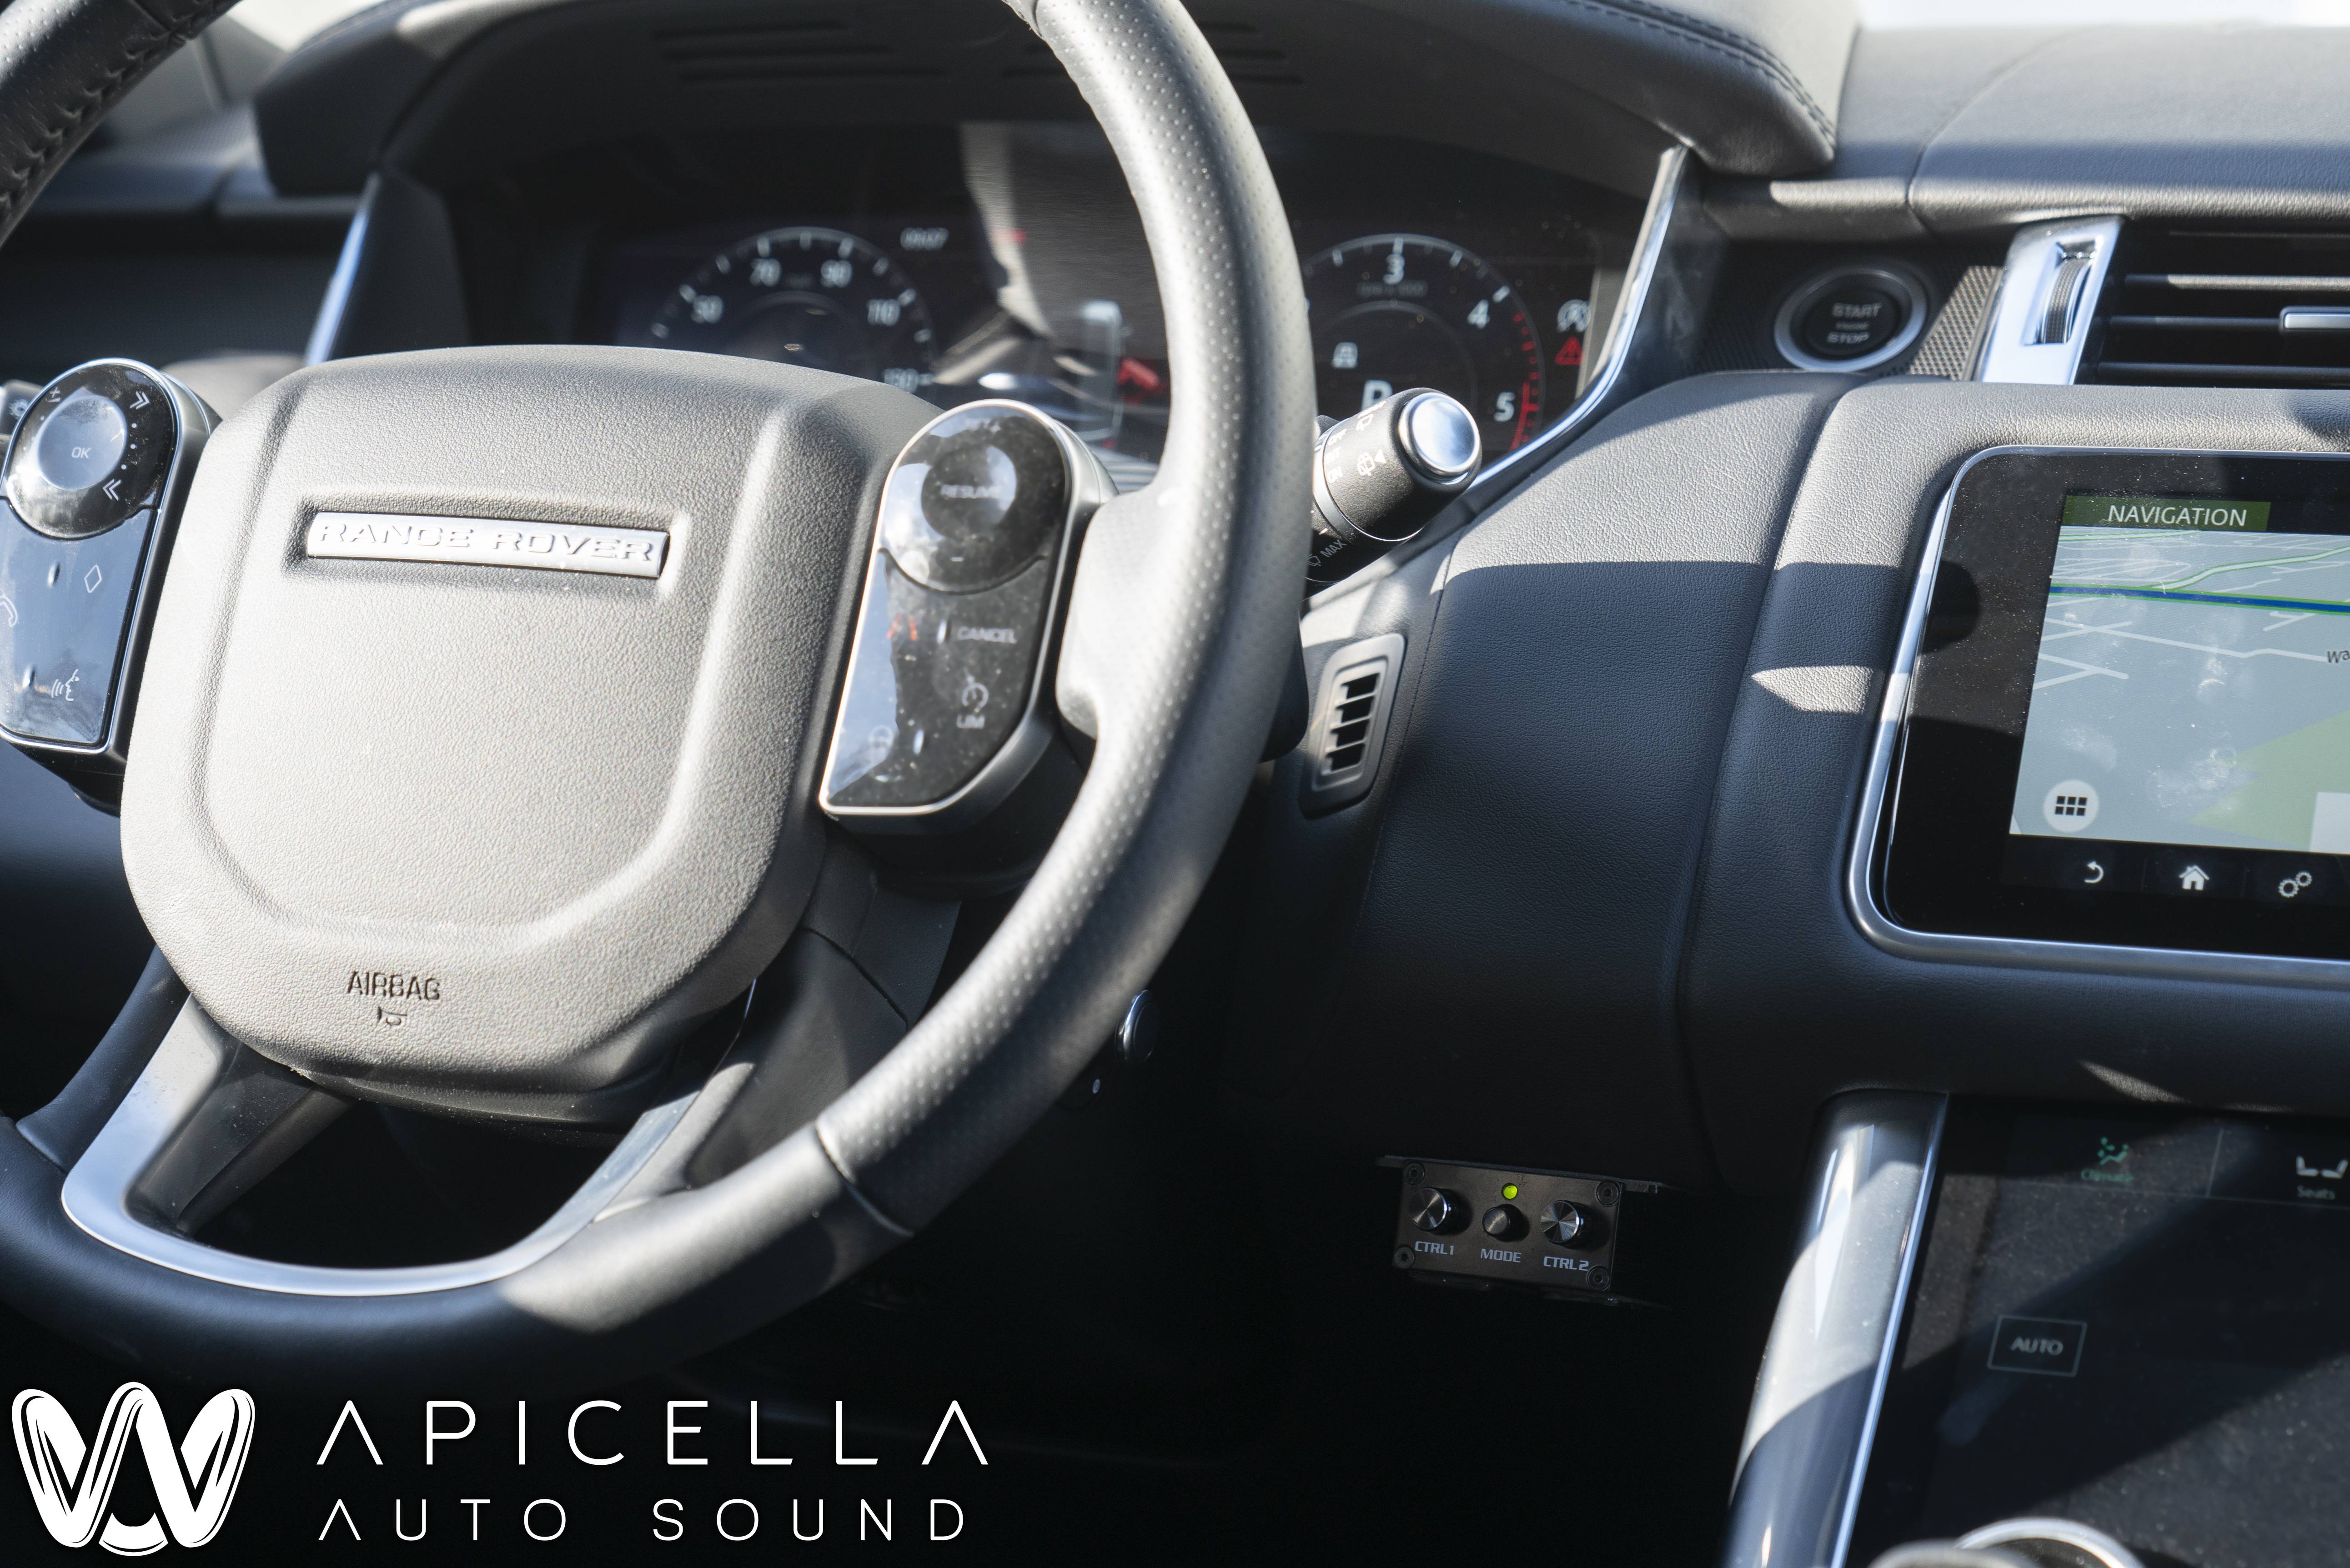
A small challenge that came up was how do we mount the URC.3 controller without screwing it to a panel or using double side tape, which we consider unacceptable. Our new guy came up with this idea.. bent aluminum brackets that squeeze it to the panel, with double side tape on the bottom of the URC.3 and on top of the backside of the panel. It worked like a charm. You can see the Helix URC.3 controller installed in a location that is out of the way, but fully functional without having to open any center consoles, coin trays, etc just to adjust subwoofer volume or toggle presets.
. Helix V Twelve with URC . 3.
. Helix M One.
. Focal Flax 10" subwoofer.
. Audiofrog GS8ND2.
. Audiofrog GS25.
. Audiofrog GB10oe.
. OEM rear speakers.
. ResoNix Sound Solutions sound deadening.
The Helix V Twelve was used to integrate after the OEM amplifier and provided all of the necessary input eq and summing capabilities that we could ask for, while also powering all of the speakers in the car, including the OEM rear speakers. Since the Audiofrog GS8ND2 are dual 2-ohm midbass speakers, they were powered off of two channels for extra power. All OEM locations were used, and the spare tire was removed to house the subwoofer and the amplifiers since the owner has roadside assistance. The end result was a very impressive sound system that was completely hidden. Oh, nearly the entire install was done by our new employee, but that's an announcement for when he's fully here and settled into New York
.PS, the video walkthrough can be found here..
First up was building the subwoofer enclosure. Baltic birch is the only wood we use here. We "stack-fabbed" part of it to fit in the spare tire well while getting the most airspace possible. Once it was finished, it was wrapped in an OEM matching trunk liner carpet.
Once the enclosure and amplifier rack was completed, we started wiring the amplifiers appropriately and secured them to the amplifier rack. All inputs and outputs get labeled here, as do power/ground/turn on wires. Between all of the inputs we needed to grab from the OEM amplifier outputs and the new speaker wires we ran, there were over 50 individual wires run, all under the OEM carpet without a hint of detection. We also needed to fish another speaker wire through the molex plug in the door jam. That was thankfully easier than expected.
Once all of the wires ran, we got down and dirty with the sound treatment. Unfortunately, we didn't get a ton of pics of this like I planned on, but the outer door skins received full coverage with ResoNix Squares, while the inner skin and door panel were spot treated with ResoNix Squares, then followed up with ResoNix CCF 7
After the doors were all deadened, we laser cut a baffle for the Audiofrog GS25 to drop right into the OEM location and secure to the door panel using the OEM hardware. The baffle and the driver were both sealed to their appropriate surfaces using ResoNix CCF 7
The same was done with the midbass. This is to prevent any air leaks, which can sound like a very nasty distortion.
The GS8ND2's were secured to a PVC baffle that was copied from the OEM midbass drivers. Again, these secure to the OEM location using all OEM hardware.
A small challenge that came up was how do we mount the URC.3 controller without screwing it to a panel or using double side tape, which we consider unacceptable. Our new guy came up with this idea.. bent aluminum brackets that squeeze it to the panel, with double side tape on the bottom of the URC.3 and on top of the backside of the panel. It worked like a charm. You can see the Helix URC.3 controller installed in a location that is out of the way, but fully functional without having to open any center consoles, coin trays, etc just to adjust subwoofer volume or toggle presets.