OP
keep_hope_alive Premium Member
Acoustics Engineer
- Thread Starter
- #31
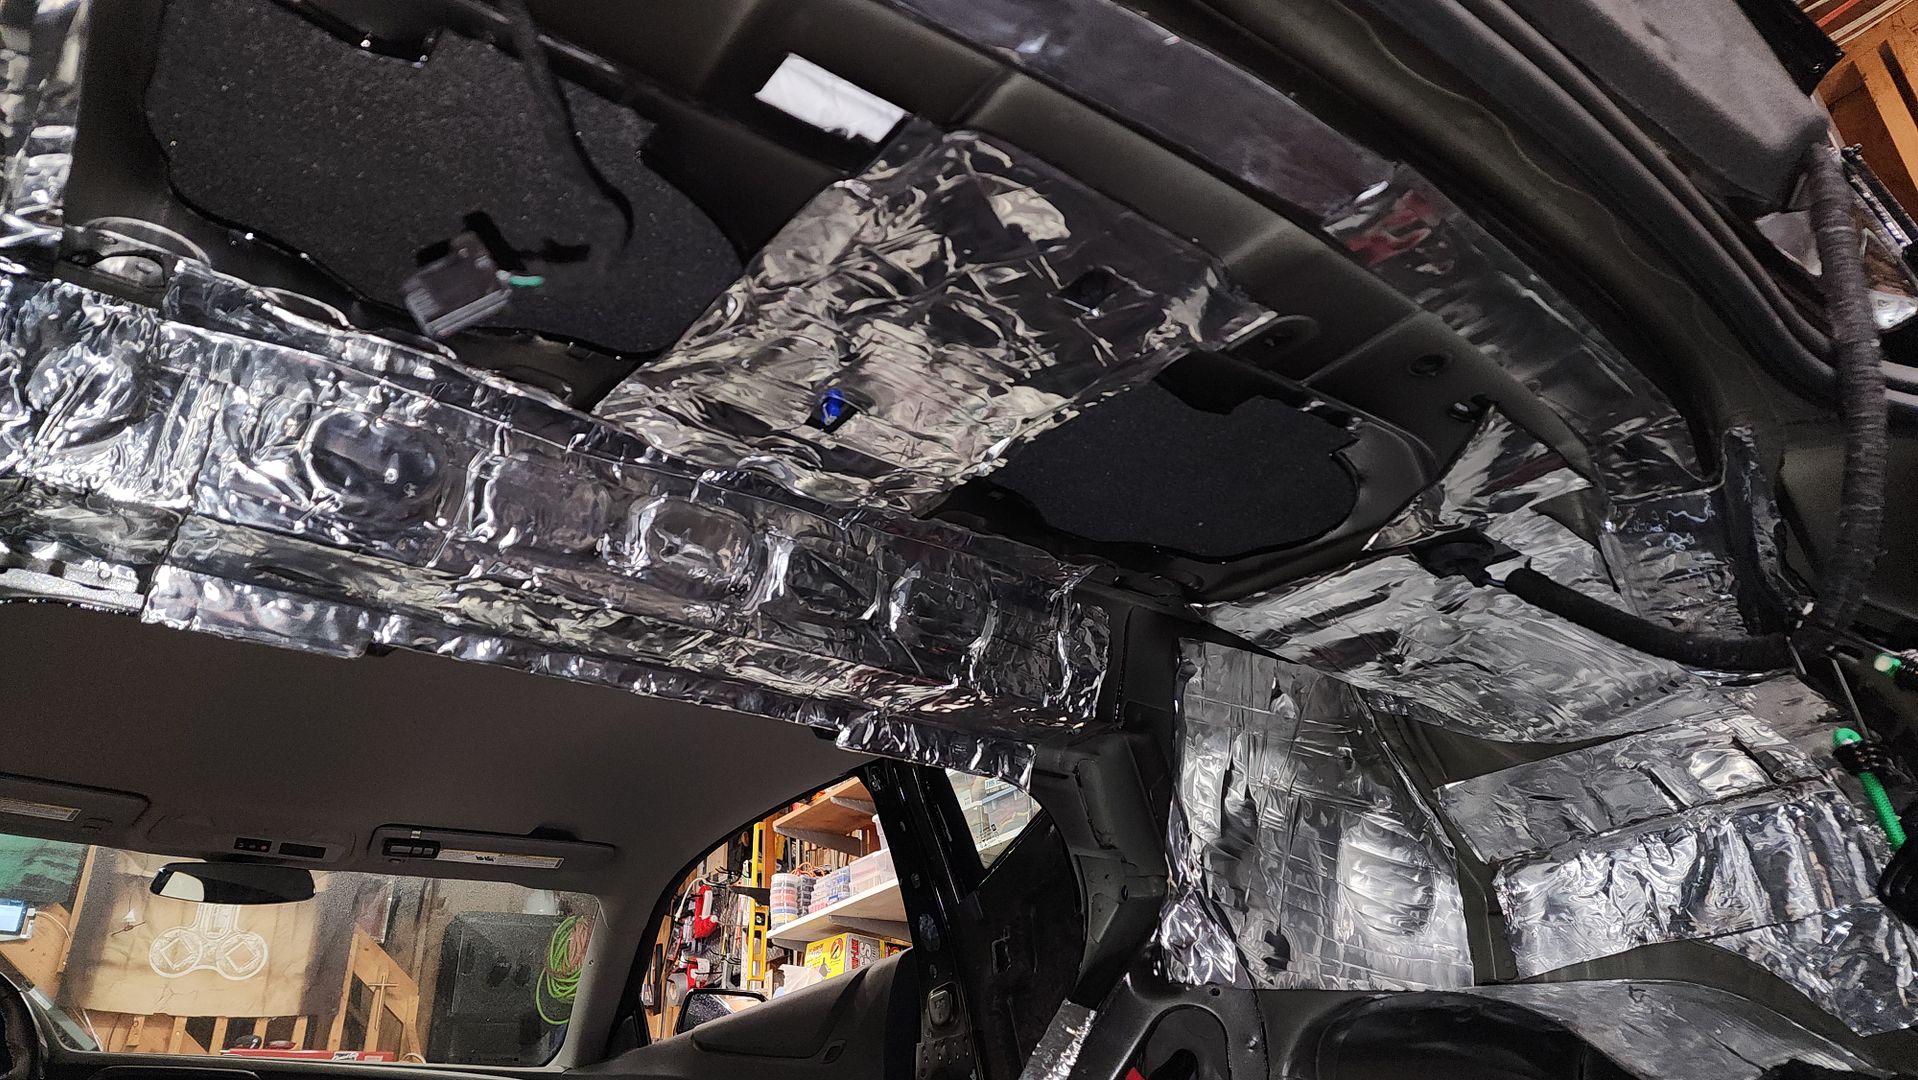
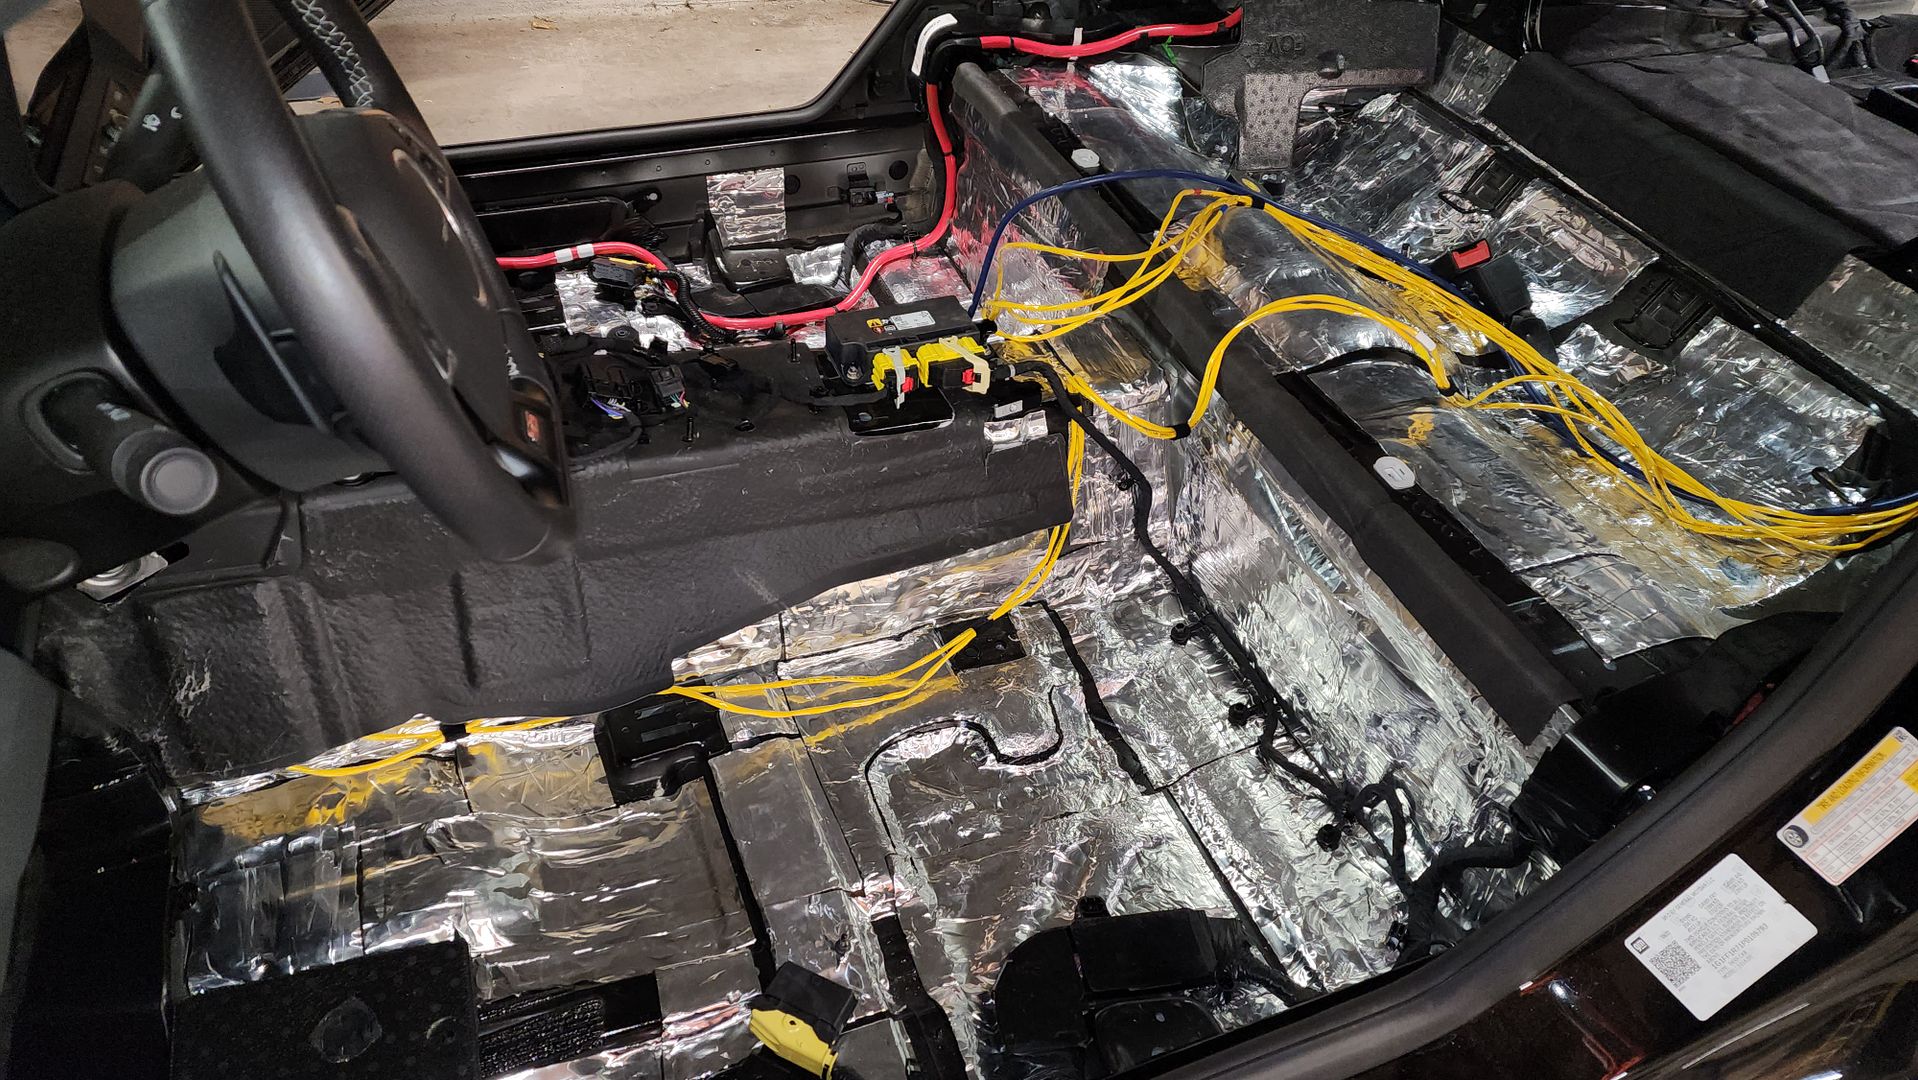
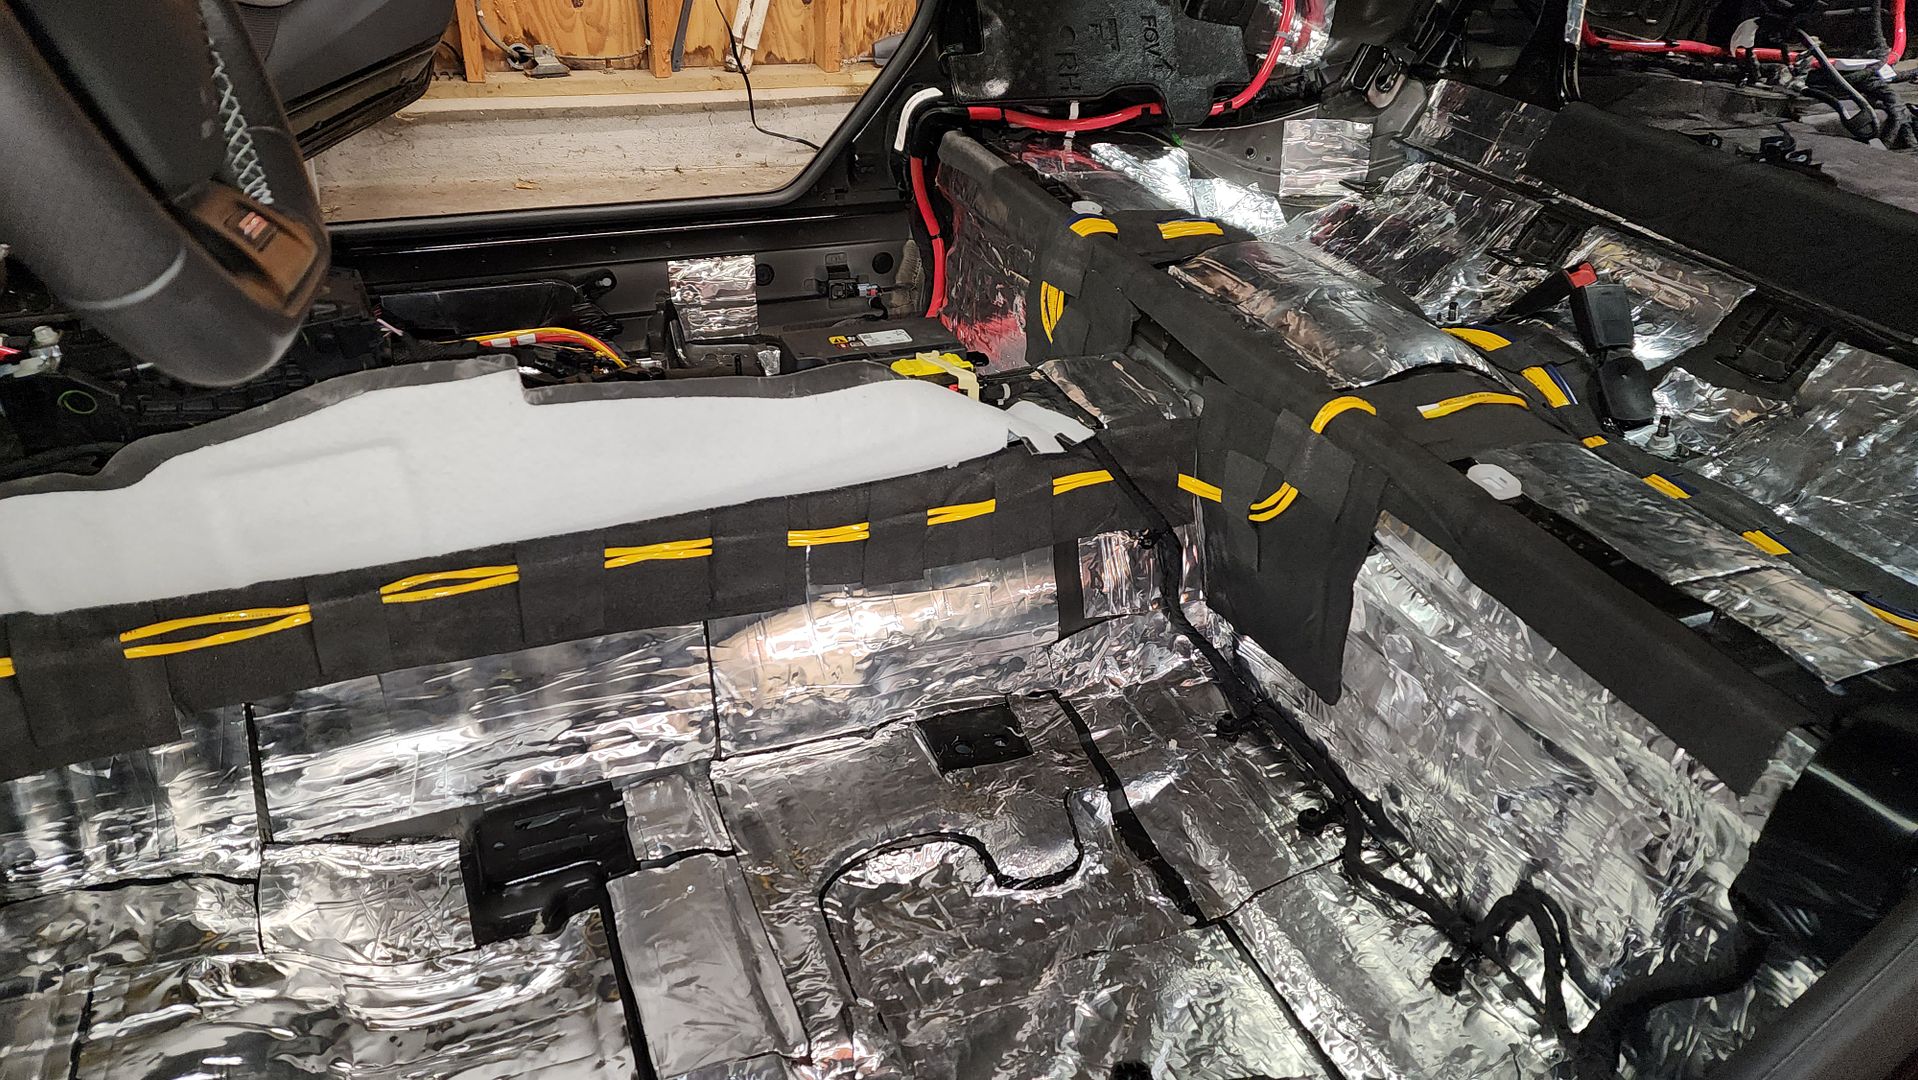
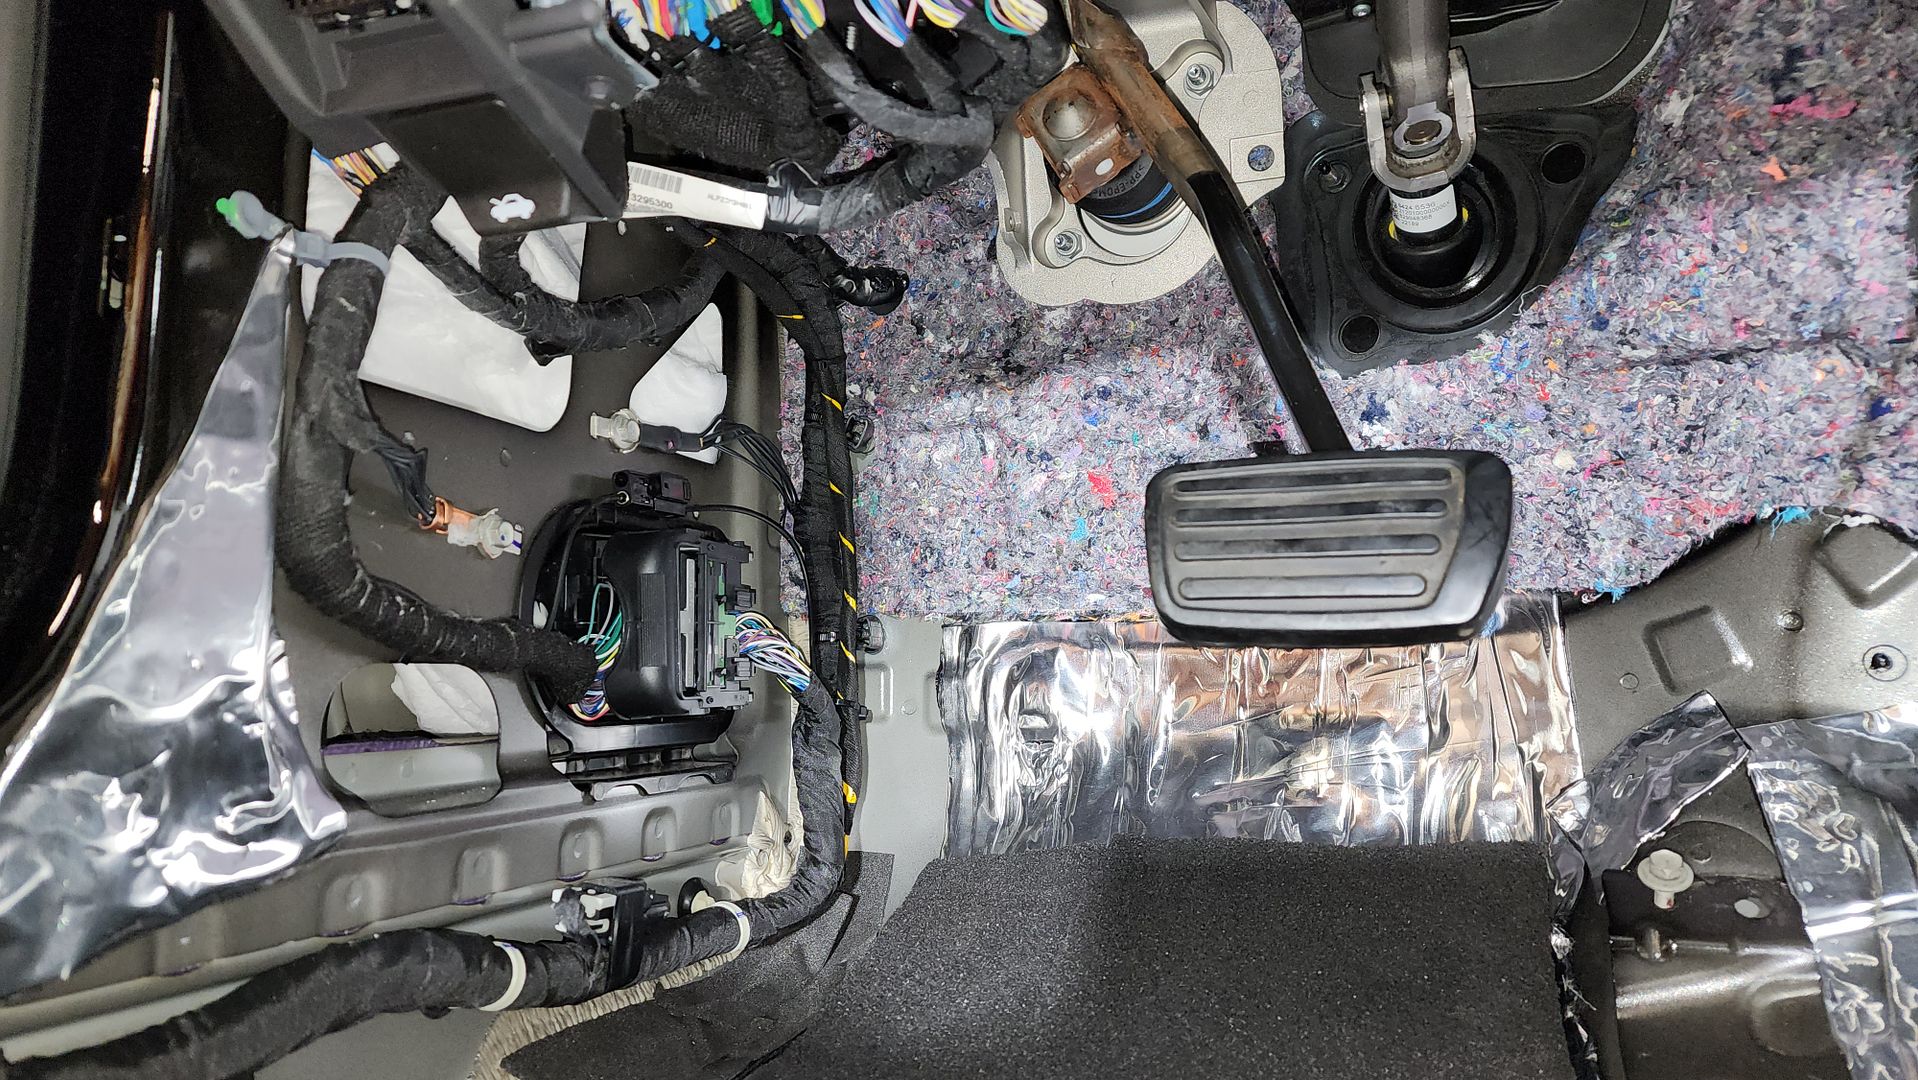
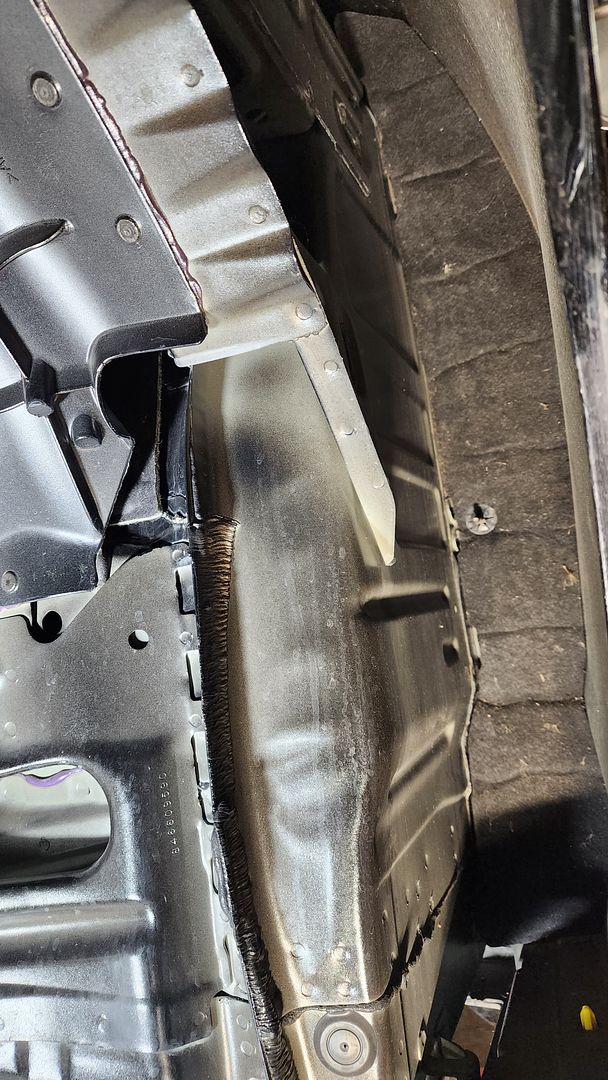
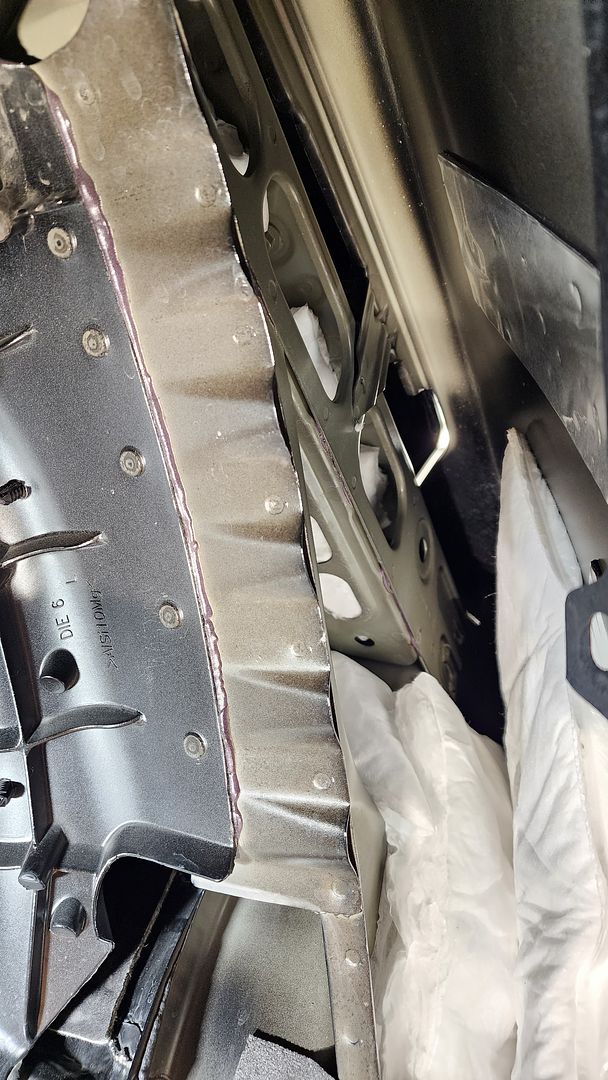
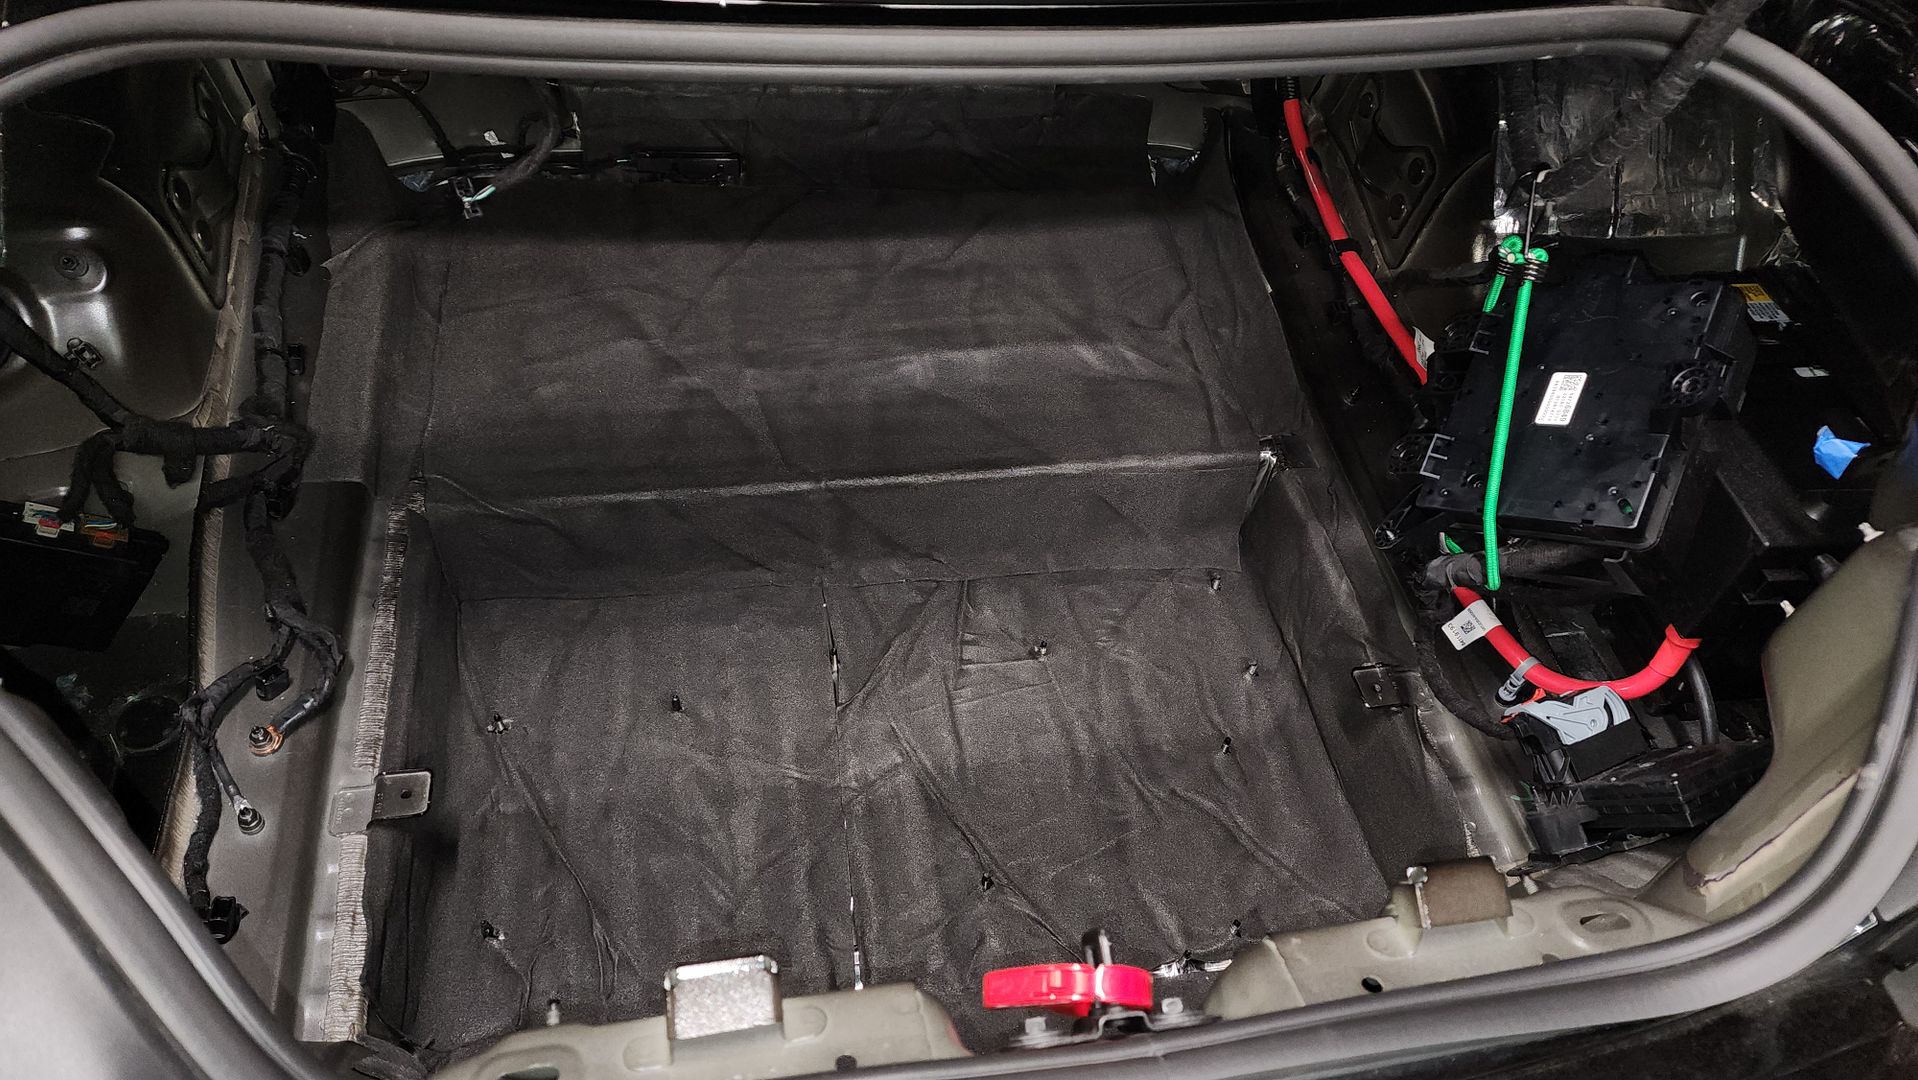
The trunk floor is very resonant and in need of a lot of treatment.
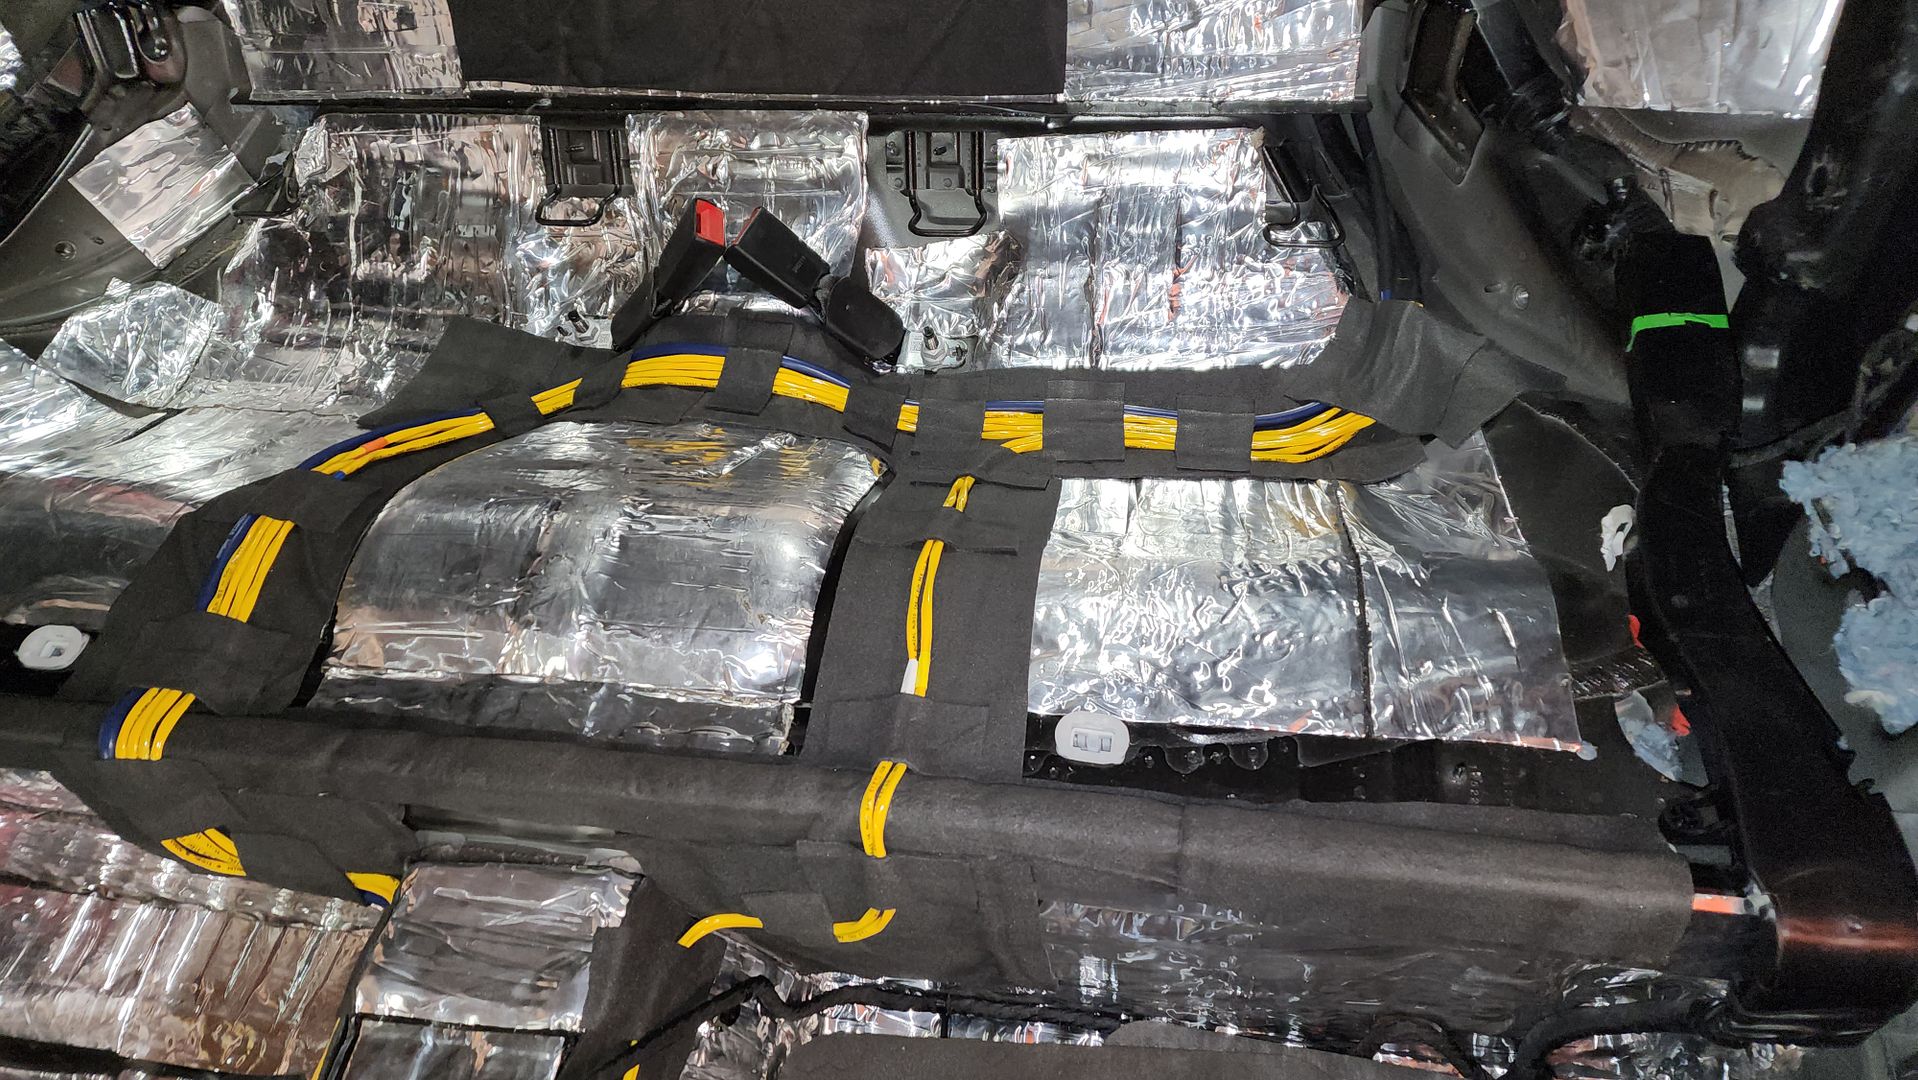
After full coverage of CLD, the floor is very dead.
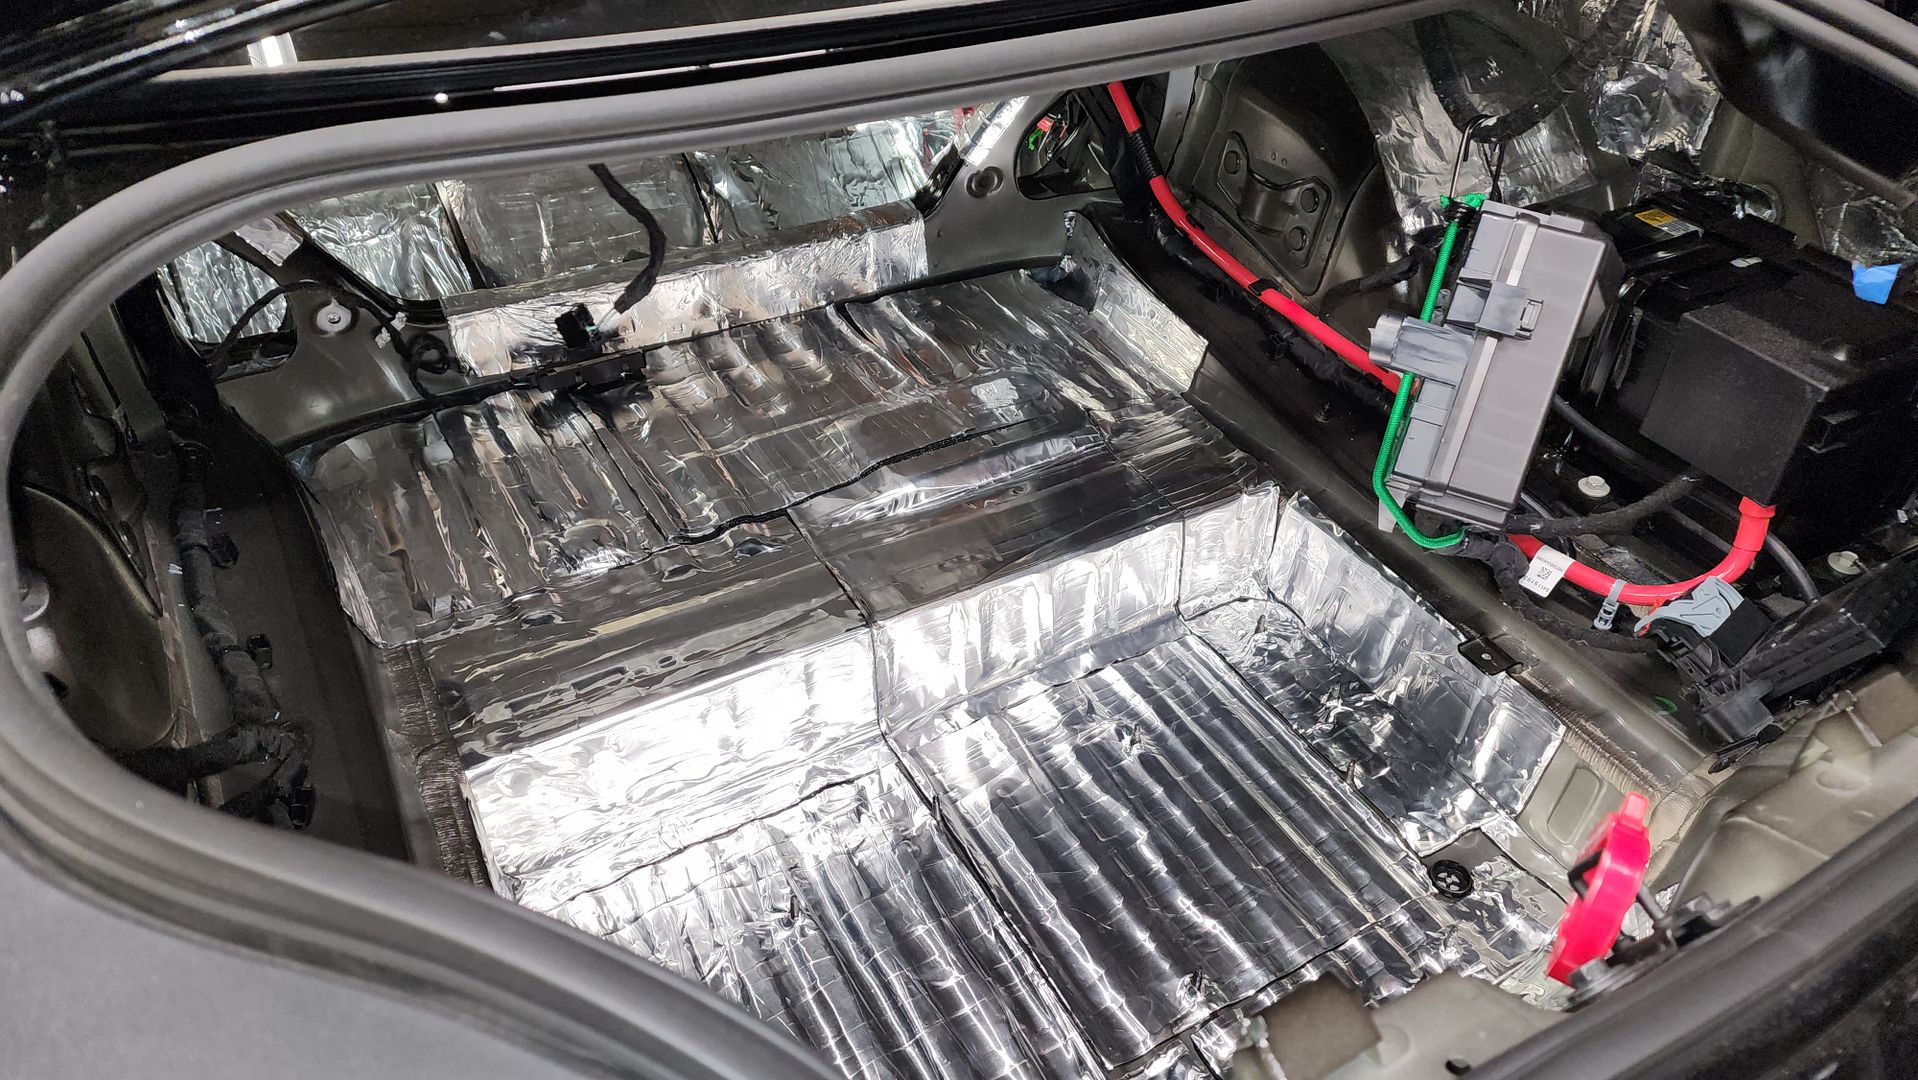

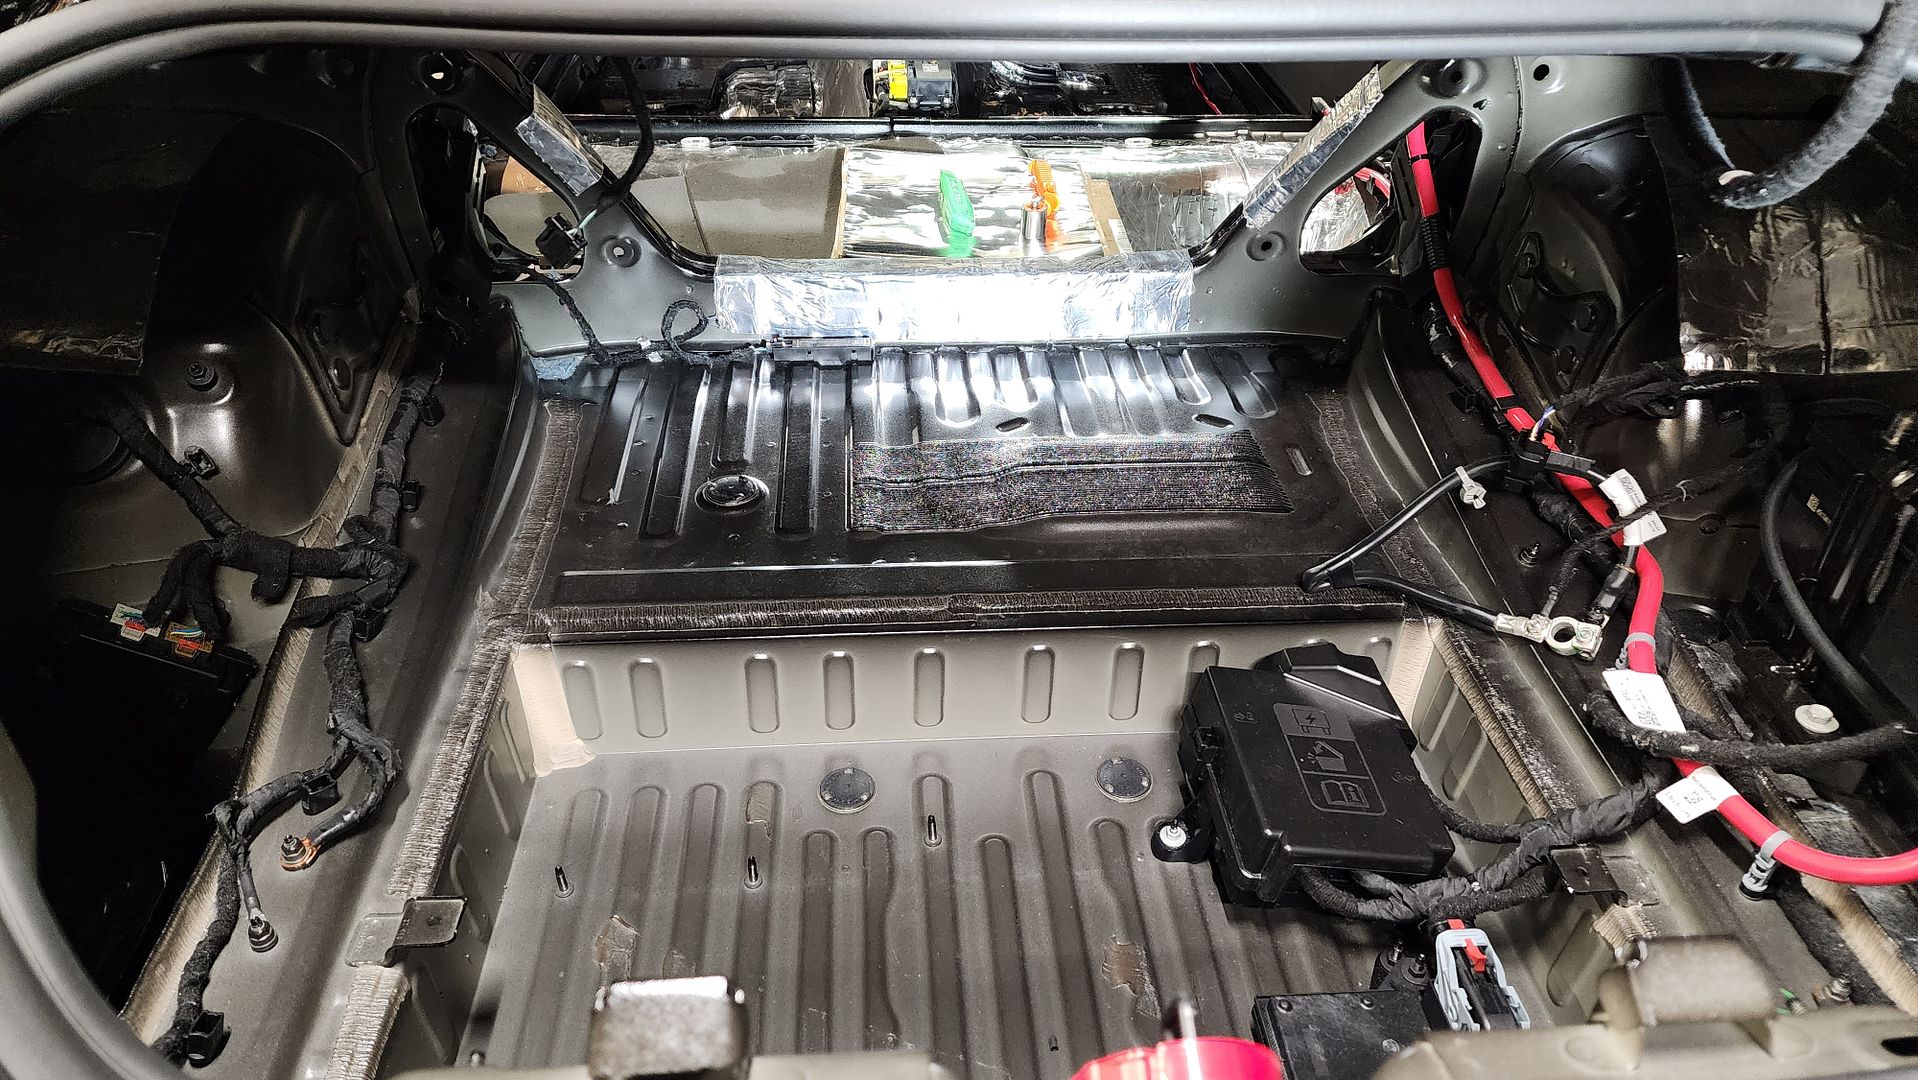
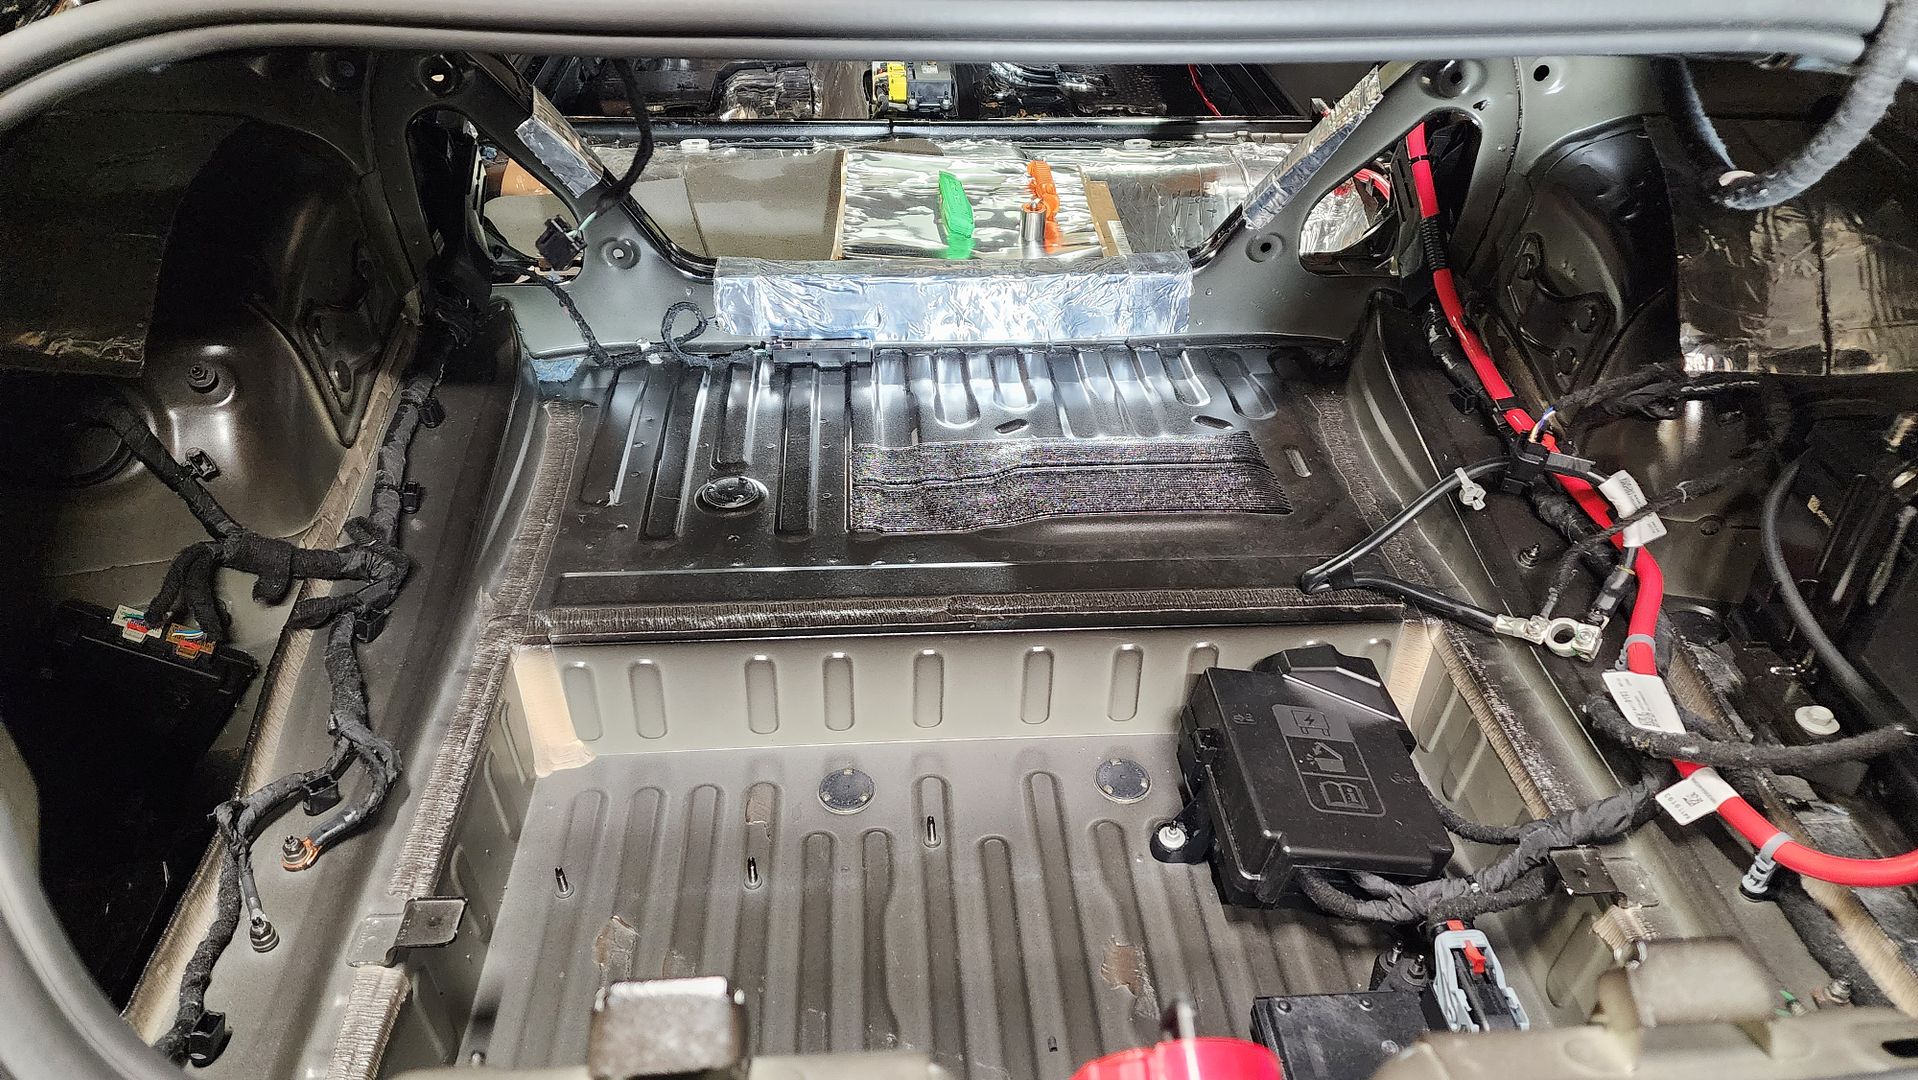
Then I covered the floor with CCF from my stock of Ensolite that I’ve had for a while.
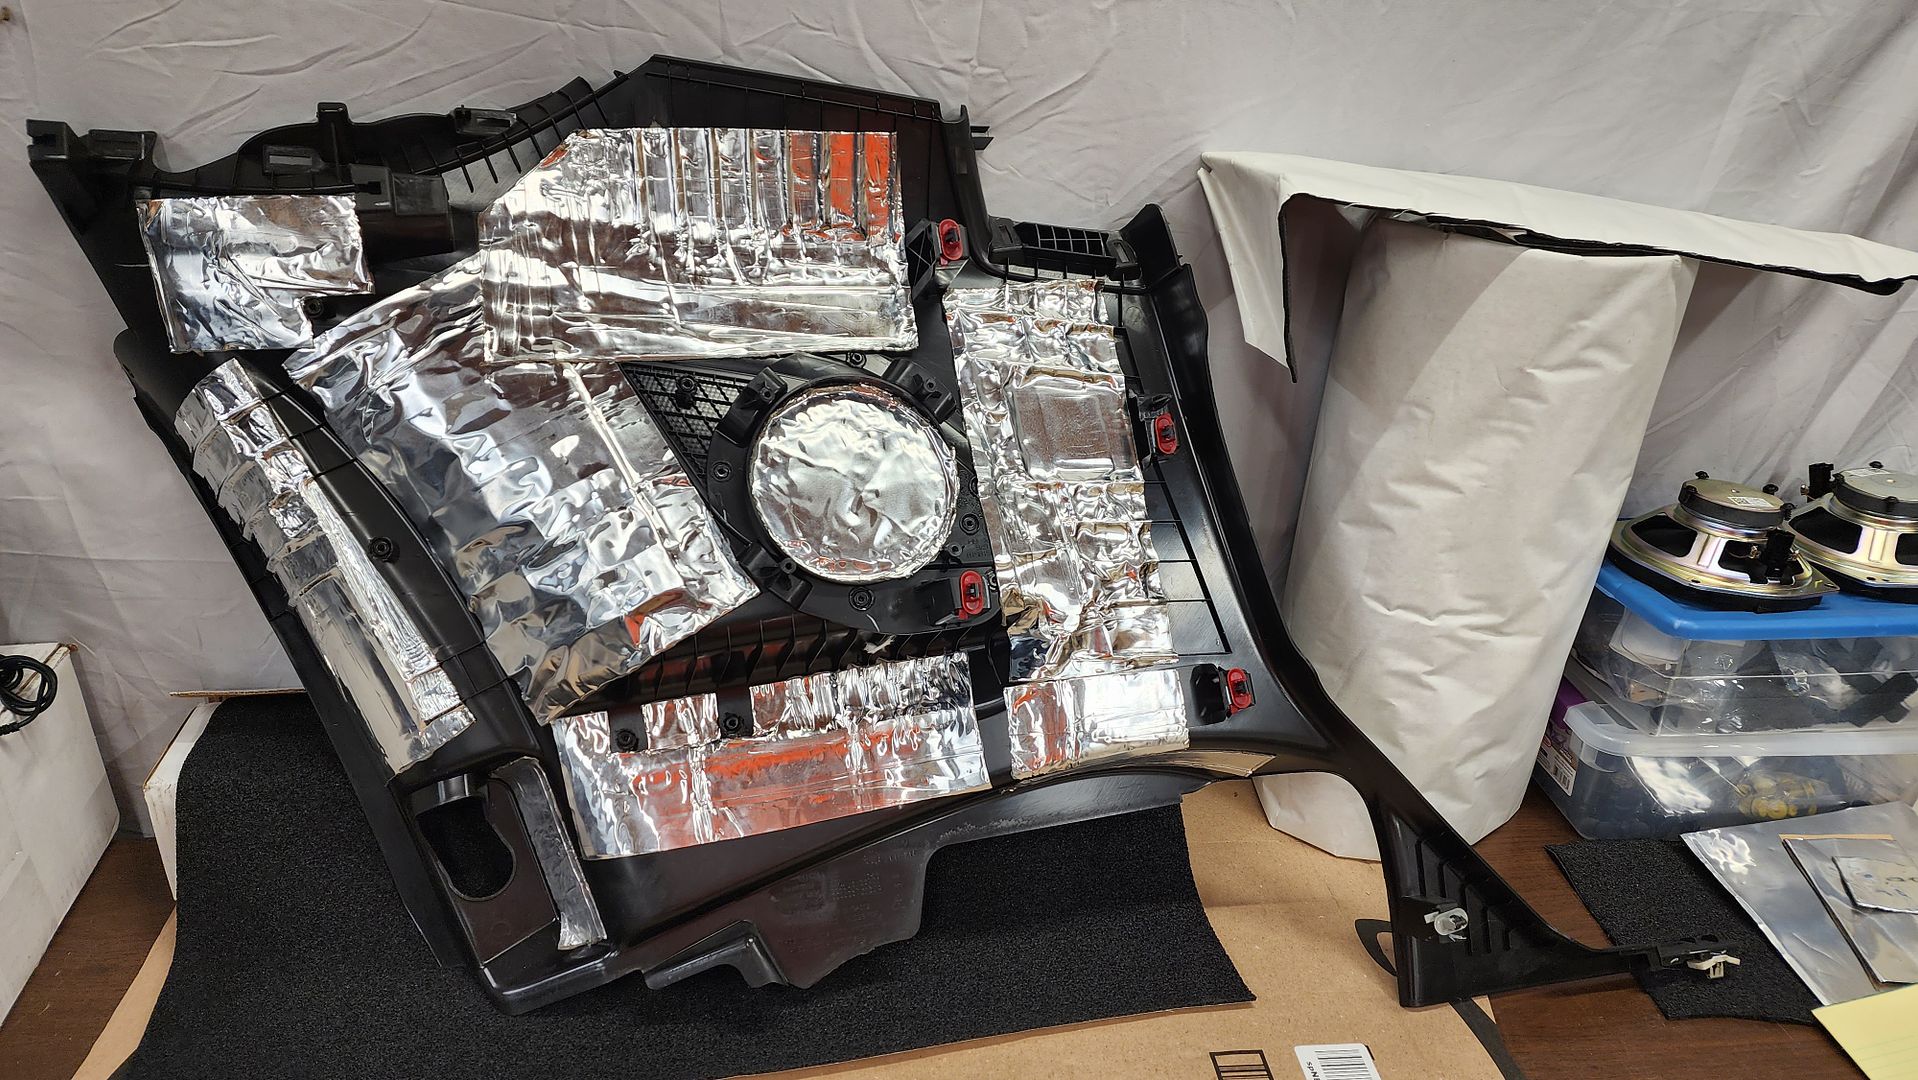
I also treated the bottom of the rear deck with CLD
https://hosting.photobucket.com/images/e128/phat_funky_beats/20231028_004210.jpg/img]
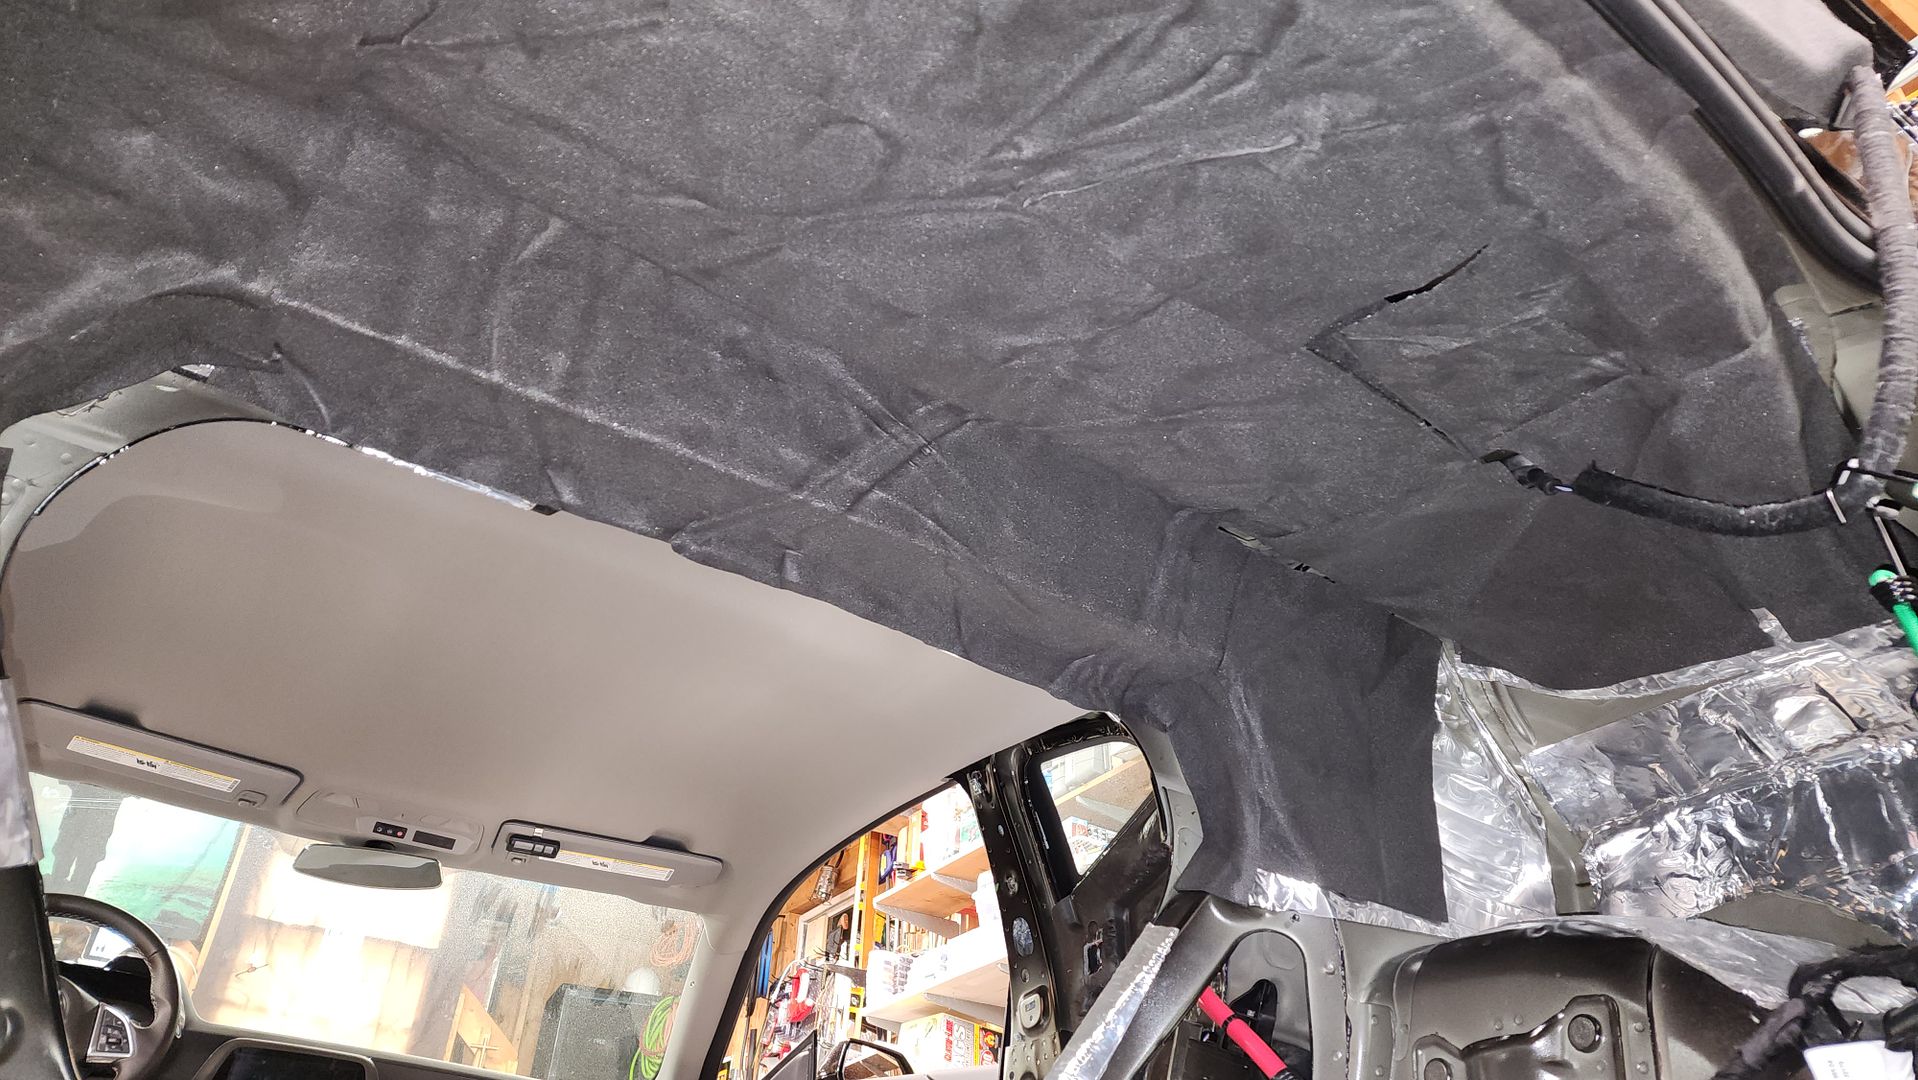
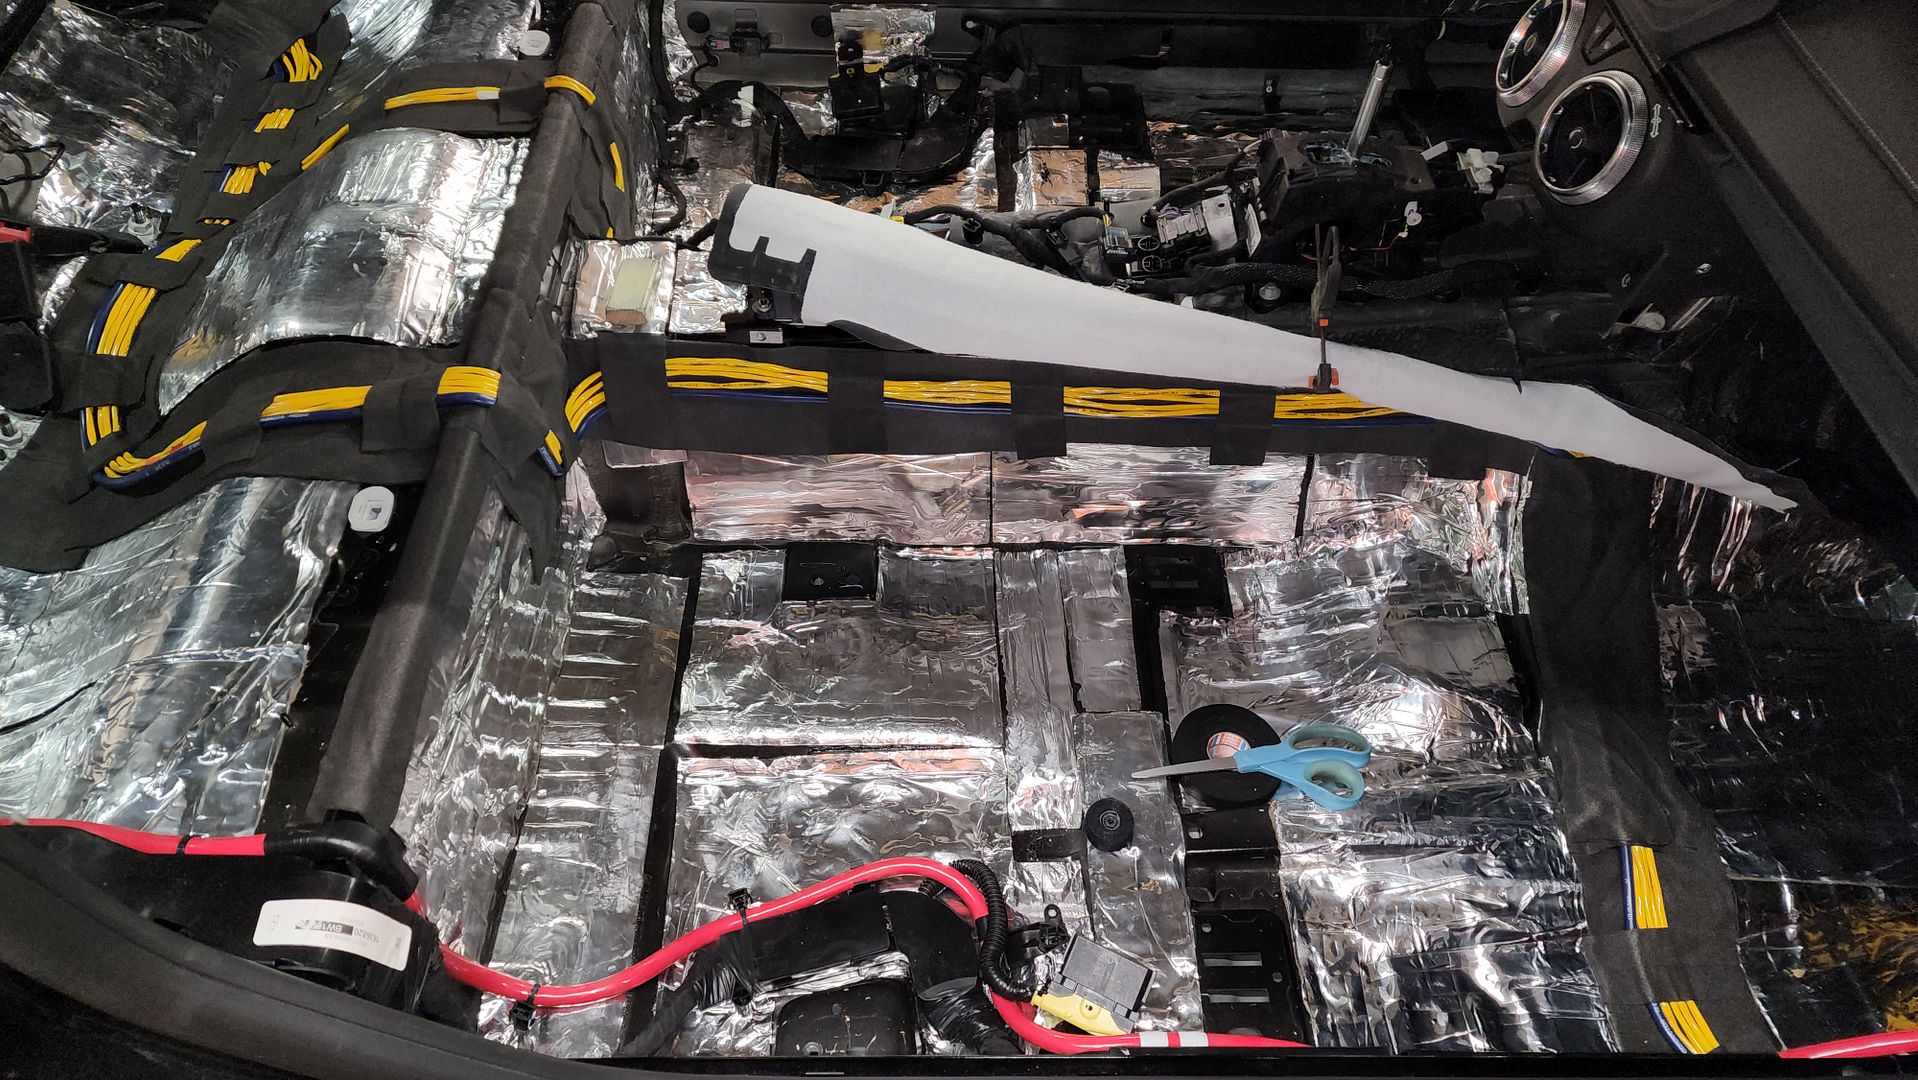
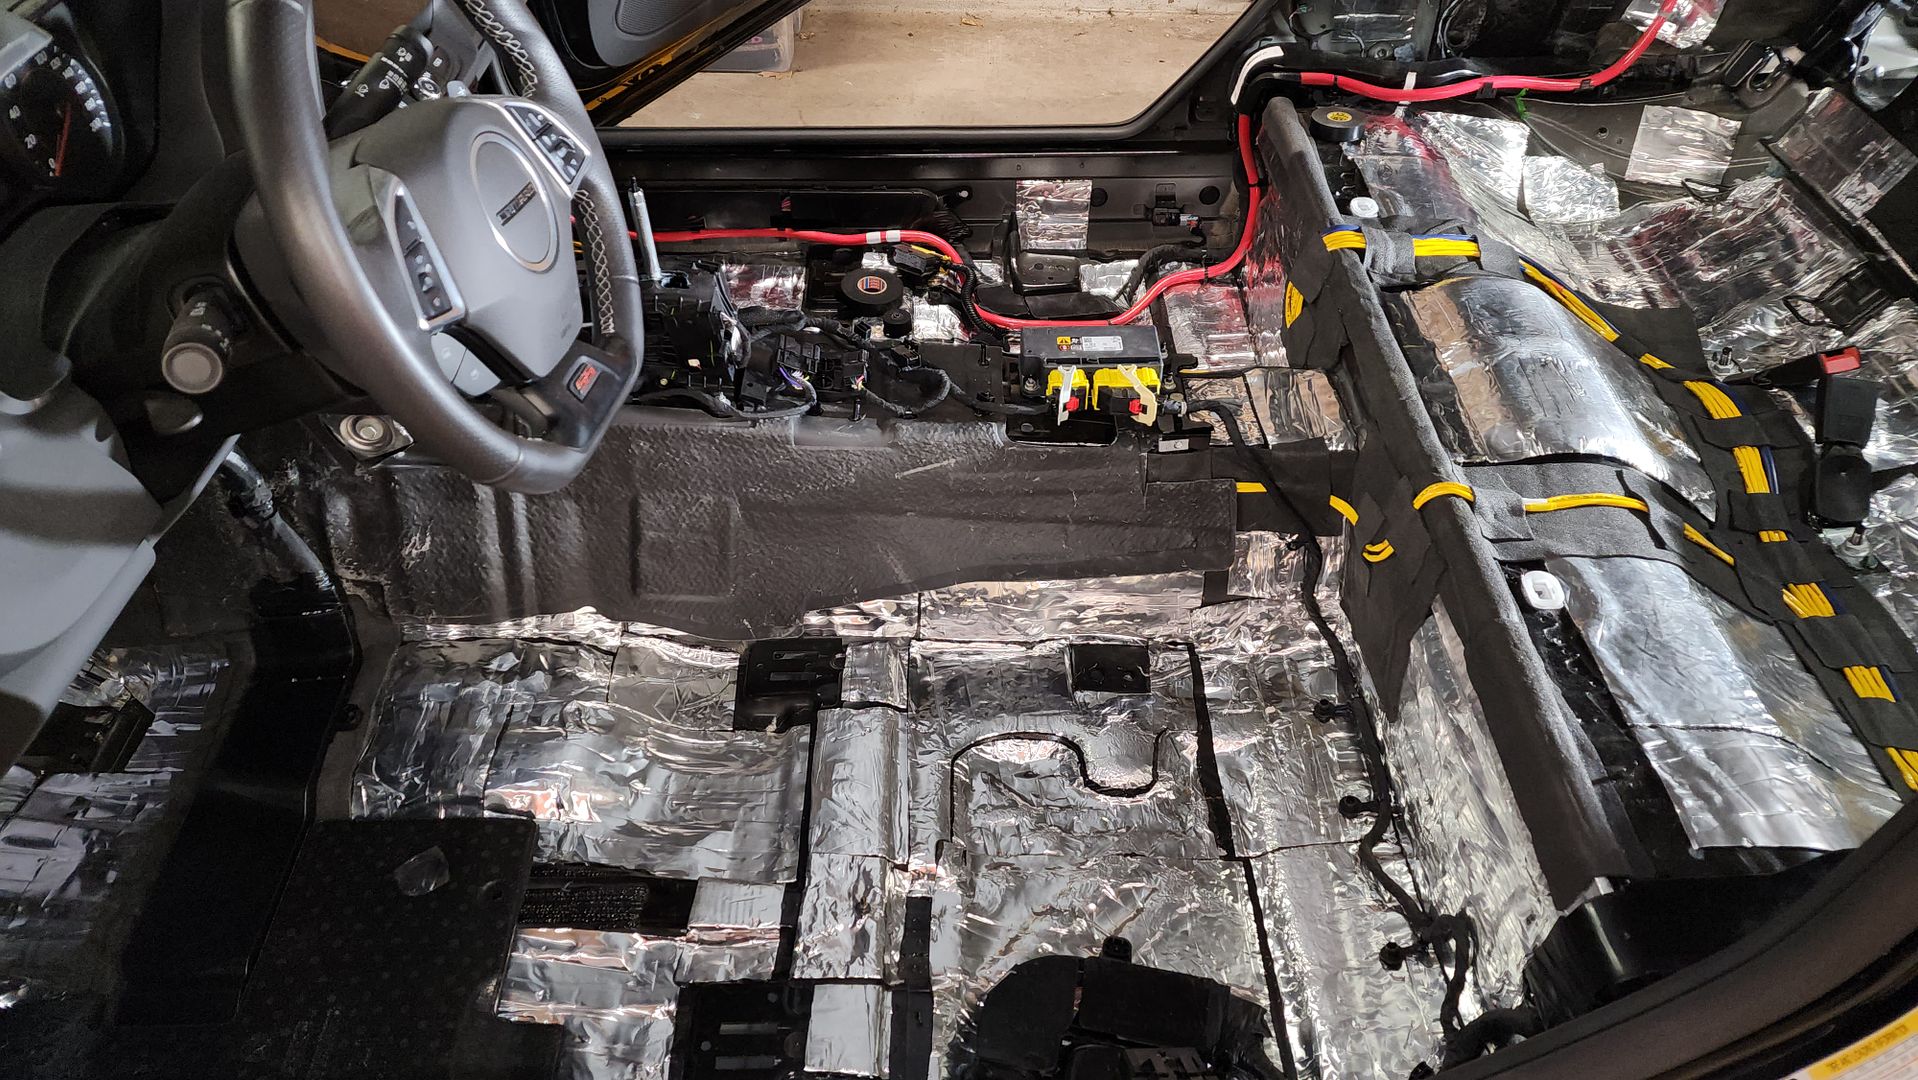
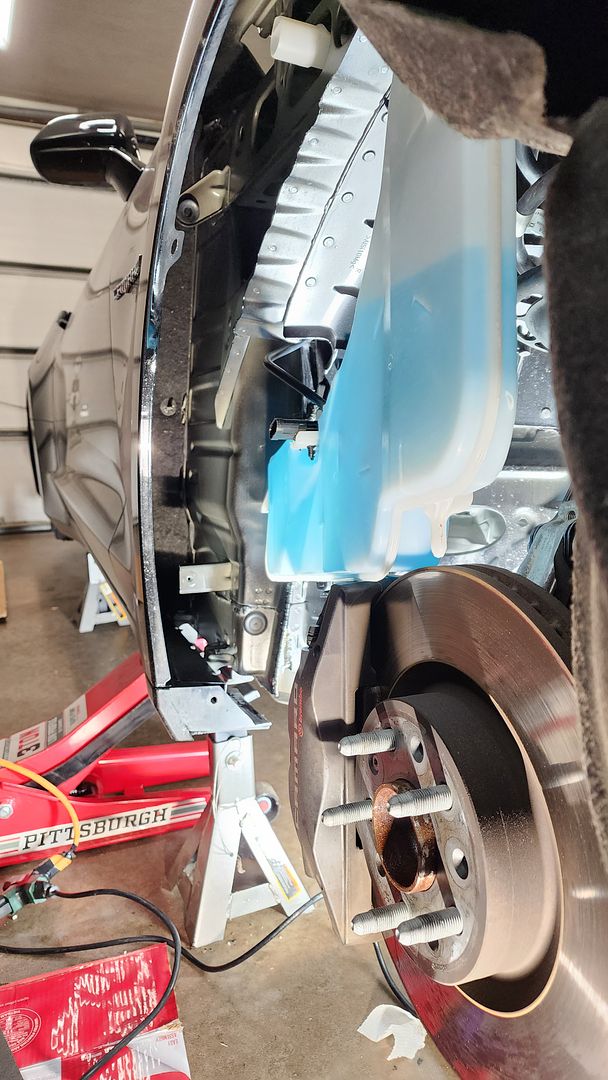
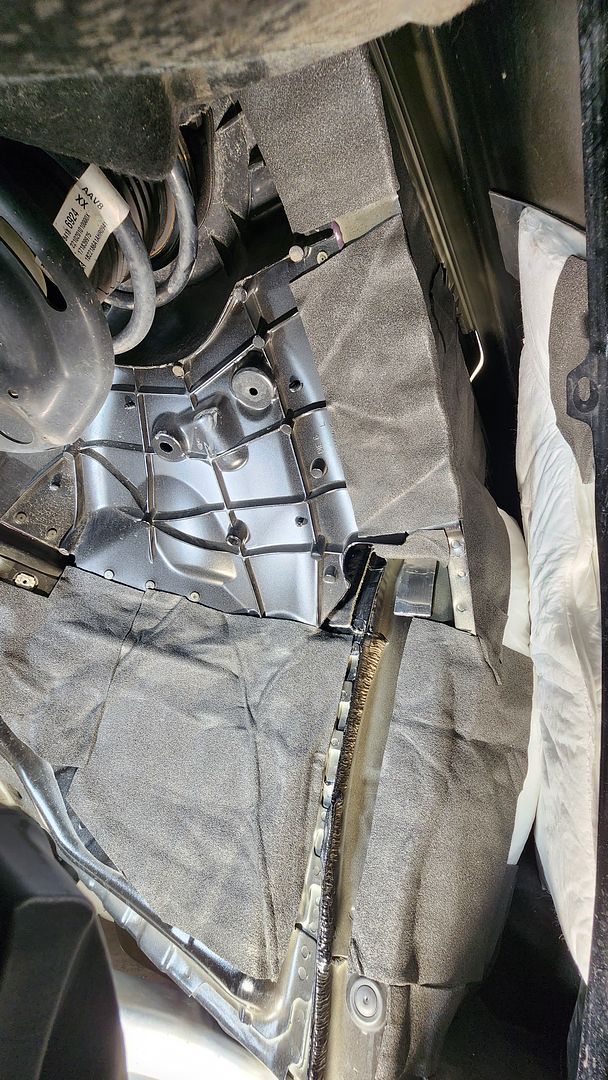
Then I covered it with CCF in order to hide the silver deadener since the rear deck is visible.
[img]https://hosting.photobucket.com/images/e128/phat_funky_beats/20231028_012008.jpg
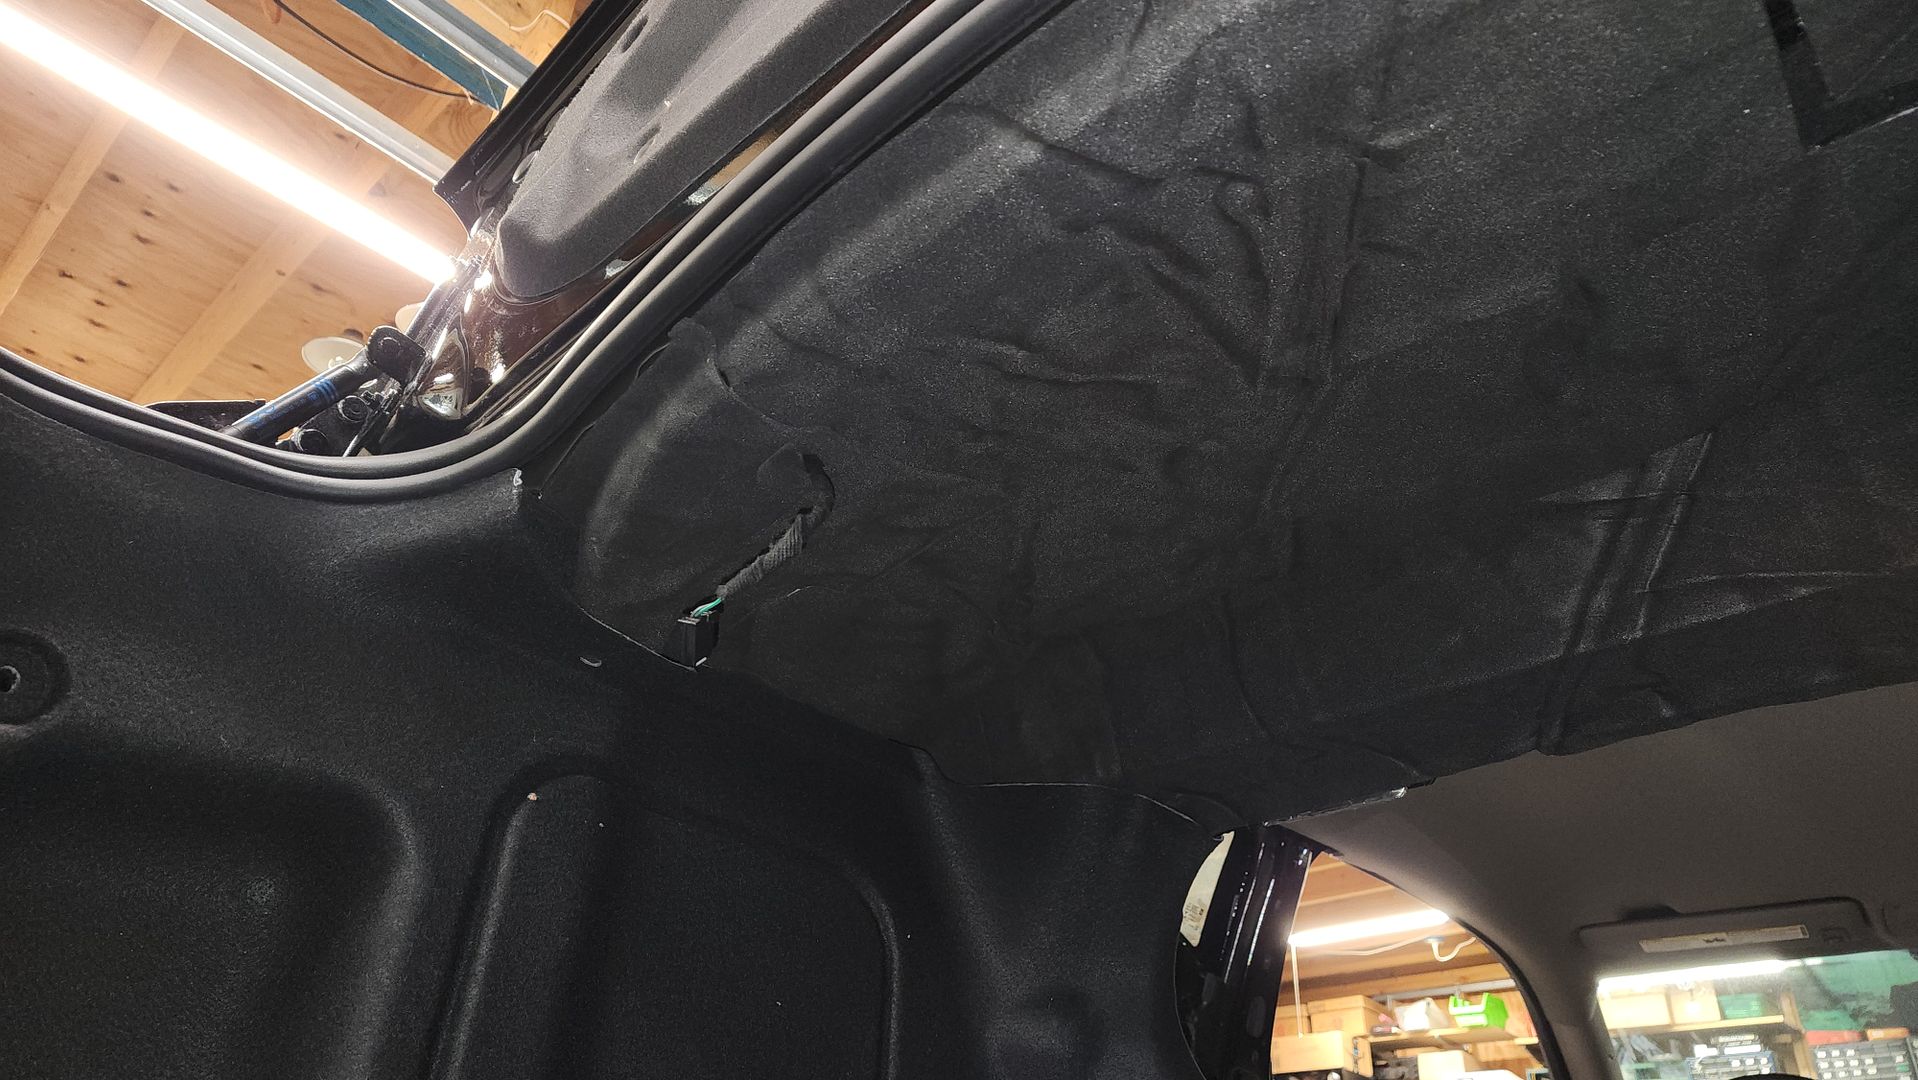
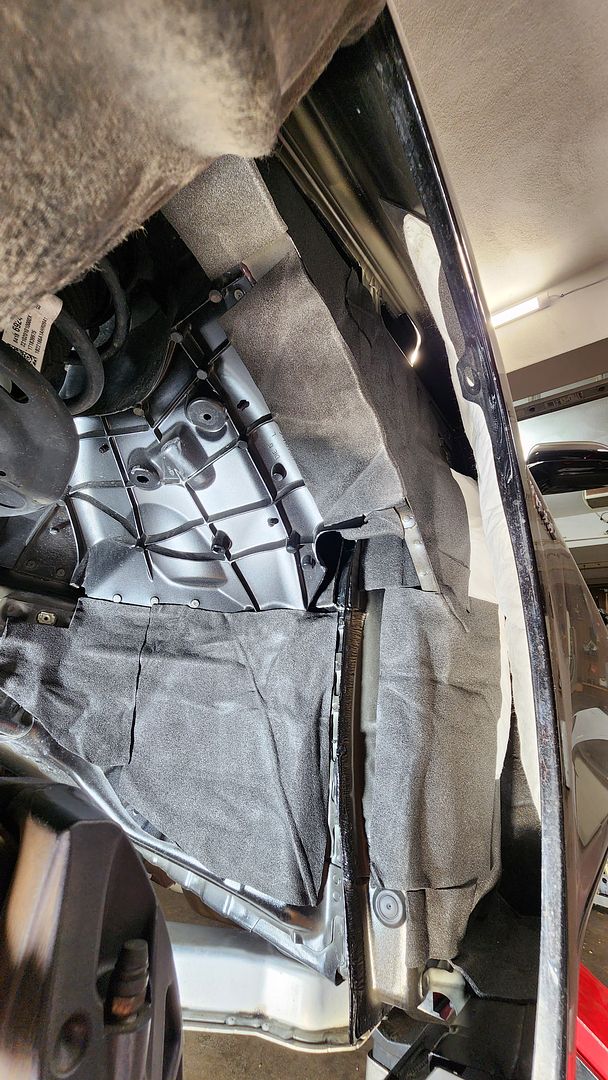
With the side panels fitted in place, the scope of CCF is sufficient, even though it’s not a perfect finish, it is hard to get a seamless install.
https://hosting.photobucket.com/images/e128/phat_funky_beats/20231028_013631.jpg[img]
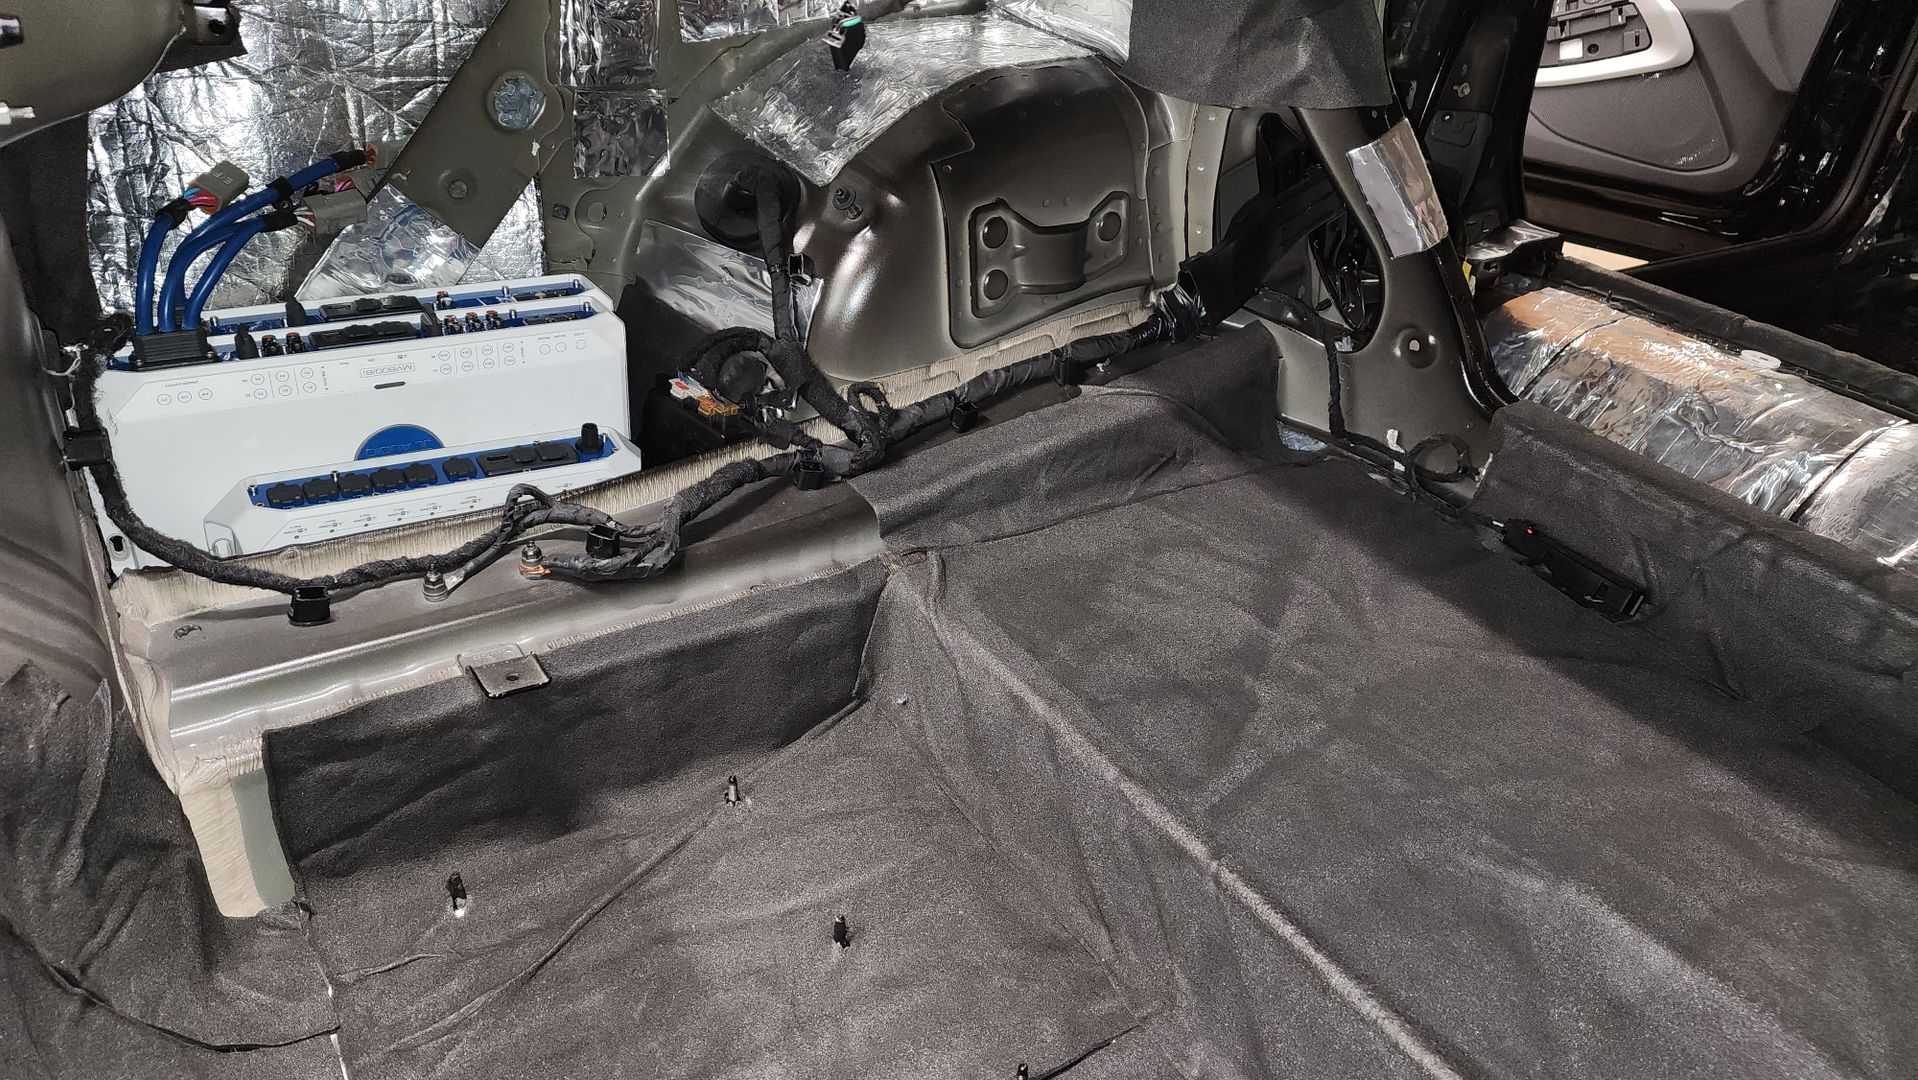
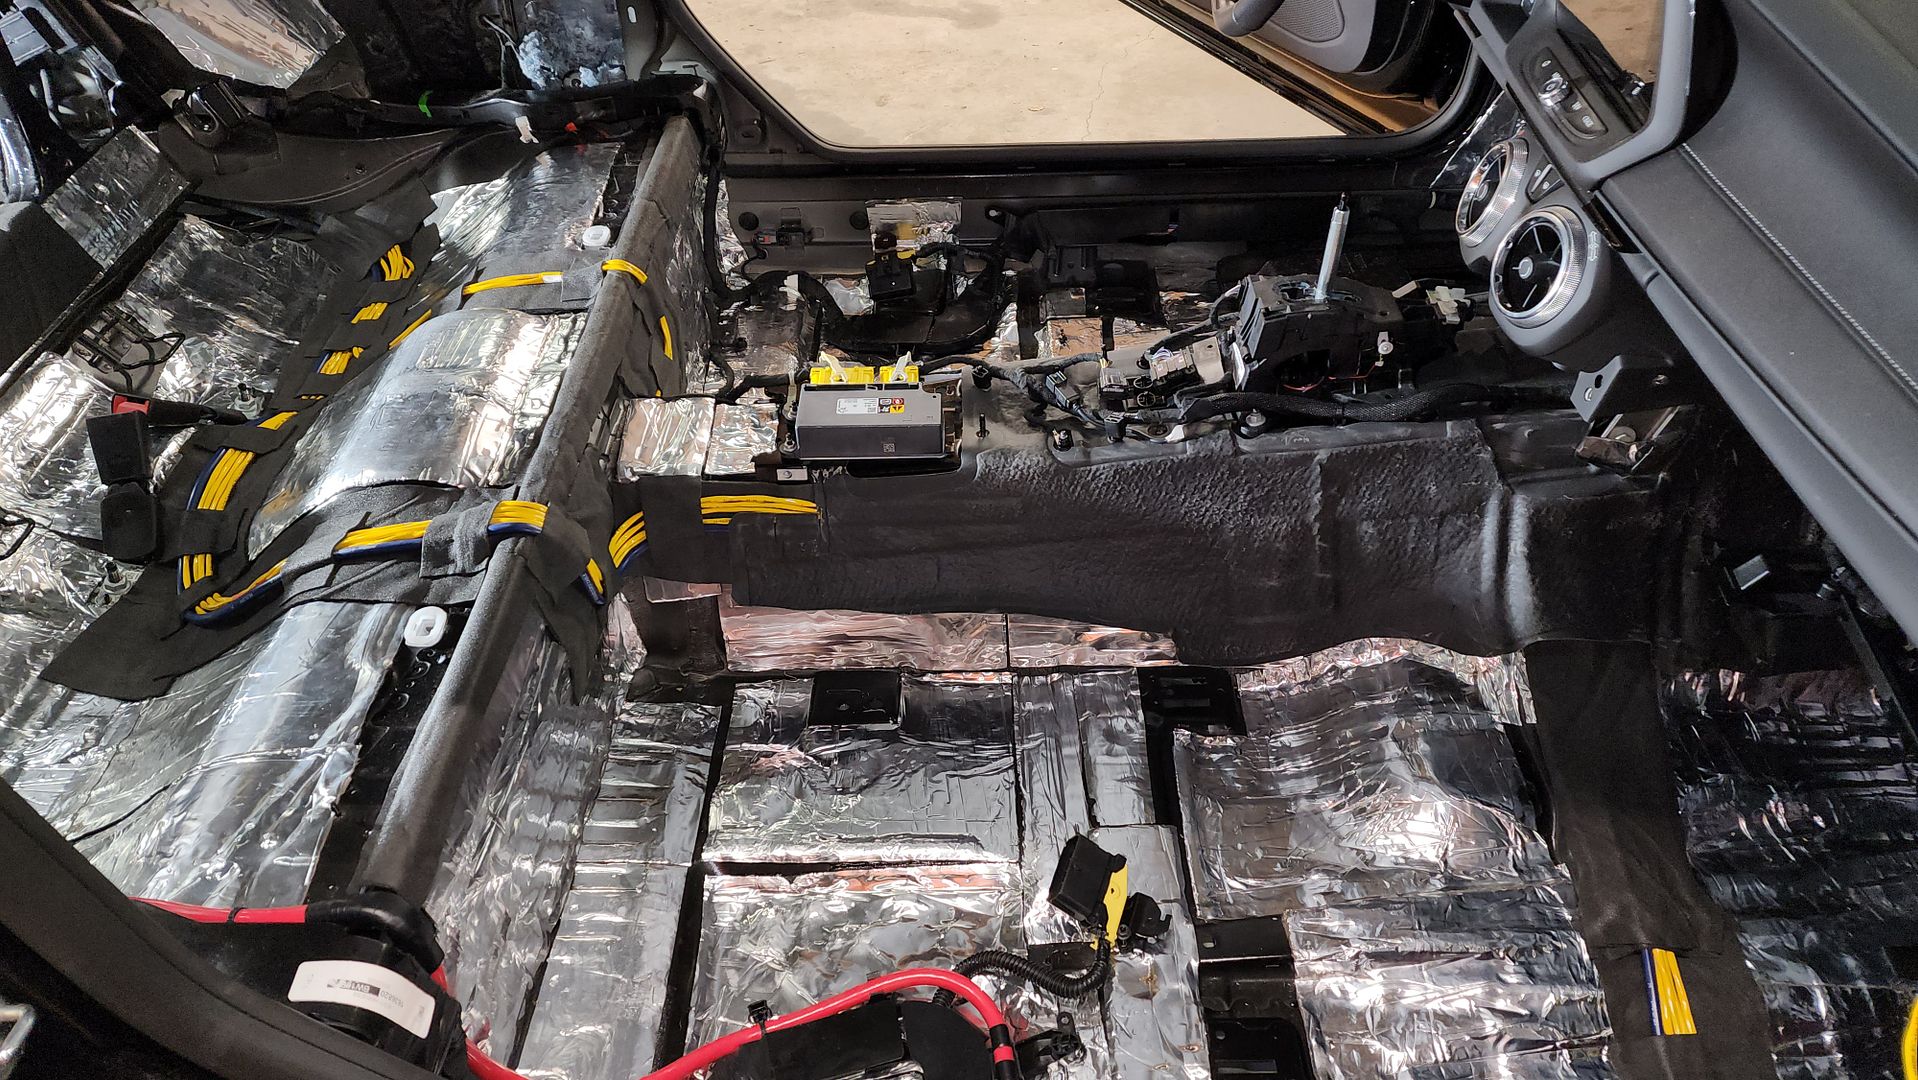
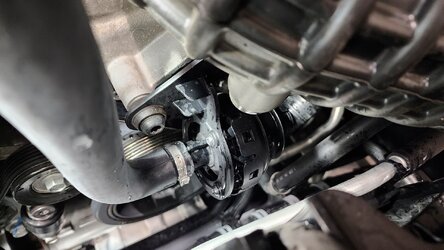
And here is a first look at where I plan on mounting the amps, a MV600/6i and a MV1000/1 with the MVi Hub.
[img]https://hosting.photobucket.com/images/e128/phat_funky_beats/20231028_013350.jpg/img]
After full coverage of CLD, the floor is very dead.
Then I covered the floor with CCF from my stock of Ensolite that I’ve had for a while.
I also treated the bottom of the rear deck with CLD
https://hosting.photobucket.com/images/e128/phat_funky_beats/20231028_004210.jpg/img]
Then I covered it with CCF in order to hide the silver deadener since the rear deck is visible.
[img]https://hosting.photobucket.com/images/e128/phat_funky_beats/20231028_012008.jpg
With the side panels fitted in place, the scope of CCF is sufficient, even though it’s not a perfect finish, it is hard to get a seamless install.
https://hosting.photobucket.com/images/e128/phat_funky_beats/20231028_013631.jpg[img]
And here is a first look at where I plan on mounting the amps, a MV600/6i and a MV1000/1 with the MVi Hub.
[img]https://hosting.photobucket.com/images/e128/phat_funky_beats/20231028_013350.jpg/img]